
Your first cross stitch project needs a clear chart, a small piece of even fabric, and a few repeatable steps. Start with a simple shape so you can concentrate on counting and tension.
Choose a manageable first project
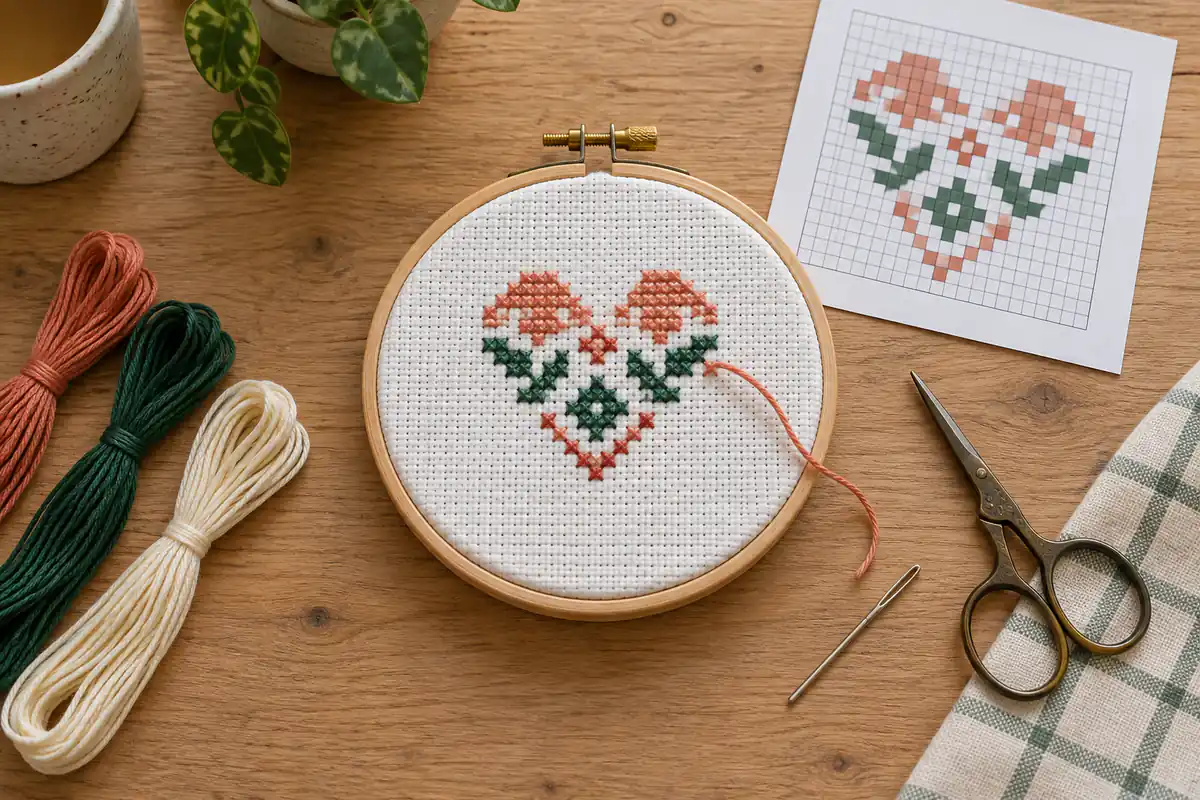
Pick a chart with full crosses, a few distinct colors and generous empty space. A 24 × 24 heart is easier to check than a detailed photograph. You need Aida, stranded embroidery cotton, a blunt tapestry needle that passes comfortably through the holes, scissors and the printed chart. A hoop is useful but optional. Keep the fabric taut enough to see the holes without stretching the weave.
Find the center before threading
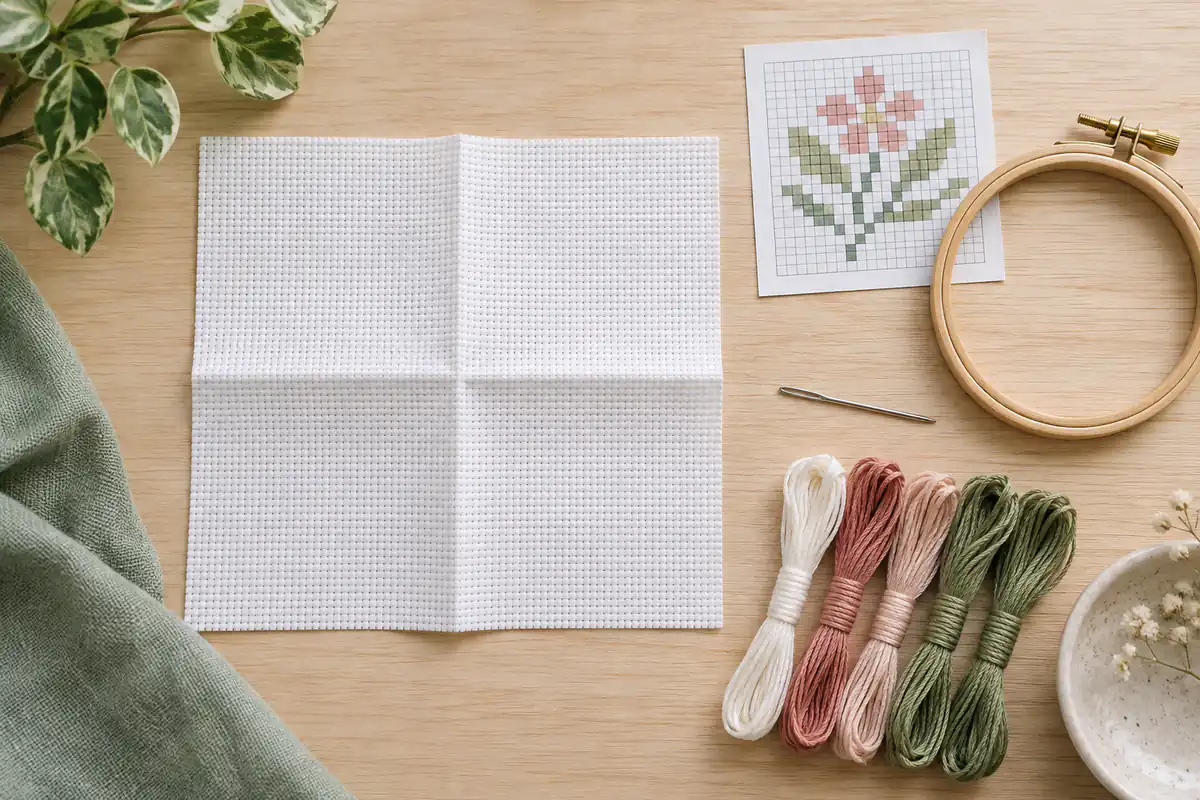
Fold the fabric gently in half in both directions to locate the middle. Find the chart center by halving its width and height. If you prefer to begin at a corner, count from the center to that starting point; do not assume the corner of the cloth is the corner of the design. Leave enough fabric outside the design for handling and finishing.
Make your first row
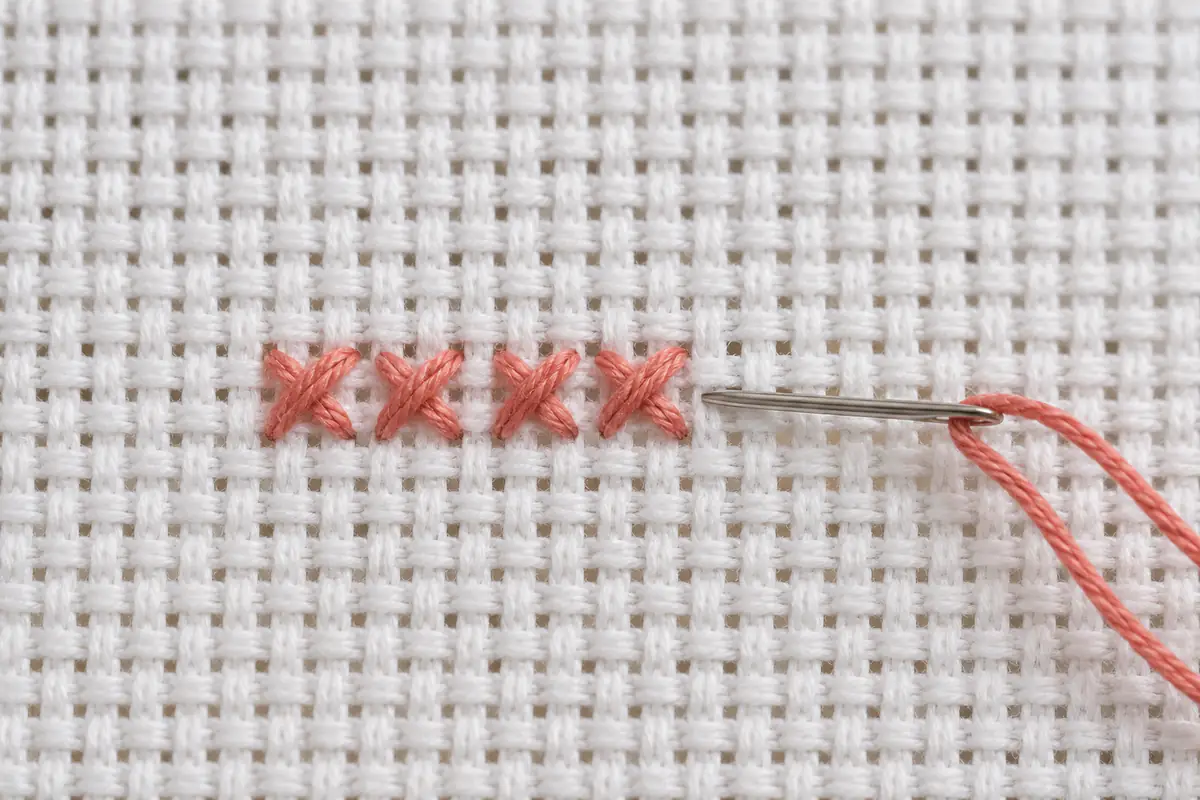
Bring the needle up at the lower-left corner of one fabric square and down at the upper-right. Repeat these diagonal half stitches across a short run of the same color. Return with the opposite diagonals to complete the crosses. Keep the top leg facing the same direction throughout. Pull the thread until it rests on the fabric, not until it compresses the holes. Separate the number of strands your pattern recommends and try a small sample first.
Check as you go
Compare every small group with the chart before traveling far. Count holes carefully across empty fabric and secure thread tails under nearby stitches on the back. If a stitch is misplaced, unpick it gently instead of distorting the neighboring squares. Finish a small motif before committing to a larger piece: the goal is a comfortable, repeatable process, not speed. Use the fabric calculator before cutting and the free Little Heart chart to practice.
A first-project plan you can follow without guessing
A first project is easier to manage when you decide what success means before buying supplies. For a small heart, success might mean completing the outline, keeping all upper diagonals in the same direction, and leaving enough cloth for a card. It does not need to mean finishing in one sitting or producing a perfectly tidy back. Choose one modest outcome, then use the chart to list the actual materials rather than buying a large assortment without a plan.
Print the Little Heart pattern and identify its width, height, filled cells, and color key. Keep the paper beside the fabric so you can compare the two while learning. If you prefer a flower, the Tiny Tulip chart gives you a short stem and a compact colored head. Avoid changing both the design and fabric type during this first attempt. Working from a stable reference makes it much easier to understand why a particular stitch looks different.
Set up the fabric before making the first cross
Measure the usable cloth in both directions. Frayed edges, an irregular offcut, or a crooked purchase cut can leave less room than expected. Use the fabric size calculator with your chart dimensions and intended margin, then compare that result with the piece in your hands. A margin is added on each side, so a three-inch allowance increases the total width by six inches. You can trim spare fabric later; you cannot add woven cloth back after an overly close cut.
Find the center with light folds or careful measurement, without pressing a permanent crease into the project. If using a hoop, place the fabric between the rings and tighten it gradually. Aim for a firm surface with square, undistorted holes. Pulling one edge much more than another can skew the grid. Work comfortably in good light, and keep the chart where you do not have to twist your neck repeatedly. Small improvements in position make counting less tiring during short practice sessions.
Separate working strands and manage the thread length
Stranded cotton usually contains several separable strands. The number of strands passing through the fabric is the working strand count; it is not automatically the number originally pulled from the skein. For example, one strand folded in half gives two working strands. This distinction matters when following instructions and when estimating floss. Pull a single strand out of a short cut length at a time, then recombine the strands you actually need. Separating them can reduce tangling and let them lie more evenly.
Begin with a manageable length rather than the longest possible thread. A very long length may seem efficient, but repeated passes through the fabric can create twists, knots, and wear. If the thread begins to spiral, let the needle hang briefly so it can untwist. Stop if you see an actual knot; pulling harder can tighten it against the fabric. Our floss guide explains why short tails and frequent changes affect usage, while the floss estimator gives a planning amount rather than an exact promise.
Understand the two common ways to complete crosses
You can complete each cross before moving to the next square, or work a row of lower diagonals and return with the upper diagonals. Both methods can produce a consistent front. A short solid row is a good place to practice the out-and-back approach because each new hole gives you a clear reference. Scattered stitches may be easier to complete individually. Choose the method that suits the local shape rather than forcing every section into the same movement sequence.
Whichever route you take, keep the upper leg of each finished X facing the same direction. Look at a small group from an angle: consistent thread direction helps the surface reflect light evenly. Do not judge coverage after a single unusually tight stitch. Complete a small block with comfortable tension and inspect the group. If the fabric holes are stretching or the surface puckers, loosen your pull. If loops sit above the fabric, draw the thread through a little further without cinching the stitch down aggressively.
Count from two reference points when the chart opens up
A gap in the design still occupies fabric. Suppose a second leaf begins four blank squares to the right and three rows higher than a completed stem. Count across and up using actual squares, then check that position against another recognizable point on the chart. This second reference is useful because one missed square can place an entire section incorrectly. Do not move the motif closer just because carrying the thread across the back seems inconvenient.
Bold ten-square lines on the paper help you organize the count, but they do not replace checking individual cells near a small detail. A removable chart mark can record the last completed stitch. Mark work after it is sewn rather than marking a planned section in advance and trusting memory. If several identical symbols blur together, cover neighboring rows with a strip of paper. The chart-reading guide explains how global coordinates and page boundaries work when you move beyond a single-sheet beginner chart.
Fix a mistake without turning it into a larger problem
When you notice an incorrect stitch, pause before cutting anything. Find the earliest point where the chart and fabric diverge. Sometimes only one cross is wrong; sometimes every stitch after a missed gap has shifted. Carefully reverse the needle path for a small recent error, avoiding nearby strands. If the thread has become fuzzy or damaged during removal, start a fresh length rather than forcing it through another long section. Good lighting is especially useful while unpicking.
Do not solve a counting error by pulling the fabric sideways or squeezing an extra cross into one block. That changes the structure without correcting the coordinates. A tiny harmless variation may be acceptable in your own decorative piece, but make that choice deliberately and note it on your chart. For a symmetrical motif or lettering, a shifted cell can be much more visible. Check the local outline before deciding. The blank grid maker is useful for sketching a small correction so you can see its effect before sewing it.
Finish the small project with the same care as the stitching
Before removing the hoop, inspect the front for unfinished half stitches, accidental loops, and missed symbols. Check the back for unsecured tails. The back does not need to look like a second front, but bulky knots and very long loose carries can affect how the piece sits when mounted. Secure ends according to the construction you are using and avoid cutting so close that a tail can slip out from beneath its securing stitches.
Care instructions depend on the actual thread, fabric, and embellishments. Do not assume that all floss is colorfast or that every finished piece should be soaked. Test spare materials if you plan to wash the project, and avoid trapping damp fabric inside a frame. Decide on the finish before trimming the edges. A card insert, hoop display, and laced mounting board each use spare cloth differently. The fabric margins and framing guide helps you separate the stitched area, visible opening, and fabric needed for mounting.
Questions beginners often ask after their first session
Is it normal for the first stitches to look uneven? A few uneven crosses are common while you learn the relationship between tension, thread thickness, and the fabric grid. Look for a repeatable improvement rather than trying to make every early stitch identical. A small test patch can reveal whether you are pulling too tightly or using a strand count that feels bulky. Adjust one thing at a time so you can understand the effect.
How long should a first project take? There is no reliable universal speed. Counting, learning to thread the needle, and correcting mistakes are part of the work. Time a comfortable session after you have settled in, count the stitches completed, and enter your own pace in the time estimator. Do you need expensive equipment? A readable chart, suitable fabric, labeled floss, a compatible needle, and safe scissors are enough to begin. Let a particular difficulty guide your next purchase instead of assuming every accessory is essential.
Cross stitch fabric size calculator · Download the original little heart pattern
Examples, diagrams and planning estimates are original Cross Stitch Creator content.