
Simple seasonal silhouettes are a good introduction to cross stitch. A small tree or star can feel festive without metallic thread, complicated shading or a large commitment.
Choose clarity over detail
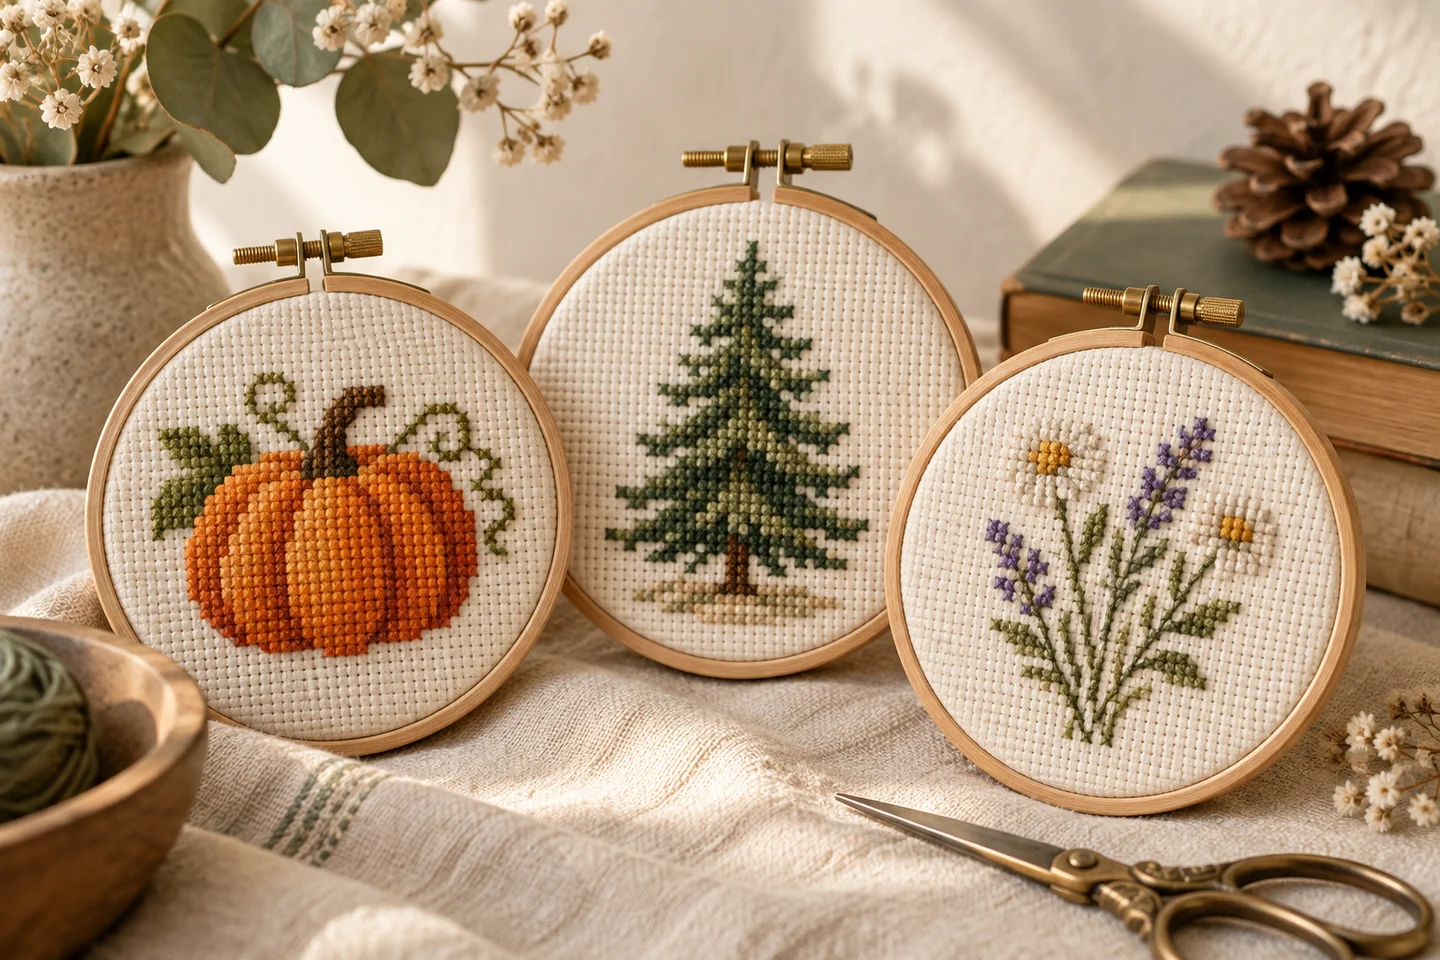
Look for full crosses and clearly separated shapes. Tiny ornaments, backstitched snowflakes and blended metallics add techniques that may be less relaxing for a first project. A limited green, warm brown and gold palette can communicate a tree effectively. Check the chart rather than relying on a styled photograph of the finished object.
Plan for the actual deadline
Work backward from the date the gift needs to be ready, allowing time for finishing. Count the stitches and estimate a few typical sessions. The sewing, mounting or card-making stage may take longer than expected, especially when you are trying a new method. Avoid choosing a much larger pattern simply because it is labeled beginner.
Think about fabric and contrast
White stitches on white fabric can disappear unless surrounded by darker shapes. Dark fabric gives strong contrast but may be harder to count. Test thread colors on a scrap under the light you will use. If you change the recommended fabric color, check that every important part of the design remains visible.
Finish one before making a set
Stitch and finish a single ornament before cutting fabric for several more. This reveals the margins and handling space your chosen finish really needs. Our Winter Fir is a small original full-cross chart with unstitched background. Its PDF is free and never requires checkout. Use the fabric calculator for your chosen count and leave enough spare cloth for the ornament construction. Once one is complete, repeat the process with measured fabric cuts rather than guessing.
Choose a seasonal shape that reads clearly
A beginner Christmas pattern should be recognizable without depending on tiny details. A fir tree, star, simple heart or small cottage can work well because its main silhouette is easy to check against the chart. Look for full crosses, distinct colors and manageable areas of each shade. A pattern can look simple in a finished photograph while containing many isolated stitches, so inspect the actual chart before deciding that it suits your first seasonal project.
The Winter Fir and Nordic Star charts offer original motifs to explore. Compare their grid dimensions and color placement with the time you have available. Choose one that gives you a useful practice goal, such as counting a symmetrical shape or keeping diagonal branches even. The beginner pattern selection guide explains how to judge difficulty from the chart itself instead of relying on a label such as easy, quick or miniature.
Plan backwards from the finished gift
Seasonal stitching often has a fixed deadline, which makes the finishing method part of the initial decision. A card, hanging ornament and framed picture require different materials and amounts of assembly time. Decide which object you want to make before cutting the fabric. Include time for checking the stitching, following the materials' care instructions, drying if needed, pressing appropriately and constructing the finish. Those steps should not become an unexpected task on the day you intend to give the piece away.
If you are making several gifts, complete one sample before starting the whole set. That sample reveals whether the motif fits the card aperture or whether the ornament needs a larger backing. Use its actual completion time as a more useful guide than a generic promise that the pattern takes an evening. The time estimator can support planning, but your pace and the finishing process determine the schedule. Leave room for an ordinary mistake or a material substitution rather than planning every minute at maximum speed.
Pick fabric that supports counting and contrast
A clearly woven fabric helps a beginner see where each stitch belongs. Choose a count you can work comfortably in your normal lighting, and check the pattern's intended stitch method. Higher count does not automatically mean a better result; it creates smaller stitches and a smaller finished design for the same grid. If you use evenweave over two threads, account for that effective count when calculating the size. The fabric count guide explains this distinction.
Fabric color also changes a seasonal palette. White snow on white cloth may need an outline or a different background to remain visible, while deep green on dark green fabric can lose its silhouette. Test thread against the actual material rather than relying on a screen preview. If the chart leaves background cells unstitched, the cloth becomes a deliberate color in the design. Use the fabric size calculator after choosing the final count, then add enough margin for the particular finish you have planned.
Keep festive colors practical for a first project
Red, green, cream and gold can suggest the season without requiring many shades. A restrained palette makes it easier to organize thread and notice a misplaced color. If a design calls for a specialty thread, consider whether its handling suits your experience and whether a standard cotton substitution preserves the appearance you want. Check the designer's instructions and make a small sample before changing materials. A metallic-looking screen color does not mean the chart requires metallic thread.
The site's generated palettes provide generic visual colors, not verified manufacturer shade codes. Choose actual floss using physical samples or reliable product information and keep the labels with your project. For a group of matching ornaments, buy enough of prominent colors together when consistency matters. The floss planning guide explains why starts, stops and scattered accents affect consumption. Do not assume a tiny ornament uses negligible thread if its design requires frequent color changes and individually secured small groups.
Use symmetry as a check, not a shortcut
Trees and stars often contain repeated shapes that make counting easier to verify. After completing one branch or point, compare its position with the centerline and the surrounding empty cells. Check the chart before mirroring it automatically, because highlights and decorative accents may intentionally differ from side to side. Symmetry can reveal a counting mistake, but it should not replace reading the pattern. Keep the same top-stitch direction across the design so repeated areas reflect light consistently.
Start from a known point and count short distances whenever possible. If you cross a large open space to reach a separate ornament or star, verify the destination horizontally and vertically before making several stitches. The counted cross stitch explanation covers that method. Correct a small shift promptly instead of changing later branches to hide it. In a compact geometric motif, a one-cell error can alter the overall balance more than it would in a large, loosely shaded background.
Add a name or date only after planning the space
Personalization can make a simple seasonal motif feel specific to its recipient, but it adds width or height that needs to be included in the fabric calculation. Write the exact text first, generate or draw its chart, and place it on a master grid with the motif. Leave a deliberate gap between the picture and the lettering. Do not stitch the tree first and assume a name will fit somewhere underneath on the remaining cloth.
The alphabet tool supports original uppercase A–Z lettering and spaces in three scales. Dates and unsupported characters need a separately planned chart rather than an assumption that the tool includes every symbol. Check spelling and layout carefully before stitching a gift. The personalized alphabet project guide explains how to align text with a motif and choose a clear visual hierarchy. A short initial or name may work better on a small ornament than a long message reduced until it becomes difficult to read.
Match the chart to its printed pages
Download the actual chart document rather than stitching from a decorative photograph or an AI-generated article illustration. The chart contains the grid and legend needed to place each stitch. Check that its symbols remain readable when printed, especially pale colors and fine grid lines. Print a test page before using a large amount of paper or beginning a project. Keep the legend beside the working page and verify that both belong to the same chart version.
For a multi-page chart, understand how the pages join before stitching across a boundary. The site's custom chart pages use labeled coordinate ranges without an overlapping stitch region, so repeating an edge row would introduce an error. Small public motifs are simpler to handle, but still deserve a quick completeness check. The print and read charts guide gives a practical review sequence. If the printed symbols are too small, improve the reading setup rather than guessing at similar marks under poor light.
Finish the first piece before increasing the difficulty
A completed small decoration teaches the whole process: planning, counting, thread management and assembly. Before moving to a more detailed seasonal chart, inspect what worked and what caused frustration. Perhaps the fabric count felt too fine, the thread changes were frequent or the backing needed more allowance. Use those observations to choose the next project. Progress does not have to mean a much larger chart; one extra color or a new finishing method can provide a worthwhile next challenge.
Store the final chart, fabric count and thread labels together if you may make matching pieces next year. Keep unfinished work clean and clearly labeled so it is easy to resume. For more downloadable options, read the free Christmas chart guide and compare original patterns by their actual stitch requirements. A modest design finished carefully is a satisfying seasonal project, and a realistic plan leaves more time to enjoy the stitching rather than treating the final days before the occasion as a race.
Cross stitch fabric size calculator · Download the original winter fir pattern
Examples, diagrams and planning estimates are original Cross Stitch Creator content.