
Cross stitch kits make a first project easier when the chart and materials match. Learn what a useful kit includes, when separate supplies are better, and what to skip.
Start with fabric and chart
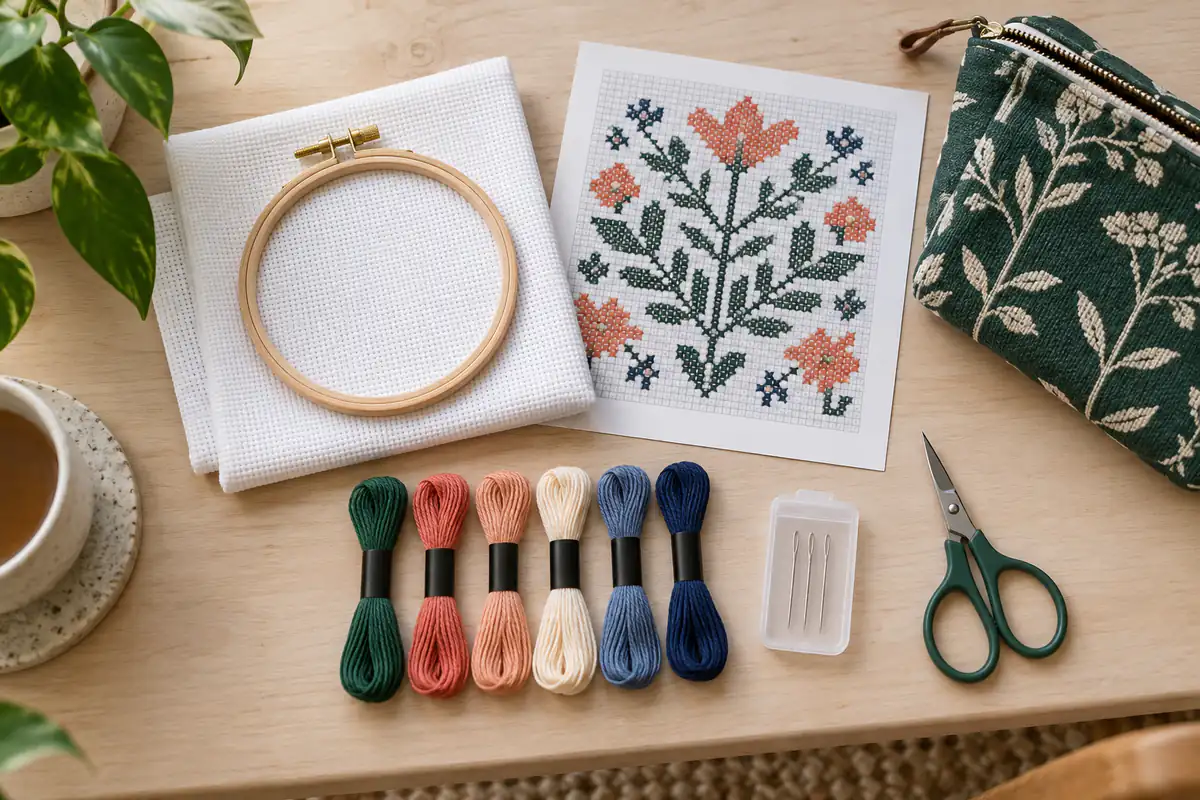
Choose a clearly readable full-cross pattern and the fabric count it recommends, or calculate the new size if you change it. Aida’s visible blocks make counting straightforward for many beginners. Buy enough cloth for the design plus handling and finishing margins. A chart’s stitched dimensions are not the size of fabric you should cut.
Choose compatible thread and needle
Stranded embroidery cotton can be separated into individual strands. Follow the chart’s strand recommendation and test coverage on a scrap. A blunt tapestry needle should pass through the holes without forcing them open and carry the working thread without excessive friction. The right fit depends on both fabric and thread, so avoid choosing by a single universal needle rule.
Add a few practical helpers
Sharp small scissors make thread ends easier to handle. A hoop or frame can hold the fabric comfortably, though some stitchers prefer working without one. Keep labeled thread storage so similar shades do not become mixed. A paper chart, pencil and good task lighting are often more useful at the start than a large collection of accessories.
Use what you learn before expanding
Stitch a short sample, observe the tension and check whether you can see the fabric holes comfortably. If the setup feels difficult, improve lighting or try a different fabric count before buying a larger project. Our Little Heart PDF is free and compact. Use its dimensions in the fabric calculator, choose physical floss that matches the generic swatch, and keep the real thread label. You can add specialized tools later when a particular project gives you a clear reason to need them.
Build the kit around one actual project
A useful beginner kit contains what the chosen chart needs, rather than every accessory available in a craft shop. Start with the chart, fabric, thread, a suitable needle and scissors. Add a hoop or frame if it helps you hold the work comfortably. The pattern's dimensions and instructions should guide quantities and material choices. Buying supplies before choosing a design can leave you with attractive items that do not work together or enough thread in the wrong colors.
Pick a small original chart from the free pattern library and read it completely before shopping. The Little Heart is one option for practicing basic counting with a compact shape. Write a short project-specific list, then compare it with materials you already own. The beginner guide explains the first stitching steps so you can distinguish essential equipment from optional conveniences. You can expand the kit later when a repeated difficulty shows which accessory would genuinely improve your work.
Select fabric by count, condition and finish
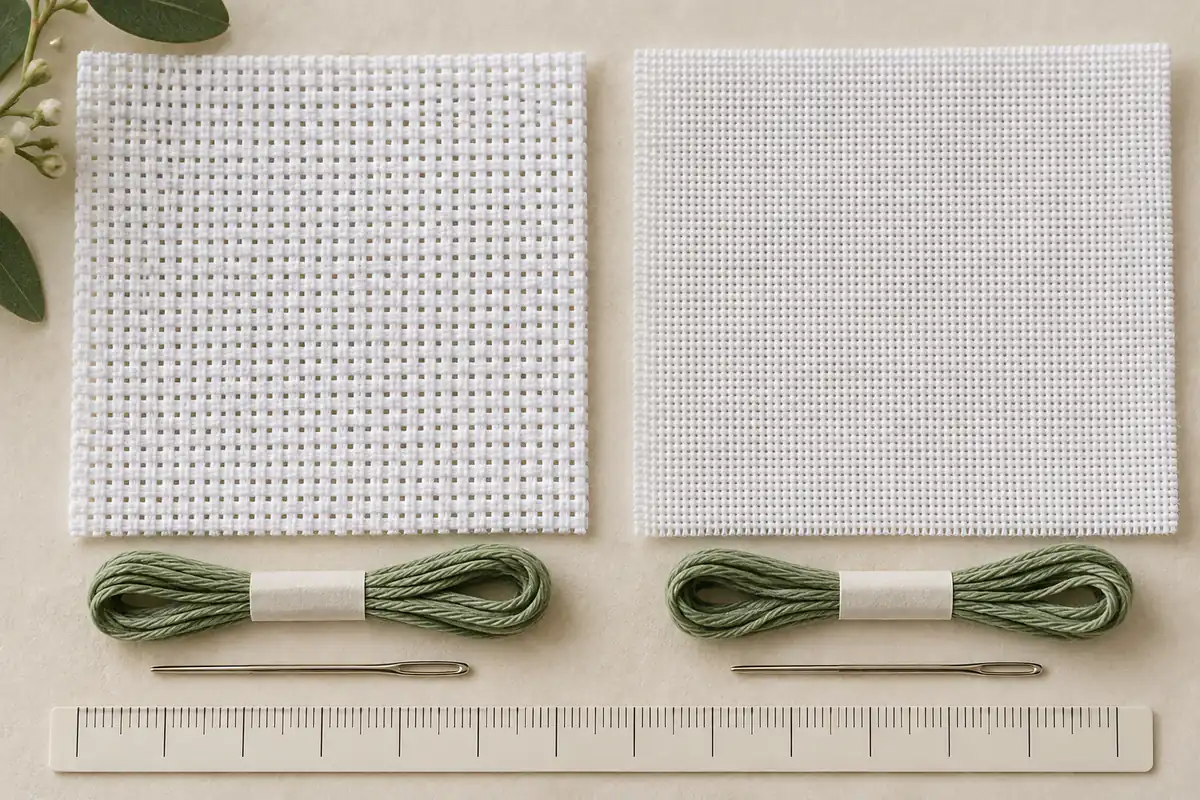
Fabric count affects the size of the stitches and the finished design. Choose a clearly woven fabric that is comfortable to see in your normal working light. Higher count makes a given chart physically smaller but may require more visual concentration. Check whether the pattern expects stitching over one block or over two threads. The Aida and evenweave guide explains why nominal count and effective stitches per inch are not always the same number.
Calculate the required cut size with the fabric size tool, including the margin needed for handling and finishing. Inspect remnants for distortion, marks and frayed edges before assuming their entire area is usable. If you buy a precut, confirm its actual dimensions and care instructions. Fabric color is also part of the design when background cells remain unstitched. Place your intended floss against the cloth before starting so pale details and dark outlines do not disappear against an unsuitable background.
Match the needle to the fabric and thread
A needle should pass through the fabric comfortably while carrying the intended number of strands. For counted cross stitch on an open, regular weave, a blunt tapestry needle is commonly used because it finds the holes without deliberately piercing the fabric threads. Choose a size compatible with the cloth and thread rather than forcing a thick bundle through a small eye. If the needle visibly stretches holes or is difficult to pull, reassess the combination and your tension.
Keep spare needles because a bent, rough or damaged one can snag thread and make stitching frustrating. Store them securely when not in use and check your work area before putting a project away. A needle minder or case can be convenient, but the essential habit is knowing where the needle is. Follow any special instructions for techniques that require a different needle. A chart containing full crosses is simpler for a first project than one that introduces several stitch types and tool changes at once.
Choose and label the actual floss
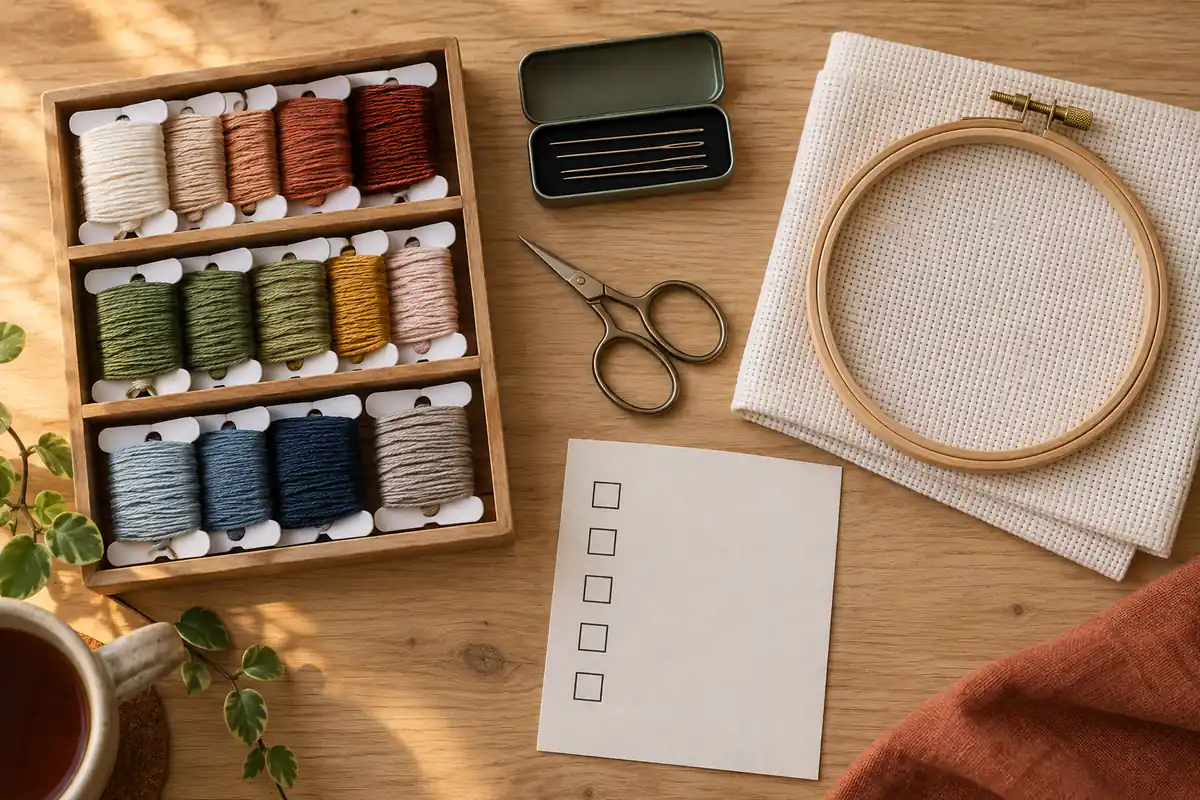
Use the thread type and strand count appropriate to the pattern and fabric. Stranded embroidery cotton can be separated into individual strands, allowing the working thickness to be adjusted. Separate the required strands before threading rather than pulling an uneven bundle through the fabric. Keep each color's label with the remaining floss so similar shades do not become anonymous remnants. A small organizer can help, but clear identification matters more than owning a particular storage system.
The site's generated palette colors are generic visual references, not verified manufacturer thread codes. Choose physical floss with enough contrast to preserve the chart's shapes, and record your substitutions. The color selection guide explains how to compare light and dark values. Estimate quantities with the floss estimator, allowing for tails, travel and mistakes. Check the length on the product packaging rather than assuming every skein or specialty thread contains the same amount of usable material.
Decide whether a hoop or frame helps
A hoop or frame can hold the cloth open and make the holes easier to see, but it should support the fabric without distorting the weave. Test a comfortable size for your hands and the project. A very large hoop may expose more stitches while becoming awkward to hold, whereas a small one may need repositioning. Keep tension even and avoid stretching the cloth so hard that the grid changes shape. Your stitches should rest on the fabric without compressing it.
Some stitchers prefer to work in hand, particularly on smaller pieces. The choice depends on comfort, fabric and technique rather than a universal requirement. If you use a hoop, follow suitable care practices for the material and avoid trapping finished stitches carelessly. Leave enough fabric outside the design for holding or mounting. The fabric margin guide explains why the usable working area is larger than the stitched rectangle, especially when a small motif will later be displayed in a different hoop or frame.
Make the chart and lighting easy to use
A readable chart is part of the working kit. Print or display it at a size where symbols and grid boundaries are clear. Keep the legend accessible and use a progress-marking method that does not obscure information you may need to revisit. On a multi-page chart, confirm the page order and coordinate ranges before starting. A magnified chart changes readability, not the physical size of the stitched design; that still depends on the chart's cells and fabric count.
Arrange lighting so you can distinguish thread shades without glare on the chart or deep shadows over the fabric. Similar colors may look different under daylight and warm artificial light, so check uncertain choices in neutral conditions. The printing and reading guide offers a chart review routine. If you need visual assistance, adapt the work setup to your comfort instead of compensating by guessing symbols or pulling the fabric closer for long periods. A comfortable setup supports both accuracy and enjoyment.
Add optional tools only when they solve a problem
Thread organizers, project bags, line markers, magnifiers and fabric-gridding materials can be useful, but each should answer a real need. If colors are getting mixed, improve labeling. If the chart is hard to follow, try a clear line guide or a larger display. If supplies scatter between sessions, use a dedicated container. Buying several accessories at once makes it harder to discover which change actually improved the process and can turn a simple first project into unnecessary preparation.
Test any marking pen, adhesive or cleaning product on a scrap of the actual material before using it on the project. Do not assume a temporary-looking mark will disappear reliably from every fabric. Keep finishing supplies separate until you know the intended construction method. The mini project guide is useful for testing a complete workflow with a small amount of material. A simple, well-organized kit that you understand is more practical than a large collection of unfamiliar tools introduced during the same project.
Store the work with enough information to resume
Before putting a project away, secure the needle, protect the fabric and keep the chart with its matching thread labels. Note the chart version, fabric count, strand count and any substitutions. Mark progress clearly enough that you can resume after a longer break without relying on memory. If you have several projects, avoid moving unlabeled thread between them. Similar colors can look identical in a storage box but create a visible patch when mixed in a large stitched area.
When the project is finished, retain the useful notes and leftover floss for repairs or a coordinating piece. Review which supplies were essential and which were never used before buying for the next design. Use the beginner pattern guide to choose one new challenge at a time. A dependable kit grows from completed projects: accurate measurements, clearly labeled materials, comfortable tools and a readable chart give you a stronger foundation than accumulating equipment without a specific stitching purpose.
Cross stitch fabric size calculator · Download the original little heart pattern
Examples, diagrams and planning estimates are original Cross Stitch Creator content.