
Calculate the stitched area first, then add the fabric needed around it. Forgetting margins is a common reason a correctly sized design becomes difficult to frame.
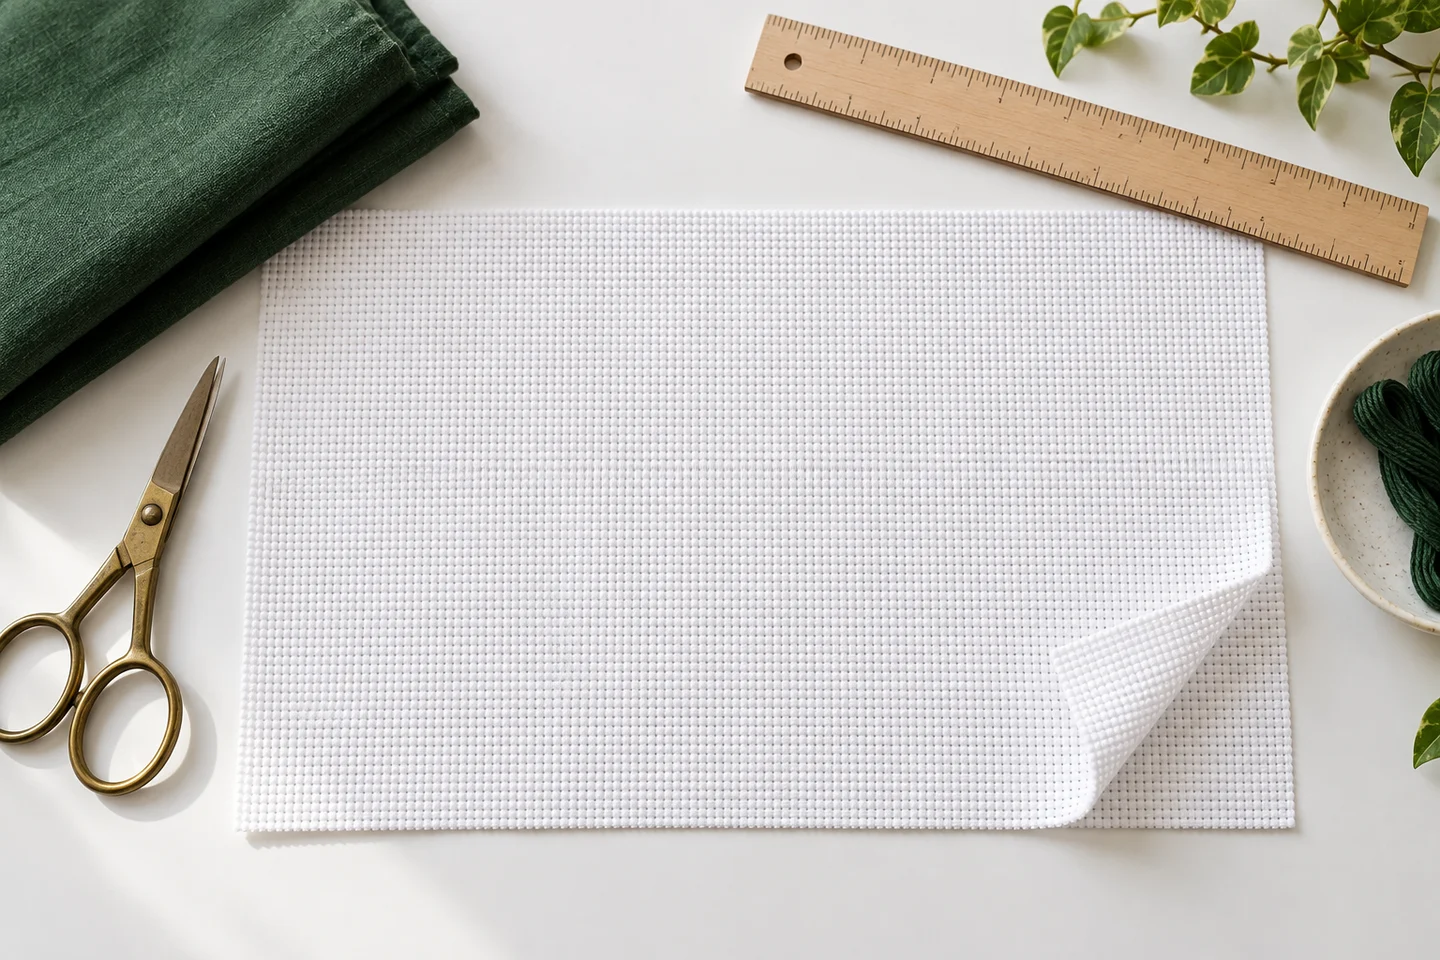
Read the chart dimensions
Use the complete stitch width and height, including any border. Do not measure a screenshot or the printed chart with a ruler: charts are often enlarged for readability. The formula for Aida is stitches divided by count. A 140 × 98 chart on 14-count fabric measures 10 × 7 inches.
Add margins on both sides
A three-inch margin means three inches to the left and three to the right, not three inches total. For the 10 × 7-inch example, this produces a 16 × 13-inch fabric cut. This is a planning allowance, not a universal framing requirement. Your framer, hoop or finishing method may need a different amount.
Handle over-two and metric units
For over-two stitching, multiply stitch dimensions by two before dividing by the fabric’s thread count. A 140-stitch width on 28-count evenweave over two is ten inches. Convert inches to centimeters by multiplying by 2.54. Keep the unrounded calculation until the last step and round the fabric purchase upward.
Check before you cut
Confirm the actual fabric count on the piece, account for any known shrinkage, and decide how the fabric grain should run. Mark the design’s intended position lightly with a safe, tested method. If the piece is an irregular offcut, measure the usable rectangle rather than the longest edge. Our fabric-size tool shows both stitched and cut dimensions. Try it with Cozy Cottage, then adjust the margins for your planned frame. Cutting is irreversible; a quick second measurement is worth more than a tiny saving in fabric.
Separate the stitched design from the piece you cut
A fabric calculation answers two different questions: how much space the stitches occupy, and how much cloth the whole project requires. The first comes from the chart dimensions and effective fabric count. The second adds room for handling, mounting and finishing. Keeping those numbers separate prevents a common disappointment: a design that fits on the cloth but leaves no practical way to frame it. Write down the stitched width and height before adding any allowance.
For a chart measuring 140 by 196 stitches on 14-count Aida, stitched over one square, the design measures 10 by 14 inches. If you deliberately allow three inches on every edge, the cut piece becomes 16 by 20 inches. That three-inch choice is an example rather than a universal requirement. A small ornament, a hoop display and a professionally stretched picture may need different allowances. Start with the fabric size calculator, then confirm the finishing method before cutting valuable fabric.
Understand effective count before converting units
Fabric count describes the number of squares or threads in an inch, depending on the fabric. On Aida, one full cross commonly covers one block. On evenweave, a cross may cover two fabric threads. A 28-count evenweave stitched over two therefore gives fourteen stitches per inch. Treating it as twenty-eight stitches per inch would predict a design half the actual width and half the actual height. Always record both the nominal count and the number of threads covered.
The general calculation in inches is stitch count multiplied by the threads covered, divided by fabric count. Calculate width and height independently. Convert the resulting inches to centimeters by multiplying by 2.54; do not mix a centimeter margin with an inch design measurement. The Aida count guide explains how count affects the physical result. If a pattern specifies over-two stitching, preserve that instruction when trying alternative fabric in the calculator rather than silently switching to over one.
Measure an actual piece when its count is uncertain
A label is useful, but an unmarked remnant deserves a physical check. Lay the cloth flat without stretching it and place a ruler along a straight woven line. Count complete blocks across several inches, then divide by the measured length. A longer sample reduces the effect of misidentifying a boundary at one end. Repeat across the other direction, especially for fabric that looks uneven, has been washed, or has been stored under tension.
For example, forty-two complete Aida blocks across three inches suggests fourteen blocks per inch. Count spaces between the grid boundaries consistently instead of counting both boundary holes as extra blocks. If the horizontal and vertical results differ, use the measurements to assess whether the fabric suits a design that must remain square. A geometric border exposes distortion more readily than a loose floral motif. Make a stitched sample when precision matters; a calculator cannot diagnose fabric stretch, manufacturing variation or the effect of your tension.
Plan the border on each edge rather than in total
A margin entered per side is added twice to each dimension. Two inches on the left plus two on the right adds four inches to the width. The same applies above and below. Confusing a total allowance with a per-edge allowance is one of the easiest ways to buy too little cloth. Sketch a rectangle with the four margins labeled if the numbers feel ambiguous. This is especially helpful when converting a finishing tutorial that uses different terminology.
Not every finish needs equal margins. A hanging may need extra fabric at the top for a sleeve, and an asymmetric mat may shift the design away from the geometric center. The general calculator is a starting point for a rectangular, evenly bordered piece. For a custom finish, add each required edge separately and mark the intended design position before stitching. Read the framing and fabric margin guide before trimming a finished piece; excess cloth is much easier to manage than a missing mounting edge.
Choose the design placement before starting
Finding the cloth center and chart center is a practical way to distribute equal margins. Fold the fabric lightly in each direction or measure and mark with a removable method tested on a scrap. Then locate the corresponding center on the chart. An even number of stitches places the center between two rows or columns, while an odd number has a central row or column. That small distinction matters when you count from the center to a starting corner.
You can start at a corner if you prefer, but calculate its position from the intended design boundary rather than the raw fabric edge alone. Unevenly cut cloth or a fraying selvedge can make that edge unreliable. Baste a guide outside the stitched area if it helps you maintain orientation. For an initial practice piece, the Little Heart pattern makes it easy to see the relationship between the chart rectangle, actual stitched motif and surrounding fabric without committing a large piece of material.
Allow for preparation without guessing shrinkage
Some stitchers prepare fabric before use; others follow the fabric supplier's instructions and avoid unnecessary washing. Dyed, printed, metallic or specialty fabrics may have particular care requirements. Check those requirements before assuming every piece can be soaked or pressed. If washing is part of the planned process, prepare a sample and measure it before and after. A generic shrinkage percentage is not a substitute for knowing how the particular fabric behaves.
Do not compensate for uncertain shrinkage by changing the chart stitch count. Keep the design dimensions fixed and choose a cut size that accounts for your tested preparation and finishing needs. If you have only a small remnant, measure the usable area after preparation rather than relying on the package size. Exclude damaged edges, uneven areas and places where a previous hoop or stitch has left a permanent mark. This conservative approach is particularly useful for centered lettering, where even a modest placement error is visually obvious.
Check the purchase size against the usable size
Fabric is sold in precuts, strips and lengths, and a named size may be approximate. Compare the required rectangle with the actual dimensions supplied by the seller. A design that requires a sixteen-by-twenty-inch cut does not safely fit a piece measuring exactly those dimensions if its edges are irregular or need trimming. Look at the product description, orientation and measurement units before ordering. When in doubt, ask for the usable dimensions rather than assuming the label includes a trimming allowance.
Turning the chart ninety degrees does not reduce its area, but it can change whether the rectangle fits a particular offcut. For ordinary evenly woven Aida that may be practical; for printed or directional fabric, rotation changes the background appearance. Check both dimensions rather than comparing only total area. A long narrow piece can have enough square inches and still fail to accommodate a nearly square chart. Keep a simple cutting sketch for multiple projects so that the largest pieces are allocated before smaller remnants.
Make a reusable project measurement record
Record the chart name, stitch width, stitch height, fabric count, stitching over one or two, calculated design size and chosen margins. Add the actual cut size and a note about preparation. This small record helps when you return to an unfinished project or want to reproduce a gift on different fabric. It also gives a framer useful information without requiring them to interpret your entire chart. Save the chart version alongside it so later design edits do not invalidate the measurements.
Before the first stitch, run one final comparison between the paper calculation and the physical cloth. Before the first cut, measure again. If you change count after choosing a frame, use the count converter to see the new dimensions and reassess the frame opening. If you change chart width in the photo pattern maker, calculate fabric again using the newly generated stitch dimensions. A reliable fabric plan follows the final chart, not the first preview you happened to like.
Cross stitch fabric size calculator · Download the original cozy cottage pattern
Examples, diagrams and planning estimates are original Cross Stitch Creator content.