
Designing on a grid makes every choice concrete. Begin with a simple silhouette and a small palette, then check the chart one stitch at a time.
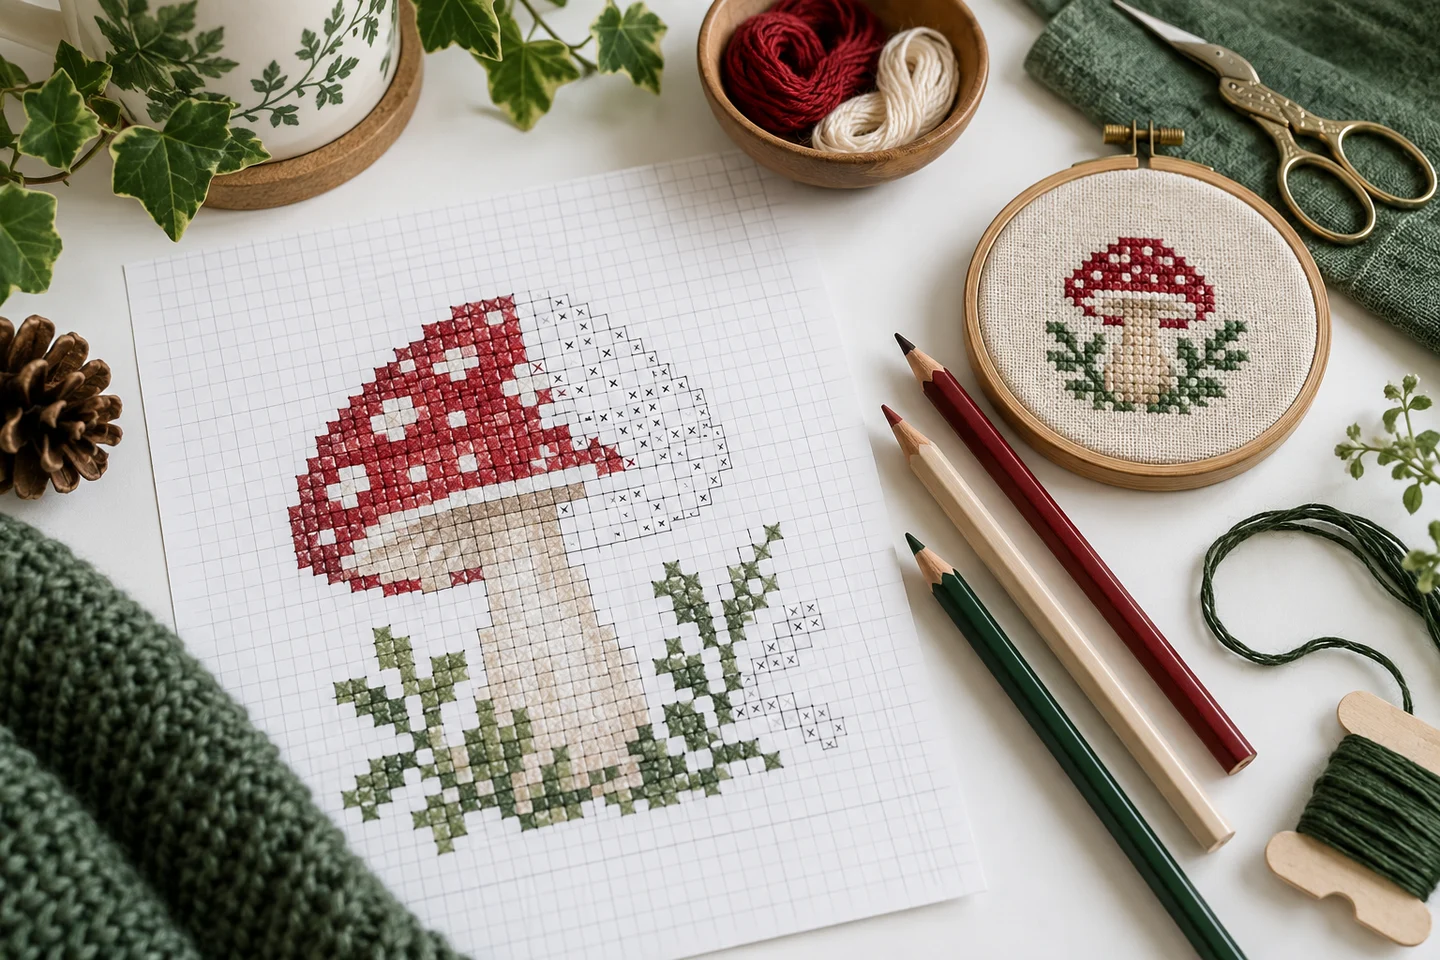
Define the finished project
Decide whether you are making a card insert, ornament, patch or framed piece. Convert the available stitching area into stitches using the fabric count. For example, a three-inch-wide area on 14-count Aida holds 42 stitches. Leave additional fabric outside that area for the intended finish; the design boundary is not the cutting boundary.
Sketch a strong outline
Print a blank grid and mark a center line. Draw the main shape with full squares before adding details. Step back to see whether the silhouette is recognizable. Symmetry can help with counting, but deliberate asymmetry often makes plants and small decorative motifs feel more natural. Keep an untouched copy before trying a major revision.
Add colors with a purpose
Use colors to distinguish parts of the motif or establish a light-dark hierarchy. Avoid adding a new thread for one cell unless that cell matters. Check whether small enclosed gaps look intentional. A one-square hole in a solid shape may be a useful highlight or simply a distracting accident.
Make the chart stitchable
Assign a unique symbol to every color and label the total width and height. Note whether blank squares are unstitched fabric. Count the filled cells for each color so you can estimate floss. Stitch a small sample if the design relies on a narrow line or a delicate color difference. The free Little Heart is a useful scale reference, but create your own arrangement rather than tracing somebody else’s copyrighted chart. Save your editable grid and export a clear working copy for the actual stitching.
Start with a design brief measured in stitches
Before drawing, write down the object you want to make and its practical limits. A bookmark may offer only a narrow strip; a greeting card may have a fixed window; a framed piece may allow a much larger rectangle. Measure that usable opening and choose your fabric count. A two-inch width on 14-count Aida gives twenty-eight stitches. That is enough for a clear small motif, but not for every detail in a realistic illustration. Treat the available grid as a creative constraint rather than something to ignore until the finishing stage.
Choose one main subject and one visual priority. For a tiny house, that priority might be a recognizable roof and doorway. For a heart, it might be a smooth-looking outline at a small scale. The fabric calculator connects the chart to physical dimensions, while the blank grid maker gives you a paper workspace. Keep the stitched boundary separate from the fabric cutting boundary. You will need additional cloth outside your design even when the drawn motif fits the intended opening perfectly.
Build a silhouette before adding decorative details
Fill the main shape with one color first. This reveals whether the subject is recognizable without shading. A small leaf can be suggested by a few stepped rows, whereas a flower with many tiny petals may need more space. Look at the silhouette from a distance and at approximately its finished size. An enlarged grid makes every individual square look important, but viewers normally see the overall shape before they notice the precise steps along an edge.
Try two outline versions on separate grids rather than repeatedly erasing the only copy. Change the length of a stem, the width of a roof or the spacing between petals, then compare the alternatives. Avoid adding a new color to compensate for a fundamentally unclear outline. The mini pattern guide discusses subjects that remain readable with few cells. Our Little Heart provides a useful scale reference, but your own design should use an original arrangement rather than tracing a copyrighted chart you found elsewhere.
Use symmetry as a tool, not an automatic requirement
A center line can simplify the construction of hearts, stars and repeating borders. Draw one side, count its distances from the center, and mirror those cells onto the other side. Decide whether the design has an odd or even width before you begin. An odd-width grid has a central column; an even-width grid has a center between two columns. That difference affects the top point of a star, the middle of a letter and the balance of a small geometric motif.
Symmetry is not always the most natural choice. A flower may benefit from a leaf on one side and a smaller leaf on the other. The important distinction is between intentional asymmetry and an unnoticed counting mistake. Record the intended outline clearly so that a future stitcher does not “correct” your design back to symmetry. If you add lettering, center the complete word rather than the first letter. The lettering guide explains how character widths and gaps affect the final arrangement.
Make empty fabric part of the composition
Unstitched cells are not wasted space. They can separate petals, define the inside of a letter or keep a border from crowding the main subject. Decide explicitly whether a pale region is white thread or exposed fabric. These may look similar in a screen preview but behave differently on colored cloth. White thread creates a stitched surface, while blank cells reveal the texture and color of the ground beneath them.
When two motifs are separated by four blank columns, those columns remain part of the chart dimensions. Do not remove them while counting simply because no thread is placed there. Open designs may use less floss than full-coverage pictures but demand careful positioning across gaps. A small test chart can help you judge how much negative space feels comfortable. The grid-size explanation distinguishes the bounding rectangle from the actual number of filled stitches, an important difference when planning materials and estimating the work involved.
Add a palette with a clear role for each color
Choose colors that separate the design’s components. A dark stem, medium-value petals and lighter center can communicate a flower without a large palette. Before adding a fourth or fifth color, identify what it contributes: a shadow, a highlight, a border or a distinct object. If you cannot see a useful difference at normal viewing distance, the additional thread may create work without improving the design. This is especially relevant for motifs intended to be quick beginner projects.
Compare actual floss samples together when possible. Digital swatches are not calibrated thread standards, and two colors that look distinct on a bright screen may merge under your stitching light. The generic palette finder is a planning aid rather than a branded thread catalog. Record the physical thread labels you eventually use. If you publish a chart with a generic palette, explain that clearly instead of inventing manufacturer codes. A trustworthy key helps another stitcher make sensible substitutions without mistaking an approximate digital color for an exact commercial match.
Turn the drawing into a chart somebody else can follow
Give every used color a distinct symbol. Add the full width and height, a legend, the intended fabric count and any strand assumptions. State whether all stitches are full crosses and whether blank cells are unstitched. These details may seem obvious while the design is fresh in your mind, but they are easy to forget months later. Clear instructions also make your chart more useful if you give it to a friend as a small personal project.
Count each color row by row and record the result. Check that the total matches the number of filled cells. A twenty-by-twenty grid can contain at most four hundred full stitches, but an open motif may use much less. Use the floss estimator for a documented planning quantity, and keep its assumptions with your notes. If the chart spans several printed pages, give every section global coordinates. The chart-generator guide explains why stable symbols and page boundaries matter as much as the cover preview.
Test the design at its intended physical scale
Print the chart at a readable size, but judge the motif at the scale it will have on fabric. A one-cell highlight that looks prominent on paper may become very subtle on a high-count cloth. Stitch a sample of the most uncertain area: a narrow curve, a close color pair or a small letter. You do not always need to stitch a whole prototype to learn that an important detail needs another row or stronger contrast.
Review both appearance and process. Are there unnecessary isolated stitches? Does the route force long carries across blank fabric? Can you identify each symbol after marking progress? Adjust the chart while the changes are small and record its version so you know which file is current. If you revise the dimensions, recalculate fabric and margins. A design that is only two stitches wider may still need a different layout in a tight card window. Finish the working file before cutting the final piece of cloth.
Questions to settle before sharing your original chart
Can a simple design still be original? Yes. Originality can come from your arrangement, proportions and particular grid decisions, even when the subject is a familiar flower or house. That does not give permission to trace another designer’s specific chart. Can you use a photo as a reference? Use an image you own or have permission to adapt, and expect to simplify it rather than transferring every visible detail into a tiny grid.
Do you need professional software to begin? No. A blank grid, a limited palette and clear instructions can produce a usable full-cross chart. Software becomes helpful for counting, editing and export, but it does not replace design judgment. Keep your source grid, a dated revision note and a readable PDF together. If the design is a gift, include material suggestions and the intended finish without presenting untested estimates as guarantees. A small chart that another person can follow confidently is a better first result than an ambitious image with missing instructions.
Blank cross stitch grid maker · Download the original little heart pattern
Examples, diagrams and planning estimates are original Cross Stitch Creator content.