
The fabric outside your stitches is working space and finishing material. Decide how the piece will be displayed before trimming it close to the design.
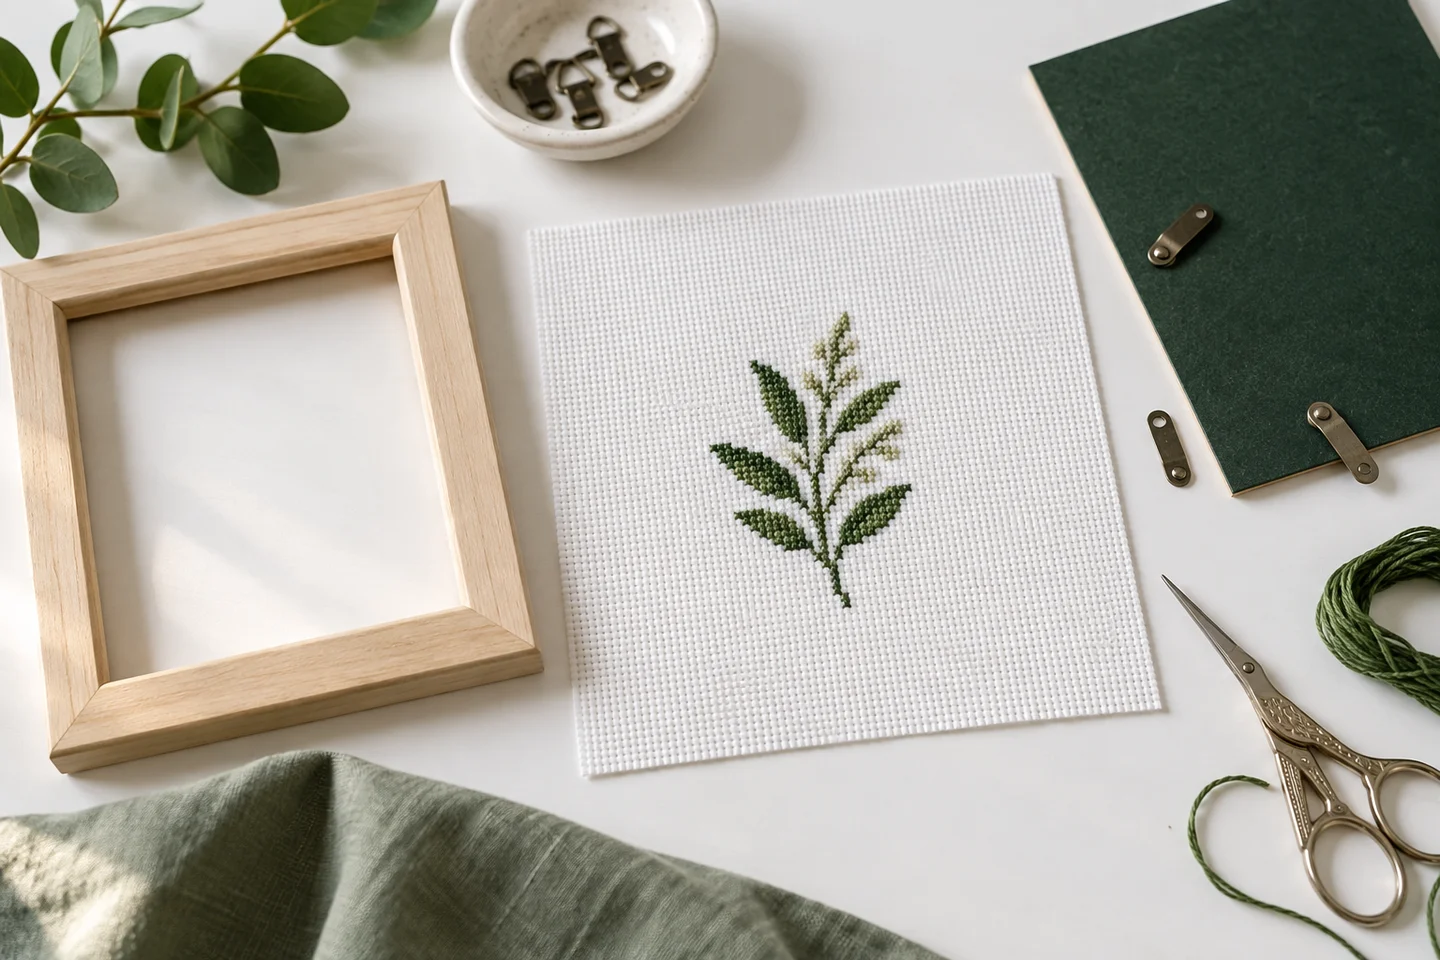
Separate three measurements
The stitched rectangle is the area occupied by the chart. The visible opening is what the frame or mount will show. The fabric cut includes additional cloth for handling, mounting or sewing. These measurements may all differ. A border can be partly hidden if you assume the frame opening equals the stitched size.
Calculate a planning margin
A common planning choice is several inches per side, but the correct allowance depends on the finish. Our calculator lets you set that margin explicitly. A ten-inch-wide design with three inches on each side needs sixteen inches of fabric width. Ask your framer about mounting requirements before making an expensive or irreversible cut.
Check the placement on the cloth
Locate the design center and confirm that all sides retain the intended allowance. A slightly off-center start can consume one margin much faster than the other. For an existing piece, measure from the outermost stitches to the usable fabric edge in several places. Frayed or damaged cloth may reduce that usable area.
Handle the finished stitching gently
Follow the care requirements of the actual fabric and thread. Test colorfastness rather than assuming every material can be washed in the same way. Avoid crushing raised stitches during pressing, and let the piece dry fully before enclosing it. Mounting methods vary; choose materials suitable for textiles and seek a framer’s advice for valuable work. Use Cozy Cottage as a small planning example: calculate its stitched size at your chosen count, decide the visible border, then add the mounting allowance separately.
Separate the visible border from the mounting allowance
The fabric visible around a design and the fabric needed to secure it are different measurements. A frame may show an inch of cloth beside the stitches while requiring additional hidden material around a mounting board. A hoop finish may conceal the excess at the back. Planning only the visible border can leave too little fabric for the construction. Write down the stitched rectangle, the intended visible area and the full cut size as separate dimensions.
Use the fabric size calculator to establish the stitched width and height on the chosen effective count. Then consult the requirements of the finishing method or the person doing the mounting. A general margin is only a planning example, not a promise that every frame or technique will work with it. The fabric calculation guide explains how per-edge allowances add to both dimensions. Keeping these measurements distinct makes it much easier to adjust the display without accidentally removing material needed to secure the piece.
Measure the actual frame and opening
A retail frame size does not always describe the visible opening after a mat or inner lip is included. Measure the opening that will show the stitching and the space available for the mounted work. Check the depth as well as width and height if the finish includes a backing or spacer. A design can fit the advertised size while losing its outer stitches behind the frame edge. Test the placement before buying additional finishing materials or cutting the cloth.
If you already own a frame, use a paper rectangle representing the stitched area to explore the layout. Include the desired visible border and any mat opening. Check whether the design appears centered when seen through that opening rather than only against the outer frame. The grid size guide reminds you that the printed chart's dimensions are not the physical stitched dimensions. Base the paper template on the calculated or measured finished work, not on how large the chart happened to print.
Leave flexibility until the stitching is complete
It is usually easier to trim excess cloth later than to recover a missing edge. Keep a practical margin while stitching and avoid cutting to a final outline before the finishing method is settled. The fabric may need room for handling, temporary basting or a change in mounting position. A small shift in visual centering can also require extra material on one side. Conservative cutting gives you options when the completed piece looks slightly different from the initial plan.
This does not mean every project needs the same large allowance. A small sewn ornament and a professionally mounted sampler have different requirements. Decide the method, understand its steps and preserve the material it uses. For a mini project, make one complete sample before cutting fabric for a batch. The mini cross stitch guide explains that workflow. If a finishing tutorial specifies allowances, identify whether they are measured per edge or across the whole dimension so you do not halve them accidentally.
Center the design using reliable references
The center of an irregularly cut piece of cloth may not be the center of the usable mounting area. Establish the intended design rectangle and use its measurements to locate the stitches. For a symmetrical layout, align the chart center with the planned display center. For an asymmetric composition, inspect the visual balance as well as the mathematical center. A heavy flower on one side and light lettering on the other may need a deliberate placement choice within the opening.
Before securing the work permanently, test the position from a normal viewing distance. Measure the visible margins at several points and check that woven lines remain straight relative to the frame. Do not correct a crooked placement by pulling one corner excessively; that can distort both fabric and stitches. The lettering guide discusses visual centering for names, while the flower design article explains how open space affects a motif's balance. Keep the final alignment intentional rather than relying on an uneven raw edge.
Prepare the materials according to their care needs
Cleaning and pressing depend on the actual fabric, floss and specialty materials. Do not assume every stitched piece can be soaked, scrubbed or ironed in the same way. Read the suppliers' instructions and test uncertain materials on a scrap. Hand-dyed fabrics, specialty threads and added embellishments may need particular treatment. If a temporary marking product was used, follow its removal instructions before applying heat, and confirm that the marks are fully addressed before mounting the work.
Handle the completed piece with clean hands and protect the stitch surface during any preparation. Avoid flattening texture unnecessarily or stretching the weave while it is damp. If you are unsure about a valuable or delicate project, a professional familiar with textiles can advise on a suitable approach. The supplies guide encourages keeping material labels, which become useful at this stage. Those records tell you what the piece is made from instead of forcing you to guess based on appearance after the packaging has been discarded.
Choose mounting materials with the textile in mind
The materials behind and around the embroidery affect how it is supported over time. Select products intended for the chosen textile finishing method and follow their instructions. Be cautious about improvising with an unknown adhesive merely because it is convenient; test compatibility and consider whether the mounting needs to be reversible. A mounting board, backing and frame should work together without forcing the fabric into a space too shallow or too narrow for the completed assembly.
If a professional will frame the piece, discuss the design dimensions, available cloth margins and any special materials before trimming. Ask what they need for their preferred mounting method. For a home finish, practice the technique on an inexpensive sample first, especially when it involves folding, lacing or attaching a backing. The beginner project guide can help you choose a small practice chart. A successful sample gives you more useful information than applying an unfamiliar method directly to a project that took many hours to stitch.
Adapt the allowance to non-frame finishes
Hoops, cards, bookmarks and sewn hangings all use cloth differently. A hoop display needs material to secure at the back; a card aperture needs enough overlap behind the opening; a sewn piece needs seam and possibly turning allowances. Those construction areas are outside the visible design. Draw a simple cross-section or cutting sketch if the layers are difficult to imagine. Mark the stitch boundary, fold line, seam line and raw edge separately so their purposes remain clear.
For sewing-based finishes, the seam allowance guide explains why the sewing line and cut line are not interchangeable. For personalized gifts, the alphabet project article helps plan the motif and lettering before those finishing allowances are added. Do not let an attractive small piece tempt you to cut the cloth exactly around the visible stitches. The edge treatment is part of the object, and it needs its own space to produce a stable, neat result that can be handled or displayed comfortably.
Make a final check before trimming or securing
Lay out every component and verify the intended orientation. Check that the design fits the visible opening, the woven grid sits straight and all important stitches remain visible. Inspect for loose ends, missed stitches and temporary marks while the back and edges are still accessible. Measure twice before cutting. If the piece is a gift, confirm any name or date before the finishing process makes corrections difficult. These checks are easier when the cloth still has room to move.
Keep a record of the final cut size, visible border and mounting method with the chart. A photograph of the completed front and a note about the back assembly can help when you make a matching piece later. Use the fabric size tool again if the next version changes fabric count or chart dimensions; the previous cut size may no longer apply. Thoughtful margins support both appearance and construction, giving the design room to be seen and the fabric enough material to be secured without distortion.
Cross stitch fabric size calculator · Download the original cozy cottage pattern
Examples, diagrams and planning estimates are original Cross Stitch Creator content.