
Gauge connects stitch counts to physical dimensions. The same pattern can finish at different sizes when yarn, hook, tension or washing changes the number of stitches per centimeter.
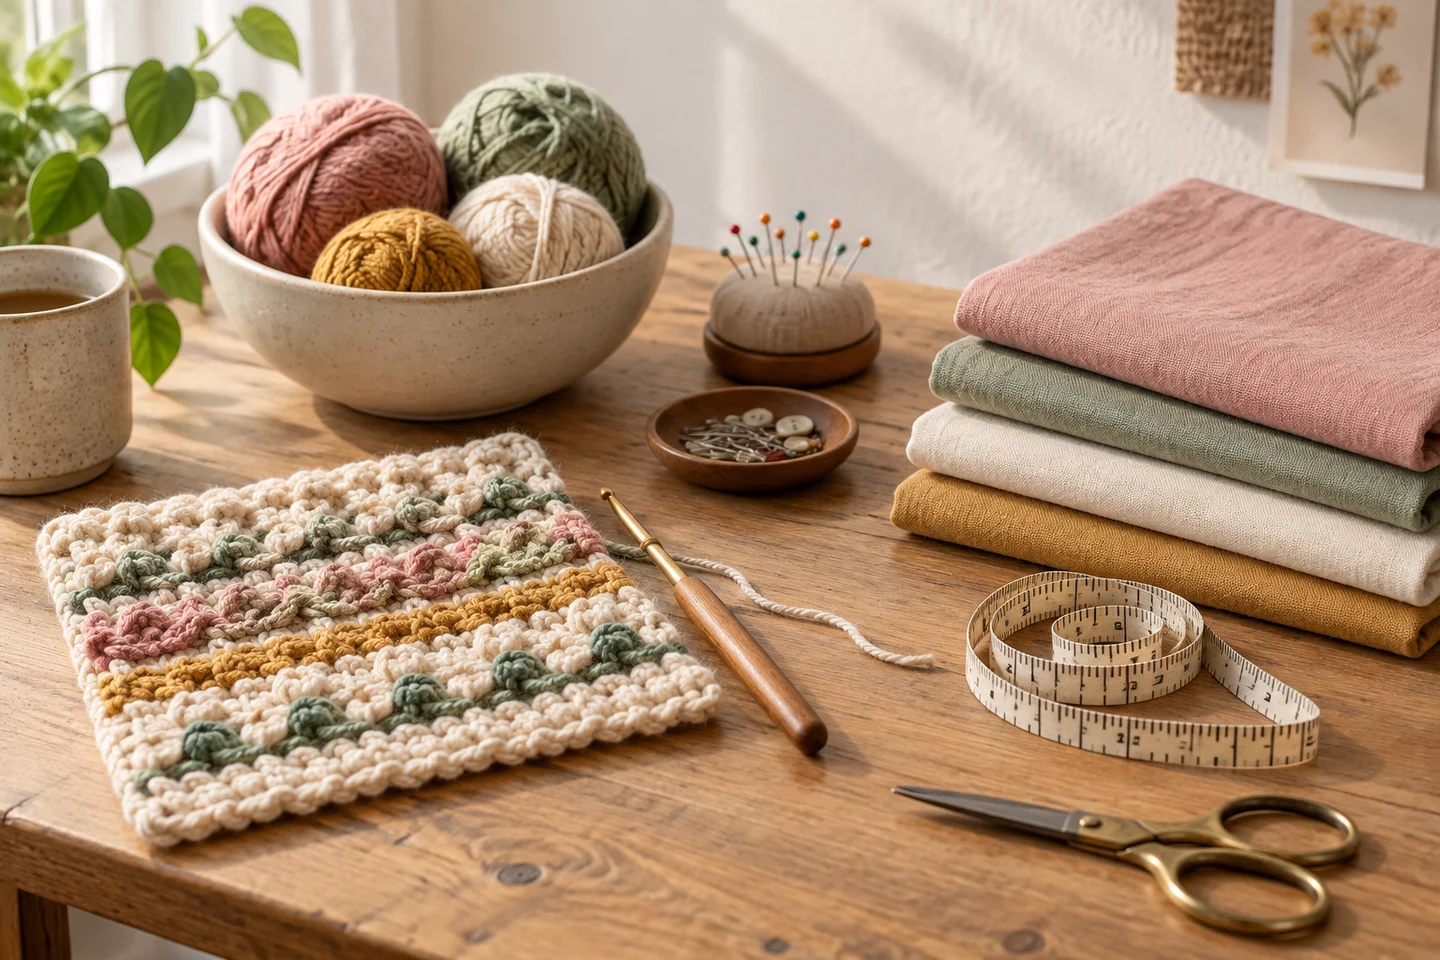
Measure a representative swatch
Make a swatch larger than the area you intend to measure. Use the actual stitch pattern and yarn combination, then wash and dry it as you will treat the finished piece. Measure away from the outer edges, which can distort the result. Record both stitches across and rows vertically; matching one does not guarantee the other.
Translate gauge into dimensions
If you measure 16 stitches over 10 cm, each stitch occupies about 0.625 cm. A panel 160 stitches wide will be approximately 100 cm across. If your gauge is instead 18 stitches per 10 cm, the same panel is about 88.9 cm wide. That difference can be substantial even though the stitch count is correct.
Adjust with the fabric in mind
Changing hook size may move the gauge toward the target, but it also changes the drape and density. Make another swatch and evaluate both size and feel. A technically correct gauge that produces an unsuitable fabric is not necessarily a useful result. Follow the pattern’s guidance when fit matters.
Use the calculator after measuring
Enter the measured swatch dimensions and counts, then the planned project stitches and rows. The calculator predicts size using those observations; it does not measure your tension automatically. The Craft Yarn Council’s gauge guidance explains why swatching and rechecking matter. Keep crochet calculations separate from cross stitch fabric count: crochet gauge comes from your made fabric rather than a manufactured grid.
Treat gauge as a measurement of your fabric
Crochet gauge describes how many stitches and rows occupy a measured area of the fabric you actually make. It is not simply a property of a hook or a yarn label. Your stitch pattern, tension, materials and finishing process all contribute to it. Two people using the same nominal hook size can produce different dimensions, and one person can work differently with a new yarn. Measure your own sample rather than assuming a recommended hook guarantees the intended size.
The crochet gauge calculator helps translate a measured sample into a planned width or height. It cannot determine the gauge before you crochet. Begin with the pattern's suggested materials when following a design, then compare your sample with its stated gauge. If you are planning an original blanket or rectangle, record the stitch pattern and the fabric qualities you like as well as the numbers. A mathematically correct gauge is useful only if the resulting fabric also feels suitable for the intended object.
Make the sample larger than the measuring area
A tiny sample can exaggerate edge effects. The first and last stitches of a row may behave differently from the center, and a tight foundation can distort the lower edge. Make a swatch large enough to measure an interior area without relying on its borders. Work enough rows to settle into a comfortable rhythm. If the project uses a stitch pattern with a repeat, include several complete repeats so the sample represents the structure you will actually make.
Lay the swatch flat and let it relax before measuring. Avoid stretching it to reach a desired number. Place the ruler along a clear horizontal line, count complete stitches over a useful span, and measure rows independently in the vertical direction. Record the measured span and the number counted, not just a rounded result. The blanket yarn estimation guide uses the same representative sample principle because a distorted or unusually small swatch can mislead both size calculations and material estimates.
Measure after the planned care process
A crochet fabric can change after washing, drying or blocking. If the finished item will receive a particular care process, prepare the swatch in a compatible way and measure it after it has dried fully. Follow the yarn's care instructions rather than applying one blocking method to every fiber. Record measurements before and after preparation if you want to understand the change. That comparison is more informative than assuming a standard percentage of growth or shrinkage.
For a blanket, the fabric's drape and stability after care may matter as much as matching a numerical gauge. A swatch that stretches dramatically when handled deserves attention before you commit to a large piece. For fitted items, both stitch and row measurements can affect placement and proportions. Keep the final, prepared measurements as the basis for the gauge tool. If you later change yarn, hook or stitch pattern, make another sample rather than transferring the earlier numbers to materially different fabric.
Calculate width from stitch gauge
To estimate the number of stitches needed across a width, divide your measured stitch count by the measured width, then multiply by the target width in the same units. For example, eighteen stitches across ten centimeters gives 1.8 stitches per centimeter. A target of eighty centimeters suggests 144 stitches before accounting for the stitch repeat or edge instructions. Keep the units consistent throughout; mixing inches with centimeters can produce a result that looks plausible but is substantially wrong.
The raw result is a starting point rather than a complete pattern. If your stitch repeat requires a multiple of six plus two edge stitches, choose a compatible total and calculate the width that total actually produces. Decide whether the nearest narrower or wider option better suits the project. The blanket starting-chain tool can support repeat planning, but follow the chosen stitch pattern's own foundation and turning-chain instructions. The number of working stitches and the number of starting chains are not universally interchangeable.
Calculate height from row gauge separately
Row gauge measures a different direction and should be calculated independently. A fabric can match the expected stitch width while its rows are taller or shorter than the reference. Divide the measured rows by the measured height, then multiply by the target height. If twelve rows span ten centimeters, a sixty-centimeter section suggests seventy-two rows. This estimate assumes the same stitch structure and consistent tension continue throughout the section.
Pattern changes can interrupt that assumption. A border, textured panel or alternating row sequence may have different height behavior from the main fabric. Count complete repeats where the design requires them and measure the project periodically as it grows. For a simple blanket, stopping at a measured length may be practical; for a shaped garment, follow the pattern's construction logic as well as its row counts. The measurement chart tool can help organize project dimensions, but the crochet sample remains the source of the gauge itself.
Change one variable when adjusting the sample
If a sample is too narrow for the same number of stitches, the stitches are smaller than the target gauge. A different hook may help, but changing the hook also changes drape and texture. Adjust one variable at a time and make a new sample so you can see the effect clearly. Switching yarn, hook and stitch technique simultaneously makes it difficult to understand which change produced the result. Label the samples with their actual hook size and materials.
Do not force your hands into an uncomfortable tension merely to match a number. Seek a combination that produces both the intended dimensions and a sustainable working rhythm. The hook converter can help interpret size labels, but the marked millimeter size is the clearest reference when naming systems differ. A conversion table does not guarantee identical fabric from two hooks with different shapes. Compare the prepared samples, then choose the combination that supports the project rather than the one that happens to match an initial assumption.
Account for borders and construction features
A blanket's finished width may include a border that is not part of the main stitch rectangle. Subtract the planned border contribution before calculating the central stitch count, or calculate the center first and add the border to predict the final size. Keep those dimensions separate in your notes. The same principle applies to seams, folded edges and joined panels. A calculator cannot infer construction details that were never included in its inputs.
If the border uses a different stitch, its width depends on its own behavior and the number of rounds or rows worked. Test a representative edge on the swatch when the final dimensions matter. Corners and joins can also affect whether the fabric lies flat. The blanket yarn guide explains why borders need their own material allowance instead of being treated as a negligible extra. A small test that includes the edge can reveal both size and tension issues before they surround an entire large project.
Check the growing project against the sample
Gauge can drift during a long project as your hands relax, your pace changes or a different yarn batch behaves slightly differently. Measure the early working section after enough rows have formed to assess it fairly. Compare the width in several places without stretching. If it differs substantially from the plan, address the cause while the project is still manageable. Continuing for many more rows will not automatically correct a foundation that is too tight or a consistently different tension.
Keep a project record with the sample gauge, hook size, yarn details, target dimensions and chosen repeat-compatible stitch count. Note whether the measurements refer to prepared or unprepared fabric. Recheck after any major change in materials or technique. The crochet gauge tool is most useful when paired with these physical observations. Its arithmetic helps you plan, while regular measurement verifies that the fabric you are making still follows the assumptions. That combination gives you a much more dependable route to the intended finished size than relying on a hook label alone.
Examples, diagrams and planning estimates are original Cross Stitch Creator content.