
Fabric quantity depends on how the pieces fit across the usable width, not just their combined area. A layout calculation helps avoid a purchase that is mathematically large enough but impossible to cut.
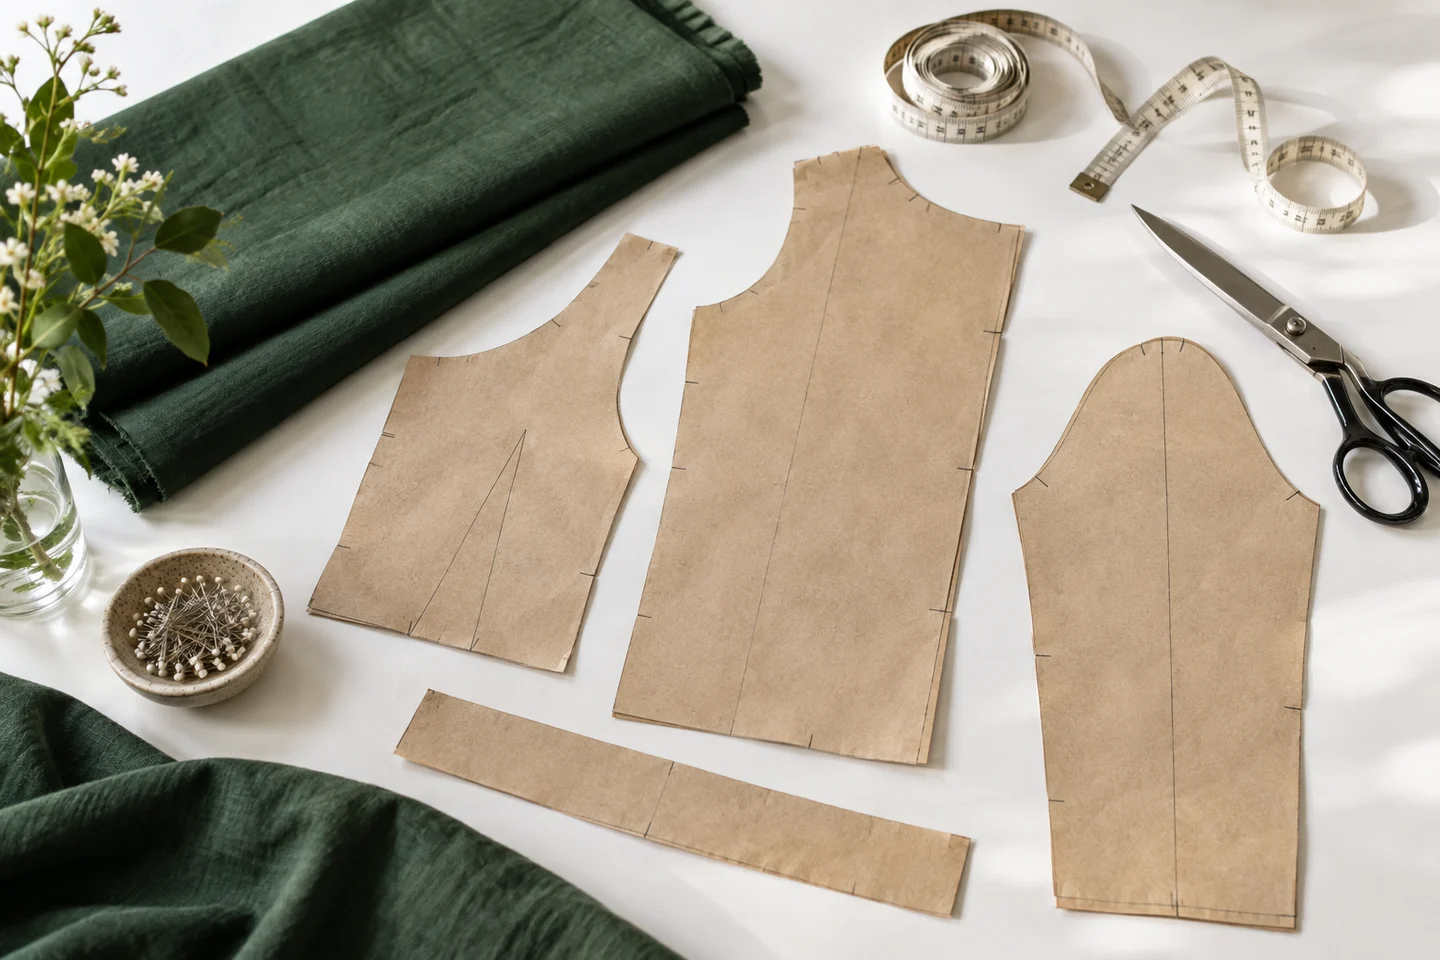
List the actual cut pieces
Write down each rectangle’s cut width, cut length and quantity. Include seam allowances in those dimensions if they are needed. For repeated equal pieces, our calculator can place them in rows across the fabric. More complex shapes and mixed sizes need a dedicated layout rather than this simple model.
Use the usable width
Exclude selvages and any unusable edge. Divide that width by the piece width and round down to the number that genuinely fits. Two 43 cm pieces fit across 110 cm, leaving 24 cm unused. Four pieces need two rows, so the base length is 86 cm when each piece is 43 cm long.
Respect orientation and print
The tool keeps pieces in the entered orientation. Rotating a piece may save fabric but can change grain direction, stretch or the direction of a printed motif. Pattern matching can require substantially more material than a plain layout. Do not accept an efficient arrangement until you know it suits the fabric and project.
Add allowances and round up
Allow for shrinkage when appropriate, squaring the cut and the seller’s cutting increments. With 10% extra, an 86 cm base length becomes 94.6 cm; a retailer may require rounding to a larger purchase unit. Backing, lining and interfacing are separate materials. Use the fabric-yardage tool for repeated rectangles and the quilt calculator for equal plain squares.
Start with a complete cutting list
Fabric planning begins with the pieces you need to cut, not only the finished object's outer dimensions. List every panel, lining, facing, pocket and backing with its quantity. Identify which pieces use the main fabric and which use a different material. A bag that looks like one rectangle when finished may require several rectangles plus strips and smaller components. Missing one of those pieces from the estimate can matter more than a small rounding difference in the final yardage.
For each piece, record the final cut width and height after the required allowances have been included. The seam allowance guide explains how to distinguish finished dimensions from cutting dimensions and avoid adding an allowance twice. The fabric yardage calculator then provides a useful estimate for simple repeated rectangles. It does not replace the cutting layout of a shaped garment or infer components that are absent from your list, so define the actual construction before relying on the result.
Measure the usable fabric width
The full advertised fabric width may include selvedges or areas you do not intend to use. Measure the usable width available for your pieces and exclude damaged or unsuitable edges. If the material has a printed border, that border may also constrain placement. A small reduction in usable width can change how many rectangles fit across the fabric, which can substantially increase the required length. Use a conservative, realistic measurement rather than the largest number printed in a product title.
For example, a layout that fits three panels across an assumed width may fit only two after unusable edges are excluded. The number of rows then increases even though the pieces themselves have not changed. Sketch the arrangement to see that effect clearly. The yardage tool uses the dimensions you enter; it cannot inspect your actual cloth. Before buying or cutting, compare the planned usable width with the product information and with the physical fabric if it is already in your hands.
Keep grain direction and print orientation explicit
Rectangular pieces cannot always be rotated freely. A pattern may specify grain direction, and a directional print, nap or sheen may require every piece to face the same way. Turning a piece ninety degrees to make it fit can change how the fabric behaves or how the finished object looks. Mark the required orientation on the cutting list and maintain it in the layout. Treat rotation as a deliberate construction choice, not an automatic way to reduce the estimate.
The simple rectangular estimator keeps the entered orientation rather than promising an optimized layout for every fabric. If your project allows rotation, compare a separate layout and check its suitability before using the smaller result. For paired or mirrored pieces, confirm how they must be arranged on folded or single-layer fabric. The measurement chart tool can help keep dimensions organized, but orientation belongs in your project notes as well. A lower theoretical material total is not useful if it produces pieces that cannot be assembled as intended.
Calculate rows for repeated rectangles
For identical rectangles in a fixed orientation, divide the usable fabric width by the cut piece width and round down to find how many fit across. Divide the required quantity by that number and round up to find the rows needed. Multiply the row count by the cut piece height to obtain the basic length. If no piece fits across the width, the layout is impossible in that orientation; a calculator should not turn that situation into a plausible-looking yardage.
As a simple example, four twenty-five-centimeter-wide pieces fit across one hundred centimeters of usable width. If you need ten pieces, you need three rows, leaving two unused positions in the final row. If each piece is thirty centimeters tall, the basic length is ninety centimeters before additional allowances. That unused space may accommodate other small components, but only if their dimensions and orientation actually fit. Draw the complete layout before subtracting material on the assumption that every offcut can be used efficiently.
Add preparation and layout allowances separately
The basic rectangle calculation describes an ideal layout. Real fabric may need squaring, preparation, space for cutting or accommodation of imperfections. If the fabric will be washed before use, follow its care instructions and assess the resulting dimensions. Do not apply a universal shrinkage percentage to every material. A tested sample or reliable product guidance provides a better basis for planning. Keep any added allowance explicit so you can see what the final purchase total includes.
Allow room for the method you use to cut accurately, especially if the edges are uneven or the pattern pieces need alignment. If you are working from an existing pattern, compare your estimate with its stated fabric requirement and understand any difference in width or layout assumptions. The seam allowance calculator handles piece dimensions, while the yardage calculator handles packing those dimensions. Neither automatically accounts for all preparation losses, so avoid treating an exact mathematical fit as a comfortable cutting plan.
Account for matching prints and repeated motifs
Stripes, checks and large repeated motifs can require extra length to align at seams or place a feature attractively. The repeat size and desired placement determine that extra material. A plain rectangular packing calculation does not know where a printed flower or stripe falls on the cloth. Mark the print repeat and the intended position of each visible piece before deciding how much fabric is needed. Matching requirements may prevent you from using every otherwise available offcut.
If one panel needs a centered motif, place that panel first in the cutting sketch and arrange less constrained pieces around it. Check whether paired pieces need the same visual position or a mirrored effect. For a small batch, one sample can reveal whether the planned motif placement survives seam allowances and turning. The seam allowance article explains why the visible boundary is inside the raw cut edge. A print centered on the cut rectangle may not appear centered after asymmetric hems, folds or construction details are completed.
Convert the final length into purchasing units
Once the layout and allowances are settled, convert the required length into the units used by the seller. Keep the working calculation in one unit system until that final conversion. A meter is one hundred centimeters, while a yard is thirty-six inches; those are different purchase lengths. Check whether the seller offers increments, precuts or only whole units, and round up to an available quantity rather than rounding down to a convenient-looking number.
Record both the calculated requirement and the quantity you plan to buy. This makes any reserve visible and helps compare suppliers whose fabric widths differ. A wider fabric may use fewer rows, but that advantage depends on the actual piece dimensions and orientation. Recalculate instead of comparing only the price per meter or yard. The fabric yardage tool is useful for exploring those width changes, provided the same cutting list and construction assumptions are used consistently across each candidate material.
Verify the layout before the first cut
Lay the fabric out in the intended orientation and compare it with the cutting sketch. Confirm the usable width, piece quantities, grain direction, print direction and allowances. Place or mark every large component before cutting small pieces from convenient corners. Starting with unplanned small cuts can remove the space needed for a larger panel even when the original fabric contained enough total area. Keep the pieces labeled as they are cut, particularly when lining and outer fabric dimensions differ slightly.
After completing the project, save the final cutting list and note the actual fabric used and useful leftovers. If you make a second version, check whether its size, material width or finishing method has changed before reusing the old purchase quantity. For a stitched panel incorporated into a sewn object, the fabric margins guide helps preserve space around the embroidery. A dependable estimate combines accurate cut dimensions with a realistic physical layout. The arithmetic supports that plan, while the final layout check confirms that the cloth in front of you can actually produce every required piece.
Examples, diagrams and planning estimates are original Cross Stitch Creator content.