
Mini patterns make satisfying small objects, but a small outline does not guarantee a short project. Look at filled stitches and color changes when deciding what fits your available time.
Choose a recognizable shape
A heart, tulip or mushroom can remain clear with relatively few cells. Complex faces and fine lettering need more space. View the design at approximately its finished size instead of judging only an enlarged screen preview. The silhouette should still communicate the subject without relying on details you cannot realistically stitch.
Count the work
A 30 × 30 rectangle contains 900 positions, but an open motif may fill far fewer. Compare the per-color stitch counts and inspect isolated cells. A design with 500 compact stitches can be quicker than one with 300 scattered stitches and many thread changes. Use your own measured pace when estimating sessions.
Match the finish to the scale
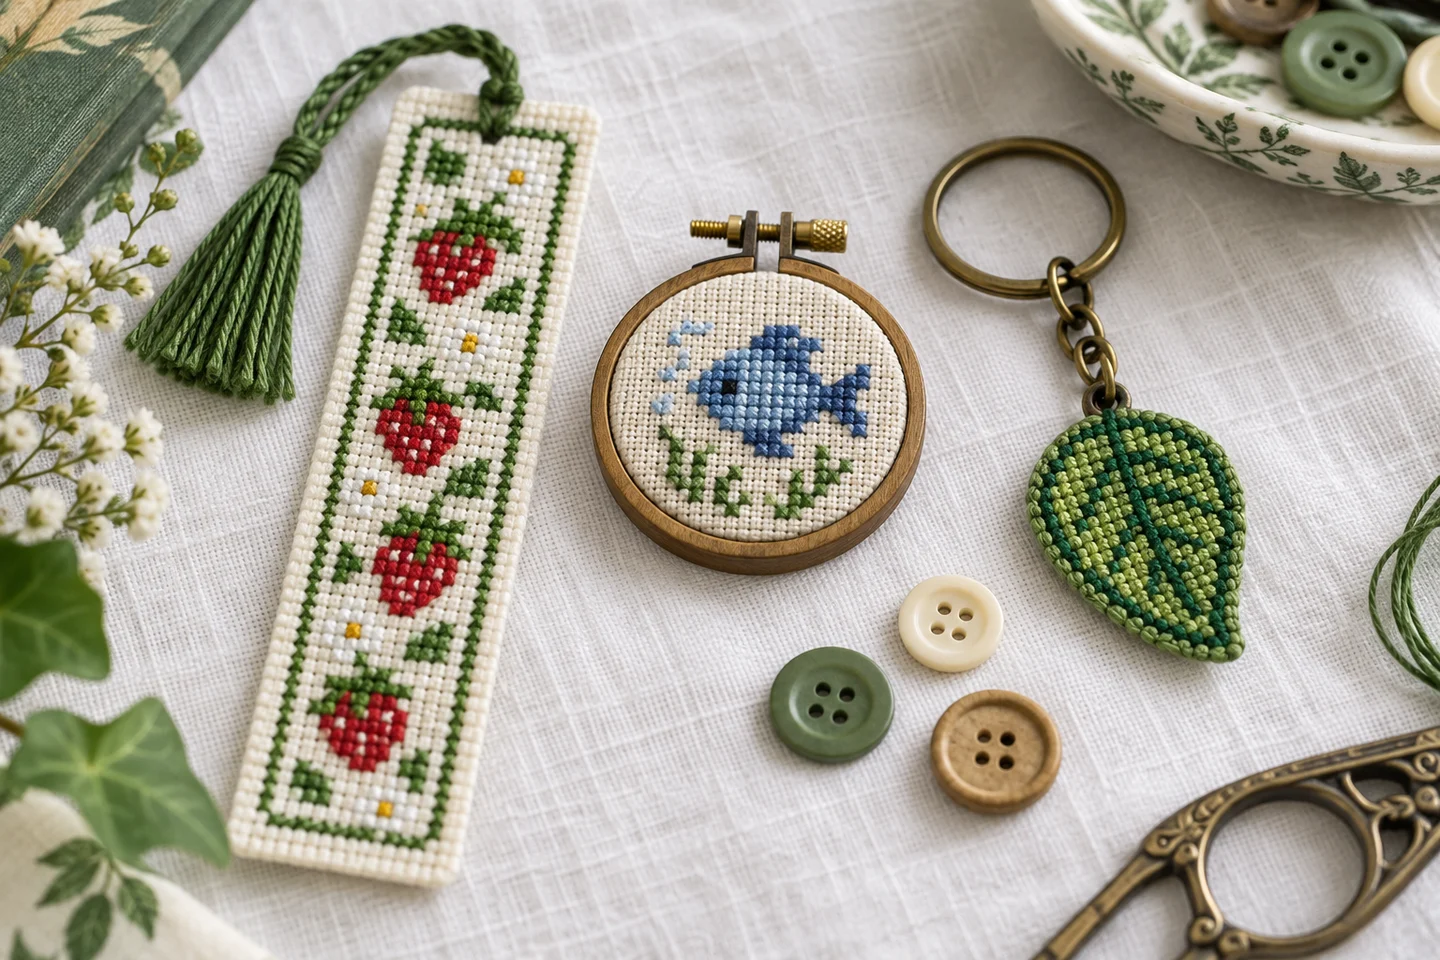
Mini designs can become cards, tags, patches or small framed pieces. Each finish needs a different border of spare fabric. Do not cut close to the outer stitches before deciding how the edge will be secured. If you plan to attach the motif to another material, consider whether the added thickness and visible backing are acceptable.
Keep a small project kit
Place the chart, labeled threads, needle and fabric together so short sessions can begin without searching for supplies. Mark your stopping point clearly. Store scissors and needles securely when moving the kit. Our Woodland Mushroom is an original full-cross mini with a limited palette. Download its PDF free, enter the actual stitch count in the time estimator, and use the result as a rough plan rather than a promise that it will be finished in one afternoon.
Define a small project by more than its dimensions
A mini cross stitch project is usually compact, but width and height alone do not tell you how easy it will feel. A tiny full-coverage portrait with many colors may demand more concentration than a larger open flower. Look at occupied stitches, color changes, isolated cells and finishing requirements together. A useful first mini project has a recognizable silhouette, a limited palette and a chart that remains clear when printed at a comfortable reading size.
Browse the free pattern collection for small original motifs and inspect each chart before choosing. The Little Heart offers a straightforward shape, while Tiny Tulip introduces a stem and flower arrangement. Pick one feature you want to practice rather than trying to learn every technique at once. A small design should reduce the number of decisions you face, allowing you to focus on accurate counting, consistent top-stitch direction and gentle tension before progressing to more complicated work.
Choose a finish before selecting the motif
A miniature design can become a card, ornament, patch, bookmark or small framed picture. Each format leaves a different amount of usable space. A bookmark needs a narrow composition, an ornament needs room for its edge finish and hanging method, and a card aperture must not cover important stitches. Measure the intended opening or base object before choosing the pattern. This avoids completing a charming motif that cannot fit the finish you originally imagined.
Write down the maximum stitched width and height as well as the required cloth margins. Then use the fabric size calculator to compare candidate charts on your chosen count. Do not assume a pattern called miniature has one universal physical size; the same grid changes size on different fabric. If you already own a small frame, measure its actual visible opening and internal mounting space. The outer frame dimensions do not reliably describe either of those areas, and the difference matters more when every millimeter is noticeable.
Use fabric remnants carefully
Small charts are a good use for fabric remnants, provided the usable area is large enough and the count is known. Lay the remnant flat and inspect it for distorted weave, permanent marks and fraying. Measure the rectangle that remains after excluding damaged edges. Do not position the design against the largest visible outline if part of that outline cannot support handling or finishing. A little extra room around a mini motif often makes the work much more comfortable.
If the fabric is unmarked, count blocks across a measured span to estimate its effective stitch density. Repeat in both directions and make a sample if the weave looks uneven. The Aida count guide explains how to interpret that measurement. Keep the motif centered within the planned usable rectangle, not necessarily within the irregular offcut itself. Marking a temporary boundary outside the design can help preserve the allowance for a backing, fold or mount while you stitch close to a small piece's edges.
Limit the palette without losing the subject
A few well-separated colors can make a tiny motif easier to read and stitch. At a small scale, the distinction between light and dark often matters more than subtle hue variation. A flower needs a clear relationship between petals, center and leaves; a heart may need only one strong color. Adding similar shades to a very small shape can create extra starts and stops without improving its recognition from normal viewing distance.
Choose physical floss against the actual fabric and consider what will remain unstitched. Open cloth becomes part of the composition, especially around a dark outline or pale petals. If you substitute colors, preserve the contrast that defines the shape rather than matching each screen color as closely as possible. The color planning guide offers a useful value-first approach even for non-photographic motifs. Save the chosen thread labels with the chart so that a second ornament or coordinating card can use the same palette later.
Make counting practice part of the project
Small patterns provide quick feedback when you count deliberately. Start from a known center or a carefully measured corner, then verify the first small group before moving away. Compare the width and height of a completed feature with the chart. For symmetrical motifs, use the symmetry as a check, but do not assume both sides are identical without reading the cells. Some apparently symmetrical designs contain intentional differences in highlights or outlines.
Count empty spaces as carefully as stitched ones. A one-cell shift in a tiny face or flower can be more visible than the same error in a large background. If you notice a mistake, correct it while the surrounding area is manageable. The counted cross stitch guide explains how chart coordinates translate to fabric. Finishing one accurate mini motif teaches more useful habits than rushing through several pieces while compensating for errors with progressively uneven spacing or distorted stitches.
Plan thread starts and the back of the work
A mini project may expose its reverse or have a thin backing, so think about thread management early. Long dark carries can show through pale open fabric, and bulky knots can make a tiny mounted piece sit unevenly. Use a securing method appropriate to your materials and strand count, and keep thread paths tidy without pulling the fabric out of shape. The aim is a stable, comfortable result rather than a perfectly decorative reverse that makes the front harder to stitch.
When a color appears in separate small groups, decide whether traveling is reasonable or whether restarting gives a cleaner result. That decision affects thread use, especially in scattered motifs. The floss estimate guide explains why stitch count alone does not capture every tail and travel path. Keep working lengths manageable so repeated tangles do not consume more time than the motif itself. On a practice scrap, try your chosen start and finish before using it on the final small piece.
Batch gifts without multiplying errors
If you want several matching mini projects, complete one from start to finish before preparing the entire batch. The first piece tests the chart size, color choices and assembly method together. A motif that stitches easily may still need a different backing size or hanging position. Once that sample works, record the final measurements and use it as a reference. This prevents a small planning error from appearing in every item before you discover it at the finishing stage.
Organize materials by project or by color in a way that suits your workflow. Label the chart version and keep any personalized text separate so names are not mixed between gifts. For lettering, the alphabet gifts article explains how to build a master layout. Estimate the batch time using the completed sample rather than multiplying an optimistic first guess. Repetition can make some steps faster, but washing, drying, pressing, sewing and packaging still need their own space in the schedule.
Finish with proportionate care
Small work benefits from a clean finish because there is little visual area to distract from crooked edges or poor centering. Follow the material care instructions, remove temporary guides appropriately and inspect the piece in good light. Do not cut close to the stitching until you know how the edge will be protected. A narrow allowance may be enough for one technique and completely unsuitable for another, so follow the chosen construction method rather than a universal margin rule.
Keep a photograph and a short project note with the finished dimensions, fabric count and thread choices. This makes it easier to repeat a successful gift or adapt it for another occasion. If the mini project has built your confidence, move to a slightly larger design with one additional challenge, such as another color or an asymmetric shape. The beginner pattern guide can help you choose that next step while keeping the enjoyable, manageable rhythm that made the small project useful in the first place.
Cross stitch time estimator · Download the original woodland mushroom pattern
Examples, diagrams and planning estimates are original Cross Stitch Creator content.