
Seam allowance is the fabric between the stitching line and the cut edge. It gives the seam material to hold, but its width must match the construction you are following.
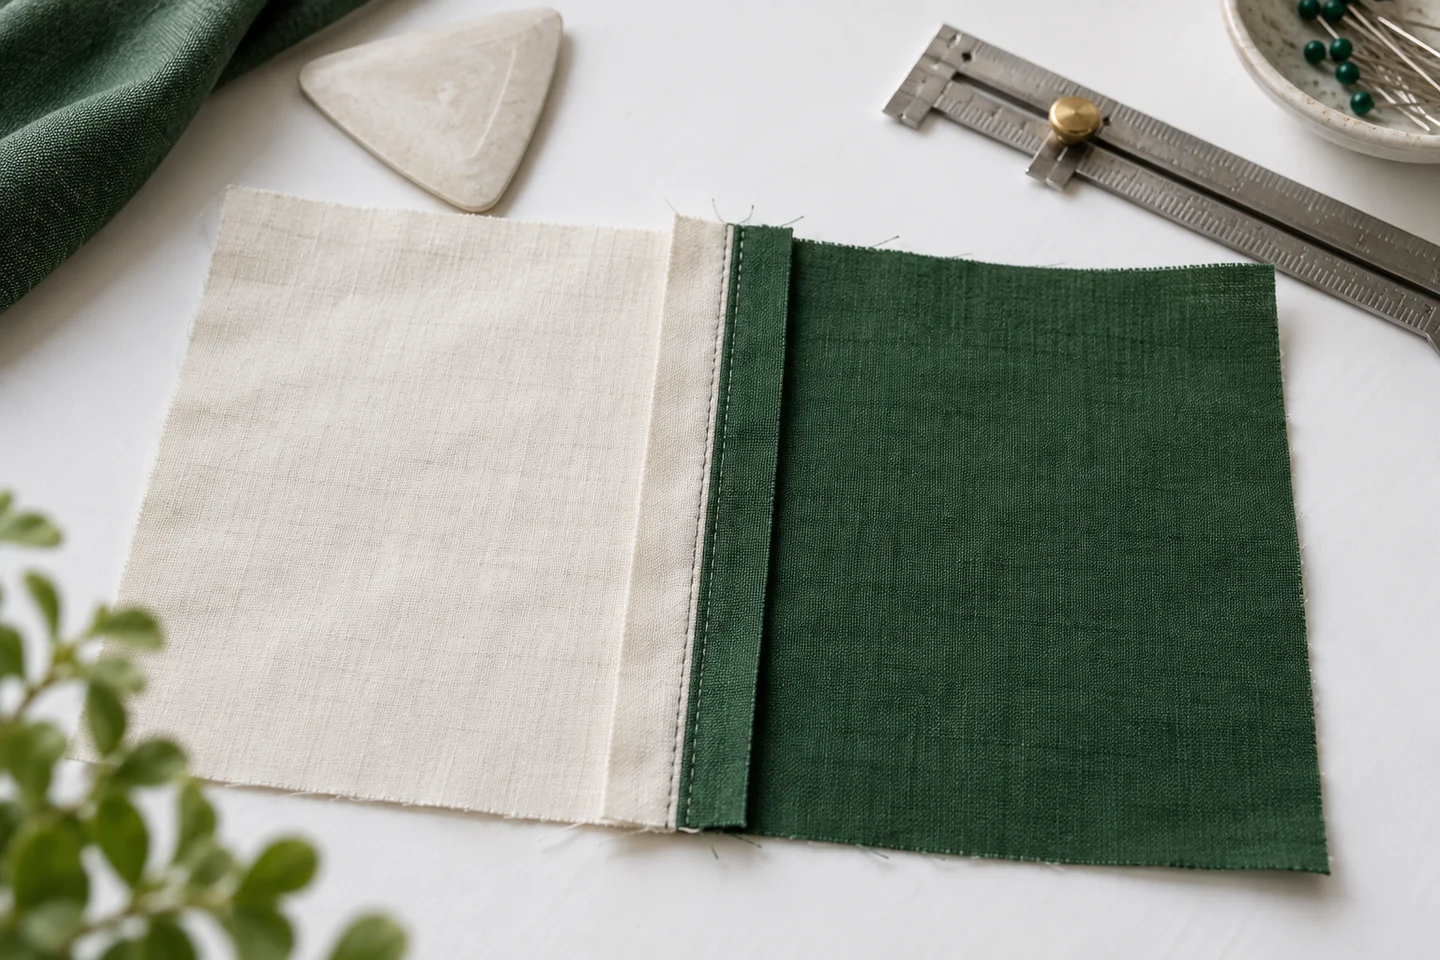
Check whether it is included
Commercial patterns may include seam allowances, while some templates show only the stitching line. Read the instructions before adding anything. Adding a second allowance changes the cut size; omitting a required one can make the finished piece too small. Do not infer the rule merely from the shape of the paper pattern.
Use the specified width
Quarter-inch allowances are common in patchwork, and other sewing projects often use wider allowances. These are conventions, not interchangeable defaults. Curves, seam finishes and alterations may require different widths. Follow the actual project instructions and the correct needle-position reference on your machine.
Calculate simple rectangles
For a finished rectangle, add the allowance twice to each dimension when all four edges use the same seam. A 40 × 40 cm panel with 1.5 cm on every edge becomes 43 × 43 cm before sewing. This simple formula excludes hems, overlap, ease and shrinkage. Those must be planned separately if the construction needs them.
Verify with a sample seam
Sew two scrap pieces using the intended guide and measure the result. A guide mark does not help if the needle position or foot reference differs from what you assumed. Press according to the fabric and project so the seam sits as intended. Our seam-allowance calculator handles straightforward rectangular panels, not complete garment drafting.
Keep the cutting line separate from the stitching line
A seam allowance is the material between the line you sew and the raw edge you cut. It provides space for joining and finishing the pieces. The finished dimensions usually relate to the sewing lines, while the cut dimensions include the required allowances. Confusing those two boundaries changes the size of the object. Before cutting, identify which dimensions your instructions describe and whether the pattern pieces already include seam allowances.
The seam allowance calculator is useful for simple rectangular planning, where an allowance is added on both opposite edges of each dimension. It does not interpret a complex garment pattern or decide which edges are sewn, folded or left open. Read the pattern's instructions first and label the relevant edges. The sewing fabric calculation guide explains how those final cut dimensions feed into a material layout. Accurate arithmetic begins with knowing which boundary each number represents.
Check whether the pattern already includes allowance
Patterns use different conventions. Some include a stated allowance around their pieces, while others show sewing lines and require you to add it. The instruction sheet, legend and individual piece markings should make that clear. Do not add an allowance automatically just because the paper piece has an outer line. If the allowance is already included, adding it again enlarges the cut piece and can move notches or create mismatched joins.
Write the allowance beside each edge if the project uses more than one. A hem may need a different treatment from a side seam, and a fold edge may require no added seam allowance at all. If the instructions are ambiguous, resolve the convention before cutting the final material. For an original rectangular item, make a labeled sketch with finished dimensions, sewing lines and cutting lines. The measurement chart tool can help organize those numbers, but the construction plan determines what each edge needs.
Add allowances to both sides of a rectangle
For a rectangle with the same seam allowance on all four sides, add twice that allowance to the finished width and twice to the finished height. A finished twenty-by-thirty-centimeter panel with a one-centimeter allowance on every edge becomes a twenty-two-by-thirty-two-centimeter cut rectangle. This is a simple geometric example, not a recommendation that every project use one centimeter. Choose the allowance specified by the pattern or required by the intended construction.
If the edges differ, add them individually. A top edge intended for a deep folded hem may require more material than a side seam. Record the top, bottom, left and right additions separately before calculating the cut size. The seam tool handles the equal-allowance case; use a clear manual sketch for asymmetric construction rather than forcing the numbers into an unsuitable model. Check the result against the actual instructions, especially when a lining, facing or backing uses different dimensions from the outer piece.
Distinguish seam allowance from a hem or fold
A seam joins pieces, while a hem typically finishes an edge by folding material. The amount needed for a hem depends on its construction, including whether it is folded once or twice and whether a facing or binding is used. Do not substitute a standard seam allowance for a hem allowance without understanding the finish. A double fold consumes material in two turns, and the finished edge lies inside the original raw edge by the total planned depth.
A fold line on a pattern can have another meaning: placing that edge on folded fabric may create a continuous piece without a seam there. Adding an unnecessary allowance to such an edge changes the shape or width. Mark fold edges clearly in your cutting plan. The fabric yardage tool estimates simple rectangular packing, but it does not know whether a piece is cut on a fold or whether a directional print constrains placement. Those construction decisions must be incorporated into the dimensions and layout you supply.
Use a consistent reference while sewing
Once the allowance is chosen, guide the fabric using a reliable reference so the sewing line stays at the intended distance from the raw edge. Check the machine's markings and measure rather than assuming a particular presser-foot edge corresponds to the allowance you need. On a practice scrap, sew a short line and measure its position. This simple test can reveal an incorrect guide before it changes every seam in the project.
Keep the cut edge accurate as well. A consistent sewing guide cannot compensate for a wandering raw edge if that edge is the reference. Mark the sewing line where precision or unusual shapes require it, using a method suitable for the fabric and tested on a scrap. For small patchwork pieces, even a modest repeated difference can accumulate across several joins. The quilt block tool helps explore simple dimensions, but careful cutting and consistent sewing are what make those planned dimensions appear in the actual block.
Consider the fabric and edge finish
Different fabrics need different handling. Some fray readily, some are bulky, and some stretch or shift under the presser foot. The seam allowance must support the planned joining and edge-finishing method, not merely produce a desired outer measurement. Follow the pattern and material guidance, and test the chosen construction on a scrap. A very narrow allowance may leave too little material for a particular finish, while unnecessary bulk can affect a small corner or layered edge.
Do not assume the calculator can select the appropriate technique. It performs a dimensional calculation after you choose the allowance. If the project combines an embroidered panel with a backing, consider how the fabric behaves around the stitched area and leave space between the design and the seam. The fabric margins article explains why visible design space and construction allowance are separate. Protecting that distinction helps prevent a decorative motif from being caught in a seam or crowded by the finished edge.
Test corners and turning before cutting a batch
A flat rectangle can behave differently once layers are joined and turned. Corners, thickness and the chosen edge finish influence the final appearance. Make one sample when the construction is unfamiliar, especially for a small pouch, ornament or backed stitched panel. Check that the opening is large enough for the intended turning method and that the final dimensions remain useful. Follow the construction instructions for managing bulk rather than trimming material indiscriminately before you know how the layers fit.
For multiple matching items, complete the sample through the final finishing step before cutting all the pieces. Measure it and note any deliberate adjustments. The mini cross stitch project guide uses this same sample-first approach for small gifts. A successful test saves more material than discovering a repeated allowance error after every panel has been cut. Keep the corrected cutting dimensions with the project rather than relying on memory to reproduce an adjustment made during the first item's assembly.
Keep a complete cutting record
A practical cutting list identifies each piece, quantity, finished dimensions, edge allowances and final cut dimensions. Include grain direction or print orientation where relevant. Mark pieces that are mirrored, cut on a fold or made from different materials. For simple rectangles, this record can be short, but it should still distinguish the outer fabric, lining and any interfacing. Similar-looking pieces are easy to mix when their allowances differ by only a small amount.
Before cutting, compare the list with the pattern instructions one final time and confirm that allowances have been added exactly once. Use the fabric calculation guide to arrange the resulting pieces within the usable fabric width. Keep a note of the seam guide used during sewing and the measured result of the sample. Those details make the next version more predictable. A seam allowance is a small measurement with consequences across the whole object, so making its role explicit is a simple way to improve both fit and finishing consistency.
Examples, diagrams and planning estimates are original Cross Stitch Creator content.