
Aida count describes how many stitch blocks fit in one inch. A higher count gives smaller stitches and a smaller finished design when the chart stays the same.
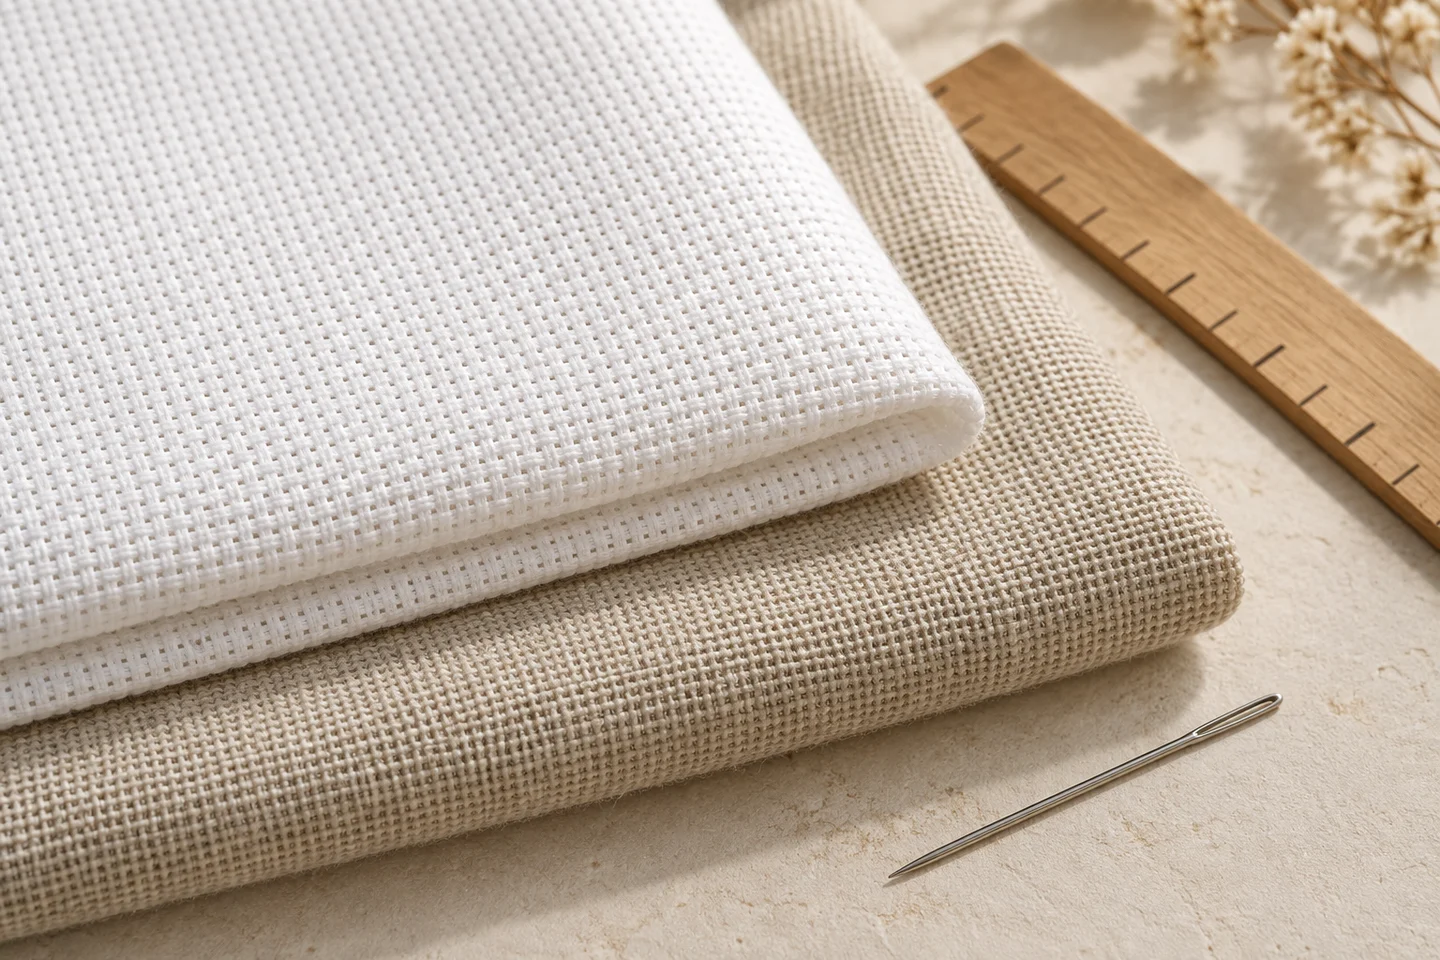
Compare the same chart
Divide stitch width by count to find finished inches. A 112-stitch-wide design measures eight inches on 14 count, seven inches on 16 count and about 6.22 inches on 18 count. None of these choices changes the number of stitches. The larger-count fabric simply packs them into less space.
Consider comfort and coverage
Choose holes you can see comfortably with your lighting and any magnification you use. Smaller stitches can create a finer-looking surface, but may be harder to count and unpick. Test the recommended number of strands on spare fabric. Coverage depends on the thread, fabric color and your tension; there is no single ideal strand count for every project.
Do not mix up fabric systems
Aida blocks and evenweave threads are counted differently in use. On 28-count evenweave stitched over two, there are 14 stitches per inch. On 28-count fabric stitched over one, there are 28. Enter the effective count in a simple stitch-size converter, or use the fabric calculator’s over-one/over-two setting.
Choose with the finish in mind
Measure the opening of the frame or ornament, then compare calculated design sizes. A motif that fits tightly before adding a border may become too large after the border is included. Leave room for mounting and handling outside the stitched area. Use the count converter to compare choices and stitch a small sample of the Tiny Tulip palette before cutting your final piece. DMC’s fabric guidance is a useful reference for the distinction between Aida blocks and over-two stitching.
Read the number on the fabric label in practical terms
Aida count tells you how many stitch blocks fit along an inch. A higher number means smaller blocks, so the same chart finishes at a smaller physical size. It does not indicate the complexity of the pattern or the quality of the cloth. Fourteen-count and eighteen-count Aida can both produce attractive work. The useful question is which combination of finished size, visibility and coverage suits your project and the way you like to stitch.
Check the actual fabric rather than relying only on a remembered label from an old offcut. If you need to verify count, measure a straight inch of the grid and count the blocks carefully. Do not stretch the cloth while measuring. An imprecise ruler position can give a misleading result over such a short distance, so repeat the measurement or use a longer span and divide. Once the count is known, the count converter lets you compare the same stitch width on several fabrics without changing the design itself.
Compare several counts using one fixed chart
Use a fixed stitch count so that the comparison remains meaningful. A 126-stitch width is nine inches on 14 count, 7.875 inches on 16 count and seven inches on 18 count. The cells, colors and symbols are identical in all three versions. Only the physical size changes. If a frame opening is eight inches wide, the 14-count version is too wide before you even consider a visible border, while the 18-count version leaves more room around the motif.
Now consider the tradeoff in comfort. The smaller version requires you to see and place smaller crosses, which may change your preferred lighting or working distance. It is not automatically the best choice merely because it fits the frame. You could instead select a smaller chart or a larger frame. The fabric-size guide helps you work backward from a physical opening, and the margins guide explains why the cloth cut must remain larger than the visible stitched area.
Test coverage instead of following a universal strand rule
The number of working strands affects how much fabric remains visible between crosses. More strands can give a fuller surface, but may also make the holes crowded and the stitches difficult to place neatly. Fewer strands can create a lighter effect, particularly on smaller blocks, but may reveal more of the fabric color. Thread thickness varies by material and construction, and personal tension also affects the result. A sample is more dependable than an absolute rule applied to every project.
Stitch a small solid block with the chart’s suggested strand count, then inspect it under normal light. Compare a second sample only if the first feels too bulky or too sparse. Keep the upper diagonals consistent so that differences in thread direction do not confuse the comparison. When counting strands, distinguish strands pulled from the skein from strands actually passing through the fabric: a single strand folded doubles its working thickness. The floss guide explains how that choice changes material estimates as well as coverage.
Consider fabric color alongside count
Fabric color influences both the appearance and the ease of counting. A pale thread on a pale ground may look delicate but lose its outline; a dark ground may make bright colors stand out while making the holes less visible in poor light. An open design relies heavily on its background because much of the cloth remains unstitched. In a full-coverage design, small spaces between crosses can still reveal the ground, especially if the thread coverage is light.
Place several actual floss samples on the fabric before committing. Check them in the light where the finished piece is likely to be displayed, as well as under your stitching lamp. A small Tiny Tulip sample is a manageable way to compare the same palette on two grounds. Avoid changing count, fabric color and strand number all at once if you want to understand which difference you prefer. A controlled comparison gives you useful information for later projects rather than a vague impression that one version looks different.
Distinguish Aida blocks from over-two evenweave stitching
Evenweave and linen are commonly described by threads per inch, while the stitch spans depend on whether you work over one or two fabric threads. Twenty-eight-count evenweave worked over two gives fourteen stitches per inch. That produces the same design dimensions as 14-count Aida for the same chart. The fabric texture and working technique are different, but the arithmetic of the effective stitch count is straightforward.
Do not confuse “two strands” with “over two.” The first describes the floss passing through the needle; the second describes the fabric threads spanned by one cross. You could use two working strands while stitching over one Aida block, or choose another strand arrangement on evenweave. Enter the correct values in the fabric calculator, which provides a separate over-one/over-two input. A simple count converter instead expects the effective stitches per inch. Writing both the fabric label and stitching method in your project notes prevents confusion when you return to the chart later.
Use comfort and lighting as legitimate selection criteria
A higher count is not a badge of achievement. Choose a fabric on which you can count accurately and maintain a comfortable posture. If you find yourself holding the work unusually close or straining to distinguish adjacent holes, improve the lighting or try a larger block size. Magnification may help some stitchers, but it should support a comfortable setup rather than force an unsuitable project into your routine. Regular pauses also make it easier to notice tension and counting mistakes.
The needle should pass through the grid without excessive resistance. A needle that forces the holes apart or drags the thread harshly can make even a suitable count feel difficult. Test the combination of cloth, needle and strands before starting the main design. Our first-project supplies guide focuses on compatible materials rather than buying many accessories. The best setup is one you can use repeatedly with control, not necessarily the one that produces the smallest possible finished stitches.
Recalculate material and finishing needs after changing count
If you move from 14 to 18 count, the stitch count remains fixed but the thread distance per cross becomes shorter. Floss usage will not scale perfectly in practice because tails, starts and carries still consume material, yet count belongs in the estimate. The floss estimator includes effective count so that its model reflects the new stitch size. Keep the uncertainty allowance rather than treating the calculated difference as an exact saving.
Recalculate the fabric cut too. Margins are physical allowances, so a three-inch margin remains three inches even when the stitched rectangle becomes smaller. A hoop or frame that worked for the larger version may create a different visible border around the reduced design. If a chart includes beads, specialty stitches or other size-dependent materials, changing count may require additional review beyond the simple formula. Our public full-cross patterns avoid those complications, but you should always check the actual technique list before adapting a chart from another source.
Common Aida-count questions answered
Does 18 count make a photo more detailed than 14 count? Not when you use the same chart: it only makes the existing cells smaller. To preserve more image detail, the chart needs more stitch positions, which can then be placed on your chosen fabric. Can a beginner use a higher count? Yes, if the holes are comfortable to see and the materials work together; there is no requirement to begin on a particular number.
Should you buy fabric before choosing a pattern? You can use an existing piece, but then its count and usable dimensions become design constraints. Calculate the maximum chart size after reserving margins. If you are buying specifically for a project, choose the chart first so you know what the cloth must accommodate. Record the count, strand arrangement and finished-size calculation with the printed legend. Those simple notes help you reproduce a successful setup and avoid mistaking a fabric change for an unexplained error in the chart.
Stitch size & fabric count converter · Download the original tiny tulip pattern
Examples, diagrams and planning estimates are original Cross Stitch Creator content.