
Print a chart for readability, then use its squares as instructions. The printed square size does not determine the finished stitch size; the fabric count does.
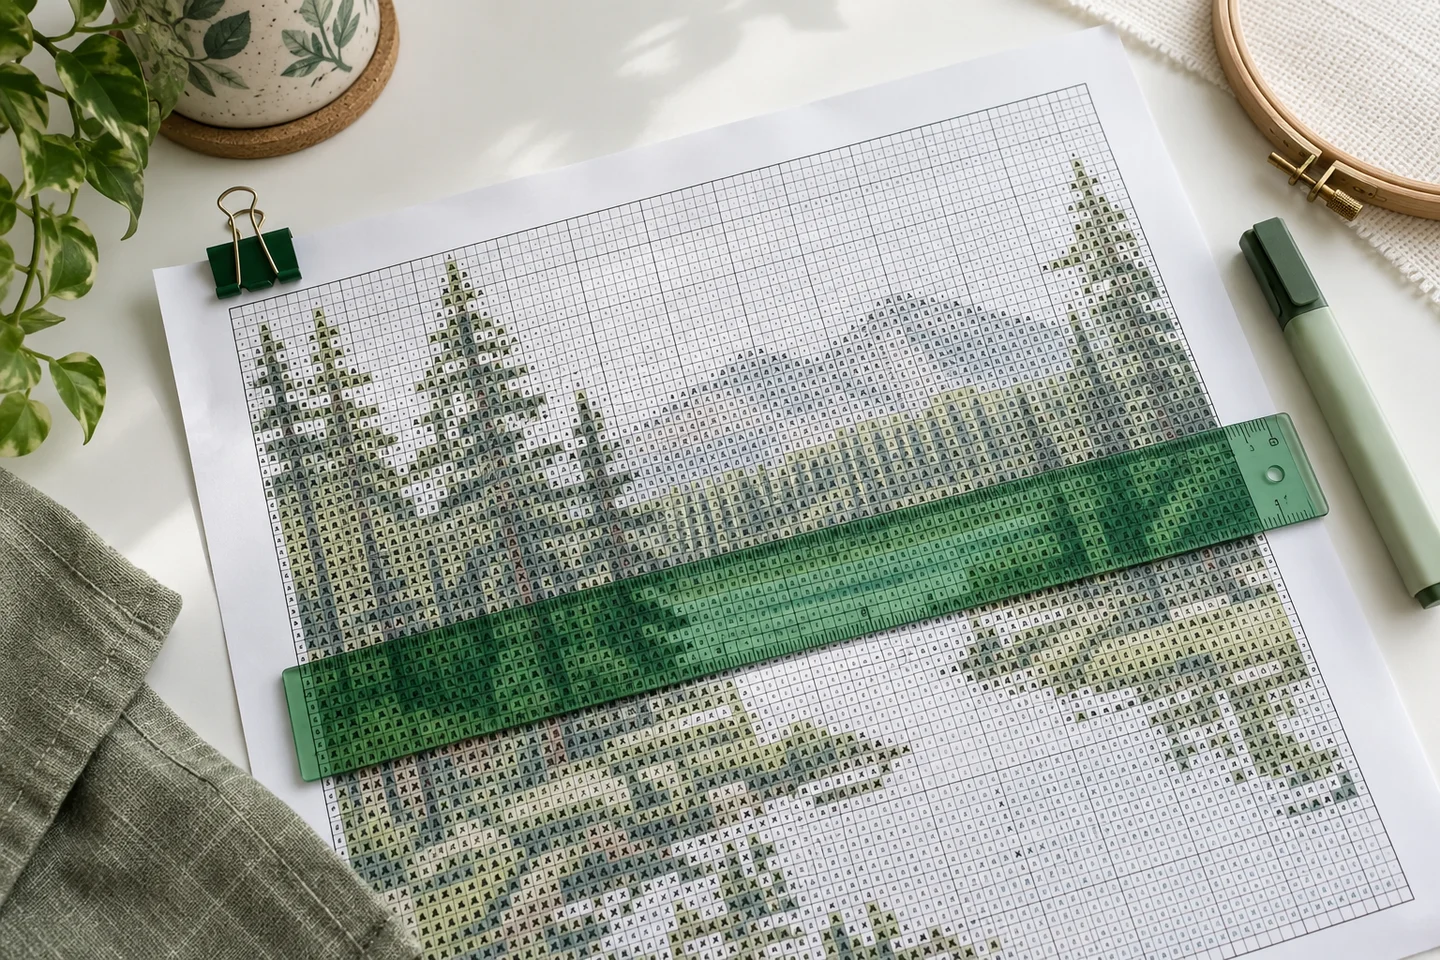
Choose a readable print setting
Select the A4 or US Letter version that matches your paper. Actual size or 100% preserves the intended chart layout. Avoid squeezing a many-page chart onto one sheet. Check print preview for cropped margins. Color ink is optional when symbols are distinct; the black-and-white chart may be easier to annotate.
Find the key and coordinates
Read the symbol legend first and identify the center of the design. Bold lines divide the chart into groups of ten. Coordinates refer to the whole pattern, so a section beginning at column 51 is not a new independent design. Use the page map to find the correct neighboring section before continuing at a page edge.
Track stitches without losing information
Mark only stitches you have actually finished. If a highlighter hides a symbol, use a lighter color or mark a working copy. A ruler or removable line marker can isolate the current row. Count from a known stitched point rather than repeatedly counting from the outer edge of the fabric, which may be uneven.
Check blank areas and page joins
Empty cells normally mean the fabric remains visible. They still occupy space, so do not close the gap between two motifs. For our generated charts, sections do not overlap and each page states its global row and column range. Stitch the final column of one section, then continue at the next stated column. Print the Woodland Mushroom chart to practice, or use the blank grid maker to create a reusable paper workspace. Keep the cover and legend with the chart even if you only stitch from the enlarged pages.
Choose the PDF version before opening the print dialog
Start with the paper size you actually have in the tray. A4 and US Letter have different proportions, so selecting the matching export avoids unnecessary scaling or clipped content. If you are offered a color chart and a black-and-white chart, open both briefly and compare the busiest section. The better version is the one whose symbols remain easiest to distinguish under your normal stitching light, not necessarily the one that looks most decorative on screen.
Keep the cover and palette key even if you plan to stitch from enlarged chart pages only. They contain dimensions, material information, and the relationship between symbols and colors. Our free patterns provide complete PDFs rather than isolated chart screenshots. If the file comes from another source, check that every page is present before printing. A missing legend cannot be reconstructed reliably by matching printer colors to loose thread. The good-chart checklist explains what a complete download should contain and which inconsistencies deserve attention.
Understand actual size, fit to page, and multiple pages per sheet
Actual size or 100 percent prints the PDF at its designed page scale. Fit to page may shrink the content slightly to stay inside your printer's printable area. For a chart, a small shrink can still be usable, but it should be a deliberate choice rather than an unnoticed default. Printing several PDF pages on one sheet can make the symbols far too small. Use that setting only for an overview, never assume it produces a comfortable working chart.
The printed cell size does not set the size of the finished embroidery. A stitch occupies a block or thread span on the fabric regardless of whether the paper square is four millimeters or eight millimeters wide. The grid-size guide separates these concepts. If a pattern includes a separate measuring template that must print to scale, follow that template's calibration instructions. Do not extend the chart rule to every printable sewing or craft template: a numeric stitch chart and a physical cutting template serve different purposes.
Read the legend before interpreting a single square
Find the symbol assigned to each color and note any special stitch types. An empty square often means untouched fabric, but a white thread may have its own symbol. If you treat all white-looking areas alike, you can accidentally omit required stitches or add a large unnecessary background. Look for the legend's explicit explanation rather than deciding from the cover photograph alone. Printed paper color is not a material instruction.
Our PDFs use unique symbols and generic numbered colors. Those generic identifiers organize the chart; they are not official DMC, Anchor, or another manufacturer's codes. Compare physical floss samples before buying thread. The palette tool helps inspect approximate color relationships, while the floss guide explains the estimates in the shopping list. Keep each chosen physical thread label beside its chart identifier. If you later pause the project for several weeks, that record is far more reliable than trying to identify an unlabeled strand by its appearance under different light.
Use the bold grid as a counting aid, not a shortcut
Ten-square guide lines divide a large chart into manageable areas. Count the smaller squares between the bold lines when you need a precise position. A diagonal crossing a bold boundary still occupies one normal chart cell; the thicker rule does not add a row or column. If the chart labels coordinates at grid boundaries, read those labels consistently with its instructions rather than assuming every printed number sits inside a stitch square.
For an open design, count blank cells as well as filled cells. Suppose a leaf begins two blank columns beyond the last stem stitch. Those two columns remain part of the spacing even though you will not sew into them. Check the new position against a second reference, such as the top of a nearby flower. The counted cross stitch explanation gives more examples of this coordinate-based approach. Accurate counting becomes easier when you regularly verify short distances instead of trusting one long count across a nearly empty chart.
Arrange multipage charts so the joins make sense
Read the page map before joining sheets or beginning a large design. Identify the top-left section and follow the global row and column ranges across the pattern. A page number describes document order, which may not always correspond to the direction you are stitching. Our generated charts label non-overlapping sections, so the column after the last column on one section begins on its neighbor without repeating an overlap strip.
Other designers may use overlapping rows or columns for reference. Shaded overlap is usually not intended to be stitched twice, but confirm the instructions for that particular file. You can keep pages separate in a folder or assemble a larger paper overview; either method works if coordinates remain visible. Avoid trimming away the only labels that identify a section. For practice, generate a larger blank grid and inspect its map before committing to a large photo pattern. This makes the page system familiar without requiring you to manage a complex palette at the same time.
Mark progress without hiding the information you still need
Choose a marking method that leaves symbols legible. A light highlighter, a small pencil mark, or a digital annotation can work, but test it on a copy first. Mark a stitch only after it is complete. If you work a run of lower diagonals before returning with upper diagonals, distinguish the partial row from fully finished crosses. Otherwise your progress marks can become misleading after an interruption.
Keep an untouched original file and save an annotated working version under a different name. On paper, write a brief stopping note when necessary: page, global row, current color, and whether any half crosses remain. A line marker can reduce visual clutter while you follow a dense row, but move it carefully so it does not conceal the next reference point. If you find yourself rereading the same section repeatedly, consider enlarging that page or changing to the other chart style. The black-and-white comparison can help you choose a version that suits your eyes and marking habits.
Troubleshoot a page that is difficult to read
If symbols are blurred, check whether the PDF contains a low-resolution image rather than vector chart content. Increasing print quality cannot restore detail that was absent from the source. If grid lines are missing, inspect the print preview, printer settings, and ink level. A pale gray line can become difficult to see even when the symbols remain dark. Try a test page before reprinting a whole document, and keep changes small so you know which setting improved the result.
If content is clipped, verify both the PDF paper size and the printer's selected paper size. Avoid manually cropping the chart image to compensate; that can remove coordinates or stitches. If dark fills obscure symbols, use the monochrome version where available. If only a few cells remain ambiguous, consult the clean digital file at higher zoom. Do not infer a symbol solely from the surrounding picture. A plausible guess may still assign the wrong thread, especially in a shaded photo pattern where adjacent colors differ only slightly.
Work through one complete example before your next project
Download the Woodland Mushroom PDF and begin with the cover. Note the overall grid size and chosen fabric count, then locate the palette and identify the symbol used for the cap. On the chart page, find a recognizable edge of that cap and trace a short row. Confirm where the cream spots interrupt the main color and where blank fabric begins. This connects the preview, legend, and stitch coordinates in a way that simply viewing the cover does not.
Print the chart in the style you prefer, leave the legend nearby, and mark a few practice cells on a spare working copy. Then use the fabric calculator to determine the real finished size and cutting allowance. You now have the two different scales under control: a readable paper chart and a correctly sized piece of fabric. That preparation is reusable for larger patterns. The objective is not to memorize a chart but to build a reliable method for finding, checking, marking, and returning to each stitch.
Blank cross stitch grid maker · Download the original woodland mushroom pattern
Examples, diagrams and planning estimates are original Cross Stitch Creator content.