
Counted cross stitch transfers a design from a chart to blank fabric. You count the fabric grid to place each stitch instead of following a picture printed directly on the cloth.
What a chart square means
For a full-cross pattern, one chart square represents one complete X. The symbol inside identifies a thread color using the legend. An empty square usually means unstitched fabric, but always check the key: white thread can have its own symbol. Bold grid lines commonly group ten squares, which makes distances easier to count. The chart is a coordinate system, not necessarily a picture at finished size.
Count fabric correctly
On Aida, one cross normally fills one block. On evenweave worked over two, one cross spans two fabric threads in each direction. A 28-count fabric worked over two gives 14 stitches per inch. Do not confuse the two working strands of floss with the two fabric threads being crossed; they describe different decisions.
Move between separate areas
If two flowers have five empty squares between them, count the full empty spaces rather than estimating their distance. Check the position against a second nearby feature where possible. Long thread carries can show through pale fabric and use extra floss. Ending one section and restarting another may give a cleaner result than traveling across a large blank region.
Practice with a repeating motif
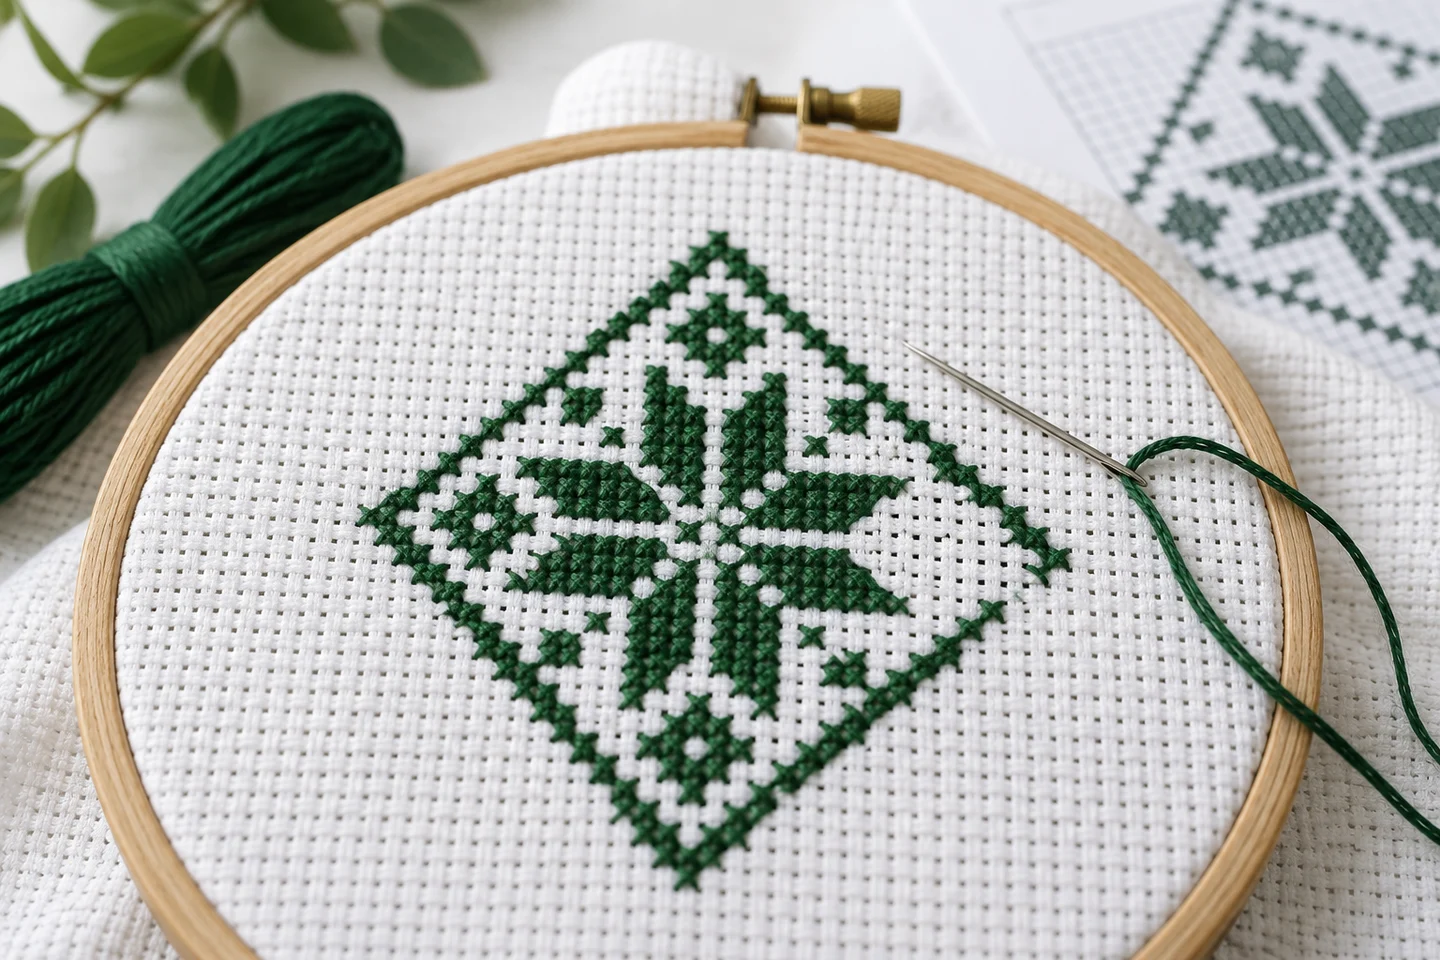
A symmetrical star is a useful counting exercise. Mark the center, stitch one arm, and compare it with its opposite. A mismatch becomes visible before the whole chart is complete. Use removable chart marks or a separate working copy to track progress. Never assume a fabric marking pen will wash out without testing a scrap. Our blank grid tool lets you draw a small original motif and see exactly how its chart squares relate to stitched positions.
Counted, stamped, and printed: identify the instructions you have
The word counted describes how stitch placement is determined. You follow a separate grid and count positions on blank fabric. In a stamped project, a design is already marked on the cloth, so the placement method is different even if the finished stitches are X-shaped. A printed image that looks like cross stitch may be neither a counted chart nor a stitching kit. Before choosing materials, establish whether the file includes symbols, dimensions, and a usable key.
This distinction helps when searching for free cross stitch patterns. A beautiful photograph of finished work can inspire a project, but it does not tell you every stitch position. Likewise, a colored grid without a legend may leave uncertain whether pale cells represent white thread or untouched fabric. Read the entire instruction set before starting. If the project combines a printed background with counted areas, follow its particular directions rather than applying assumptions from a plain Aida chart. The actual construction should determine how you interpret the squares.
Read a chart as a coordinate system rather than a tiny painting
Imagine each column and row as an address. A stitch belongs at their intersection, and its symbol tells you which color to use there. The color shown behind a symbol is a helpful overview, but the symbol is the dependable identifier when printing changes the appearance. A dark green and deep blue may look similar on one printer; two distinct letters or shapes should still be distinguishable. Keep the legend visible while working.
Coordinates also make large patterns manageable. A page beginning at column 51 continues the same design rather than restarting it. Our PDFs split large grids into sections without repeated overlap cells, and each page states its range. Other designers may include shaded overlap, so always read their page instructions. You can practice the idea on the blank grid tool: draw a small motif, label its first and last occupied coordinates, and ask whether someone else could place each cross without seeing a finished photograph. That is the practical standard a chart needs to meet.
Understand what fabric count changes and what it preserves
A chart with 100 columns remains a 100-column chart when you change fabric count. On 14-count Aida, it is approximately 7.14 inches wide. On 16 count, it is 6.25 inches wide; on 18 count, about 5.56 inches. The design becomes physically smaller because each square occupies less space. It does not acquire extra detail, fewer symbols, or a different outline. This is useful when planning the same motif for more than one finish.
The count converter makes these comparisons without modifying the underlying chart. If you need the same physical width on a finer fabric, you would need more chart columns and an actual redesign or resampling step. Simply selecting a different count is insufficient. Compare the smallest important feature before making that change. A one-stitch eye stays one stitch wide, so it also becomes smaller. For a first project, prioritize comfortable counting and an appropriate finished size over the assumption that the finest available fabric always produces the best result.
Distinguish over-two stitching from using two floss strands
These phrases sound similar but describe separate dimensions of the work. Stitching over two means spanning two fabric threads in each direction. Using two strands means carrying two strands of floss through those holes. A project can use two floss strands over one Aida block, one strand over two fabric threads, or another combination specified by its designer. Keep the two instructions separate in your notes so that your size calculation does not accidentally change when you adjust coverage.
On 28-count evenweave, over-two stitching produces 14 crosses per inch. For the fabric calculator, you can enter the actual fabric count of 28 and select over two. For a tool that accepts only effective stitches per inch, enter 14 instead. Do not enter 28 in the second type of tool and assume it knows you are stitching over two. Read the field label. Small input misunderstandings can halve the expected dimensions and leave the purchased fabric or frame unsuitable for the project.
Decide between starting at the center and starting at a corner
A center start gives you a useful reference for keeping the design on the cloth, particularly when the available margins are close. Locate both the fabric center and chart center, then begin at a convenient nearby stitch. The exact middle of an even-sized chart may fall between cells rather than inside one. Treat that center as an alignment reference; it does not mean you must invent a new stitch on the dividing line.
A corner start can be convenient for a solid block or a long border, provided you have calculated and measured its position. Count from a verified center or measured design boundary to the chosen starting point. Do not place the first stitch a guessed distance from a frayed edge. Whichever method you choose, check a second reference before extending a large region. Our beginner guide walks through the practical preparation, while the small Nordic Star chart offers symmetry that makes a misplaced section easier to recognize.
Treat the unstitched fabric as part of the pattern
Negative space is not wasted space. In an open floral design, it separates petals, leaves, and stems and lets the fabric contribute to the finished appearance. A blank five-square gap remains five squares wide even though no thread is sewn into it. Compressing that gap changes the relationship between the shapes. This is one reason an open motif may require careful counting despite having fewer filled cells than a full-coverage design of the same dimensions.
Fabric color also affects those empty areas. A chart designed with cream cloth in mind can look different on black, blue, or patterned fabric. Examine whether dark stitches still have enough contrast and whether intentional gaps remain visible. If you substitute thread colors, inspect them together with the actual fabric rather than separately on a screen. The generic palette viewer helps organize approximate color relationships, but it is not a branded thread conversion service. Use physical swatches to settle material choices before stitching an extensive area.
Make a simple progress system that survives interruptions
A counted project becomes easier to resume when the stopping point is unambiguous. Mark completed cells on a working copy of the chart and keep the current thread labeled. If you stop halfway through a row of lower diagonals, record that the crosses are not yet complete. Otherwise you may return later and mistake a partly worked region for finished stitching. An extra note can save more time than trying to reconstruct the sequence from memory.
You do not need an elaborate tracking app to do this. A paper chart, light marking color, and a short session note may be sufficient. Avoid a pen that makes symbols unreadable, and retain an unmarked original file. On a large chart, note both the page and the global row or column. Before beginning the next session, compare a few actual stitches against that reference. The print-and-read guide describes page handling in more detail, including why printer scaling affects readability but not the fabric's finished stitch size.
A small exercise to connect chart and cloth
Create a 20 by 20 blank grid and draw a simple three-by-three square in its center. Place a second small square two columns to the right and one row higher. Give the shapes different symbols and leave the gap blank. Calculate the design size at your chosen fabric count, add margins, and stitch the first shape. Before sewing the second, count its offset from the first and verify the top edge against the chart.
This exercise isolates the essential skill without asking you to manage a complex picture. You can see how rows, columns, empty cells, and color symbols work together. If the second shape is misplaced, locate the counting error and correct it before adding a border. Once that process feels comfortable, choose an original small design from the free pattern library. A successful counted project is not about memorizing every cell. It is about keeping a reliable relationship between the chart, the fabric, and the reference points you have already stitched.
Blank cross stitch grid maker · Download the original nordic star pattern
Examples, diagrams and planning estimates are original Cross Stitch Creator content.