
A beginner-friendly pattern is easy to follow, not merely small. Color changes, scattered stitches and unfamiliar techniques can make a tiny design more demanding than a larger block of color.
Read the technique list
Look for full crosses only if this is your first project. Fractional stitches, blended needles, beads and backstitch are useful techniques, but each adds another instruction to follow. Count the colors and inspect the legend. Three clearly different colors are simpler to manage than twelve nearly identical shades, especially under artificial light.
Inspect the shape of the stitching
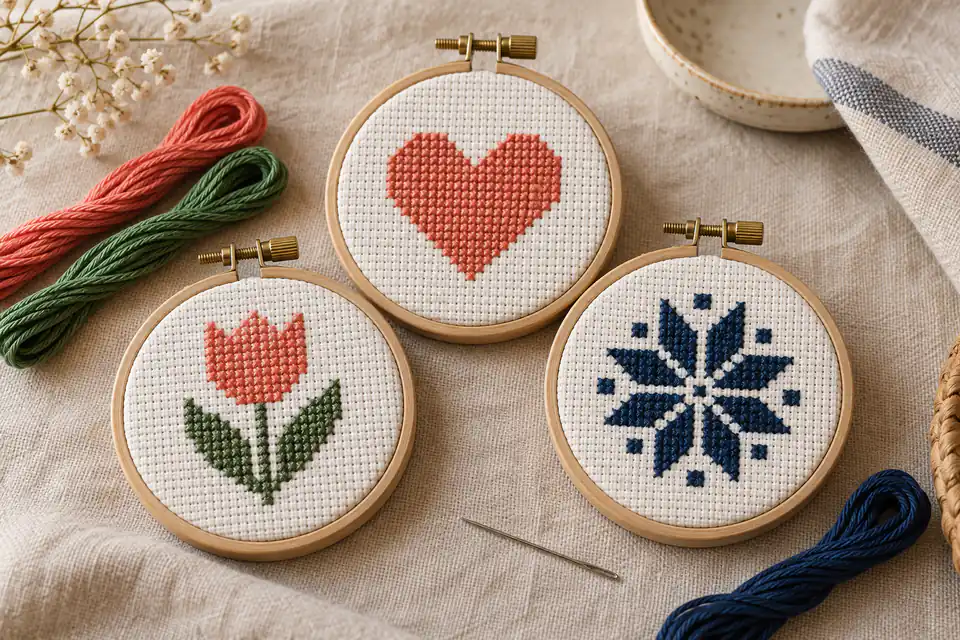
Continuous rows give you a rhythm and make errors easier to locate. Scattered single stitches, often called confetti, need more starts, stops and checking. Open motifs reduce the number of stitches, but gaps require accurate counting. A small tulip combines a clear stem with a compact flower head, so it offers both kinds of practice without a very large chart.
Plan a realistic first finish
Stitch dimensions describe the bounding rectangle, not necessarily the number of filled squares. A 40 × 40 open flower may have far fewer than 1,600 stitches. Use the chart’s actual stitch counts when estimating time. If you have only half an hour at a time, divide the work into short sections rather than setting an ambitious completion date.
Check the download before buying supplies
Open the PDF at a comfortable zoom. Can you tell the symbols apart? Does it state the finished dimensions, fabric count and thread key? Print one page before cutting fabric. Our free Tiny Tulip uses full crosses and leaves fabric visible around the motif. Download it without checkout, use the time estimator with your own stitching speed, and treat your first attempt as a learning project rather than a test of neatness.
Judge difficulty from the chart, not the product photograph
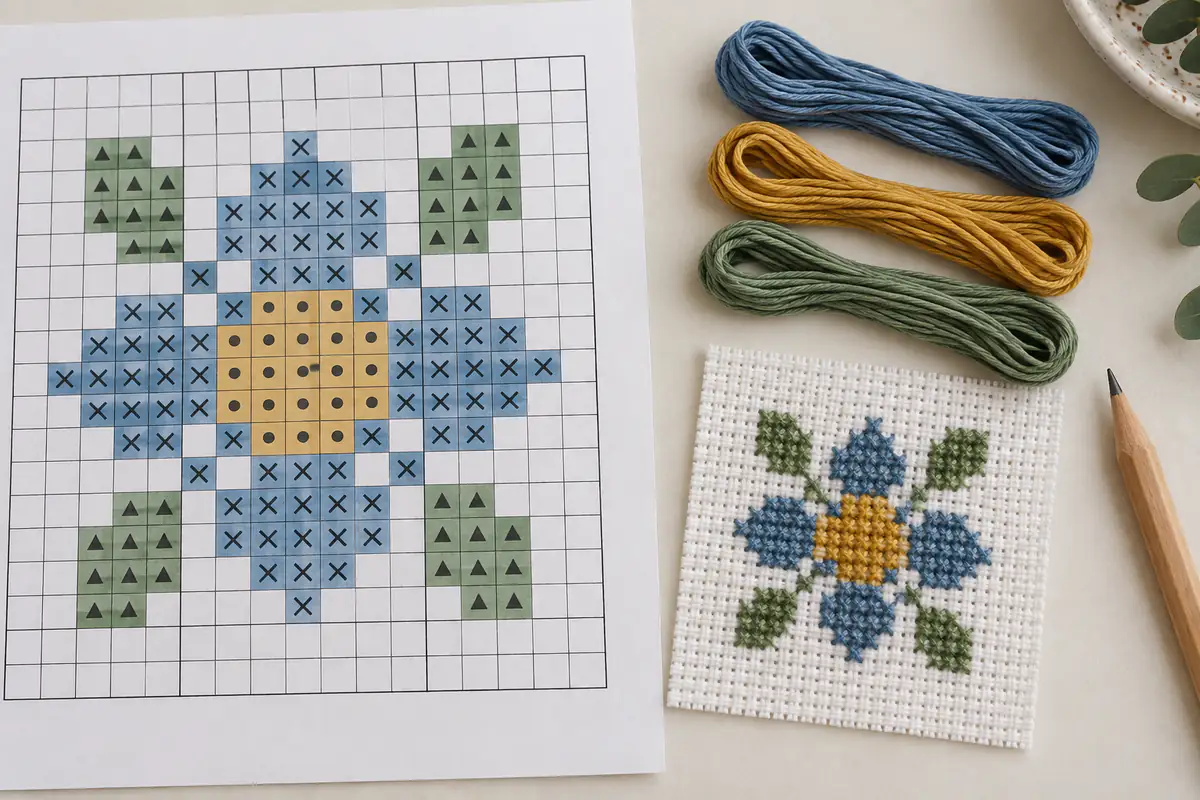
A styled photograph can make nearly any project look approachable. A small hoop, a soft background, and a neat finish do not reveal how many times the stitcher changed thread or counted across empty areas. Open the actual chart and inspect one representative section. Look for full crosses, distinct symbols, and clusters that can be followed without constantly moving between distant points. These features tell you more about the working experience than a beginner label alone.
A genuinely approachable chart should also explain its assumptions. You need the complete stitch dimensions, recommended fabric or effective count, and whether blank cells remain unstitched. The number of colors should correspond to a usable legend. Our guide to a good counted chart provides a more detailed checklist. If a download only contains a picture of the finished motif, choose another source rather than trying to reconstruct the design. Your first project should teach stitching, not force you to reverse-engineer missing instructions before you can begin.
Compare three first-project shapes and what each teaches
A solid heart gives you short repeated rows and a recognizable outline. It is useful for learning consistent diagonals and watching how the silhouette grows. A tulip adds a narrow stem and small leaf areas, introducing counting between parts without requiring a large chart. A geometric star introduces symmetry: the opposite arm can act as a visual check when you are uncertain about a row. None of these subjects is automatically easy, but a simplified full-cross version can isolate a manageable set of skills.
Compare the Little Heart, Tiny Tulip, and Nordic Star before deciding. Notice which chart makes immediate sense to you. Some people prefer filling a continuous area; others find a small open motif more motivating. Choose the one that suits your attention and available sessions. Avoid treating this preference as a measure of ability. An enjoyable first finish is a better foundation than a supposedly ideal project that you do not actually want to work on.
Count colors, but also count changes between colors
Four colors can create a very simple pattern or a surprisingly fiddly one. If each color occupies one large region, you can stitch long runs before changing the needle. If the same four colors alternate in nearly every square, the total palette is small but the movement and checking are much more demanding. Examine the distribution, not just the number printed on the cover. A few isolated accent stitches can be reasonable; a field of confetti is a different kind of project.
Trace a possible route through the chart with your eyes. Could you finish a short row, continue into a neighboring row, and check the shape easily? Or would you repeatedly jump across several blank spaces? This exercise helps predict the work without claiming an exact completion time. The time estimator includes adjustable overhead, which you can increase for frequent changes. Keep the first estimate generous. A beginner is also learning to manage thread, locate the right symbol, and secure ends, so a confident experienced stitcher's speed is not a suitable starting assumption.
Make the fabric choice support the learning goal
Large, clearly visible fabric blocks can make counting more comfortable, but the best choice depends on your sight, lighting, and desired finished size. Compare 14, 16, and 18 count through the fabric count guide. Do not choose a finer fabric solely because the result appears more delicate in a photograph. If locating the holes becomes frustrating, the finer surface can work against the purpose of a relaxed first project.
Check how a change in count affects both the motif and your supplies. The same chart needs the same number of crosses, but a smaller physical stitch can change the feel of the working thread and needle. Make a little test with the specified strand count. Look at the coverage from a normal viewing distance, not only under extreme magnification. For a first full-cross design, a light plain fabric usually makes the grid easier to see than a busy print. If you choose dark cloth, test the actual thread colors against it before committing to the entire piece.
Build a small project kit around one pattern
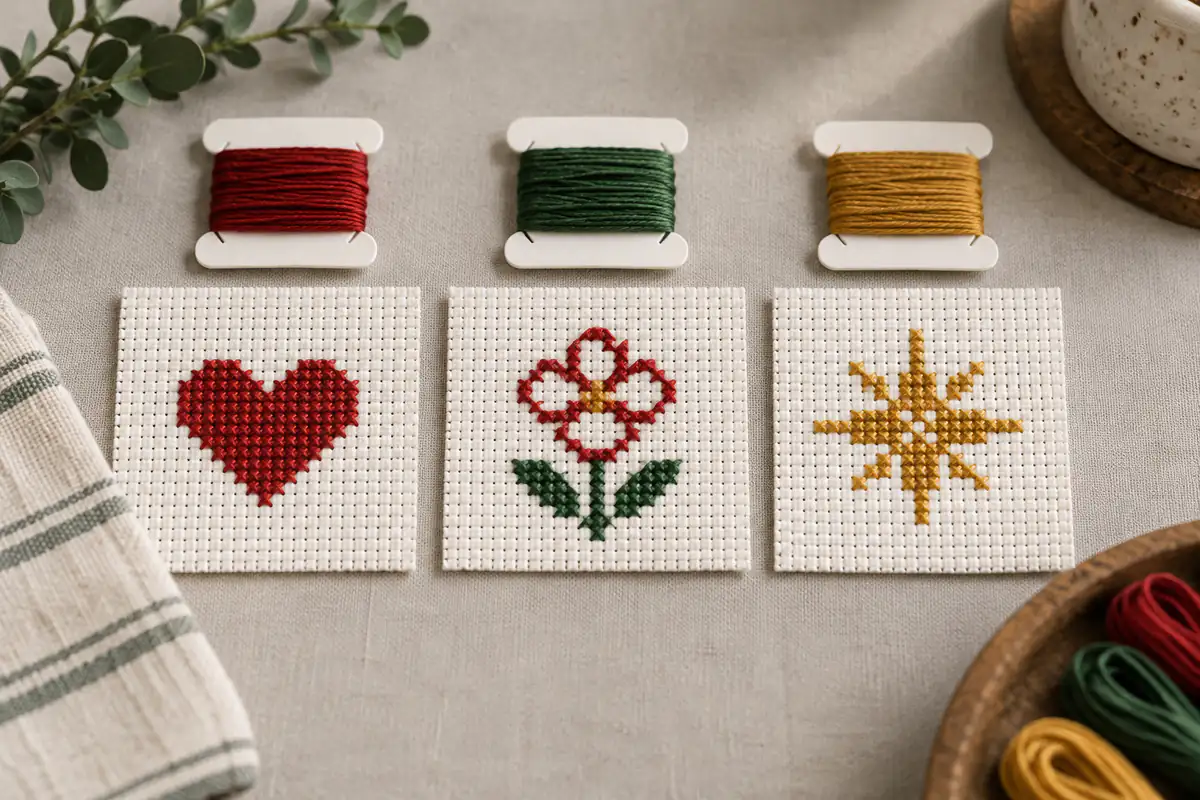
Gather only the materials needed for the selected chart: enough fabric including margins, labeled thread for each symbol, an appropriate tapestry needle, scissors, and the printed instructions. A hoop or frame can help if you find it comfortable, but it should not distort the fabric. Keep the legend with the chart so the color assignments remain clear even after the threads leave their original packaging. A small bag or folder can protect the work between short sessions.
This focused approach makes it easier to diagnose problems. If a thread feels crowded in the holes, you can compare the actual needle, fabric, and strand count rather than sorting through an assortment of unrelated supplies. Use the first-project supplies guide before making additional purchases. Avoid changing several variables at once. Start with the chart's intended setup, then adjust a specific element if a test suggests a reason. More equipment is not automatically more useful; a readable working copy and good light often solve the first practical obstacles.
Use a simple scoring exercise when several patterns appeal
Write down three candidate charts and compare the same features for each: stitch dimensions, filled stitches, palette size, special techniques, scattered areas, and planned finish. You do not need a formal quality score. The purpose is to make the tradeoffs visible. A 24 by 24 solid shape might require more crosses than a 40 by 40 open flower, while the flower may require more attention to spacing. The easier project is the one whose demands fit your current learning goal.
Add one personal criterion: do you want the finished object? A project with an appealing subject gives you a reason to return after the novelty of the first session passes. Then check whether it can be finished with materials and methods you already understand. A tiny motif for a card may be simpler to complete than an ornament requiring unfamiliar sewing. Our mini-pattern guide discusses that finishing stage. Choose one chart, print it, and put the other candidates aside until you have enough experience to compare them with actual stitching rather than guesses.
Plan stopping points that make the next session easy
A good beginner pattern has recognizable milestones: the heart outline, a leaf, one arm of a star, or a short row. Use these as possible stopping points without forcing yourself to finish a long section when tired. Before putting the project away, mark only the stitches you have completed and note any remaining half crosses. Keep the current thread identified. Returning to a clear stopping point is much easier than trying to remember what a partly marked chart meant several days earlier.
Short sessions are perfectly compatible with learning, but interruptions increase the value of careful notes. When you resume, check two or three neighboring stitches against the paper before sewing a new row. If something seems wrong, resolve it locally rather than continuing in the hope that the shape will correct itself. The chart-reading article explains useful progress habits. A project that teaches accurate checking can be a successful beginner choice even if it takes longer than expected. Speed becomes easier to estimate after you have completed a few comfortable sessions.
Know when to choose a slightly more ambitious next pattern
After finishing a first motif, identify one new skill you want to add. That might be handling another color, working a wider open gap, stitching a short word, or following a second chart page. Increase one main demand at a time so you can understand what changes the experience. Jumping from a small heart to a large detailed portrait combines several new challenges and makes it harder to discover which one is causing difficulty.
Keep the completed first chart and a few practical notes: actual fabric count, thread setup, approximate sessions, and any change you would make next time. Those notes make the next project selection more informed. The free pattern library offers different shapes without requiring a purchase, and the alphabet maker lets you try a short supported word. A beginner-friendly progression is not a rigid ladder. It is a series of manageable projects that leave you with clearer counting habits, more confidence in your materials, and finished pieces you enjoy keeping or giving.
Cross stitch time estimator · Download the original tiny tulip pattern
Examples, diagrams and planning estimates are original Cross Stitch Creator content.