
Halloween motifs benefit from strong silhouettes and a few contrasting colors. Pumpkins, simple stars and original geometric borders can be expressive on a compact grid.
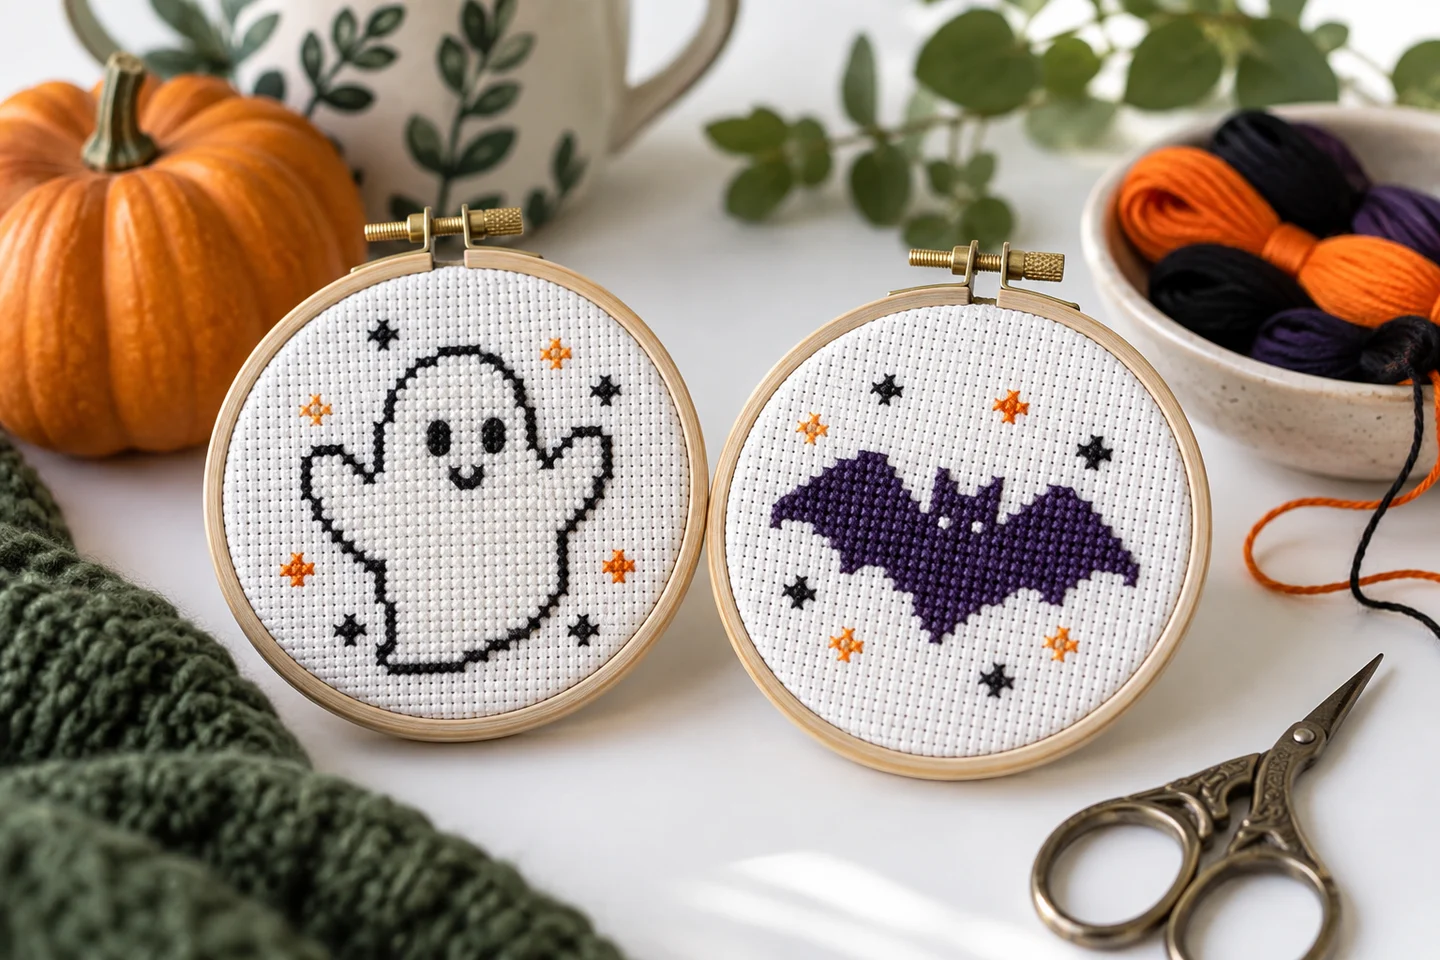
Build a readable silhouette
At a small scale, prioritize the outline. A pumpkin needs a clear rounded body and stem before it needs shading. Leave enough space between facial features so the eyes and mouth do not merge. Check the chart from a distance or at reduced zoom: a design that works only when enlarged may be too detailed for its stitch size.
Choose a controlled palette
Warm orange against deep charcoal is a familiar high-contrast combination. Add one lighter or darker orange only if it helps separate the shape. On black fabric, dark thread may disappear; on pale fabric, unstitched gaps can become part of the design. Test physical floss rather than assuming a screen swatch will match your materials.
Use borders sparingly
A repeating border can turn a single motif into a small framed project, but it also adds many stitches. Count the completed border in the final dimensions and floss estimate. Keep a blank row or two between the border and motif if you want them to read as separate elements.
Choose original subjects
Generic pumpkins and geometric shapes leave room for your own interpretation. Avoid copying trademarked characters or someone else’s chart from a search result. Our Harvest Pumpkin is an original full-cross pattern with its own stitch chart and generic palette. Download it free, inspect the palette viewer, and decide whether your fabric gives enough contrast. If you adapt colors for a darker background, save a note of the real thread labels so repairs and future matching pieces remain possible.
Build the idea around a recognizable silhouette
Halloween motifs work well on a stitch grid when their main shape remains clear at a small size. A pumpkin, crescent moon, cat or simple mushroom can be recognizable before you add shading. Start by drawing the outline and viewing it from a distance. If the subject depends on several tiny details to be understood, simplify the shape or increase the grid size. A bold silhouette gives you more freedom to keep the palette short and the stitching manageable.
The Harvest Pumpkin and Moonlit Cat charts offer original starting points with different visual structures. Compare their actual cells and color placement rather than choosing only from the preview. If you prefer to design your own, use the blank grid tool to sketch a small outline first. Make the subject readable in one color before deciding whether extra highlights, stars or borders improve it. This keeps decoration from compensating for a weak underlying shape.
Choose a palette that works on the fabric
Orange, black, purple and green can suggest a Halloween theme, but the relationship between light and dark determines whether the stitches remain visible. Black thread on very dark cloth may disappear unless neighboring colors define its edge. Pale accents can stand out strongly, while several medium-dark shades may blend together. Place actual thread against the fabric in useful light before committing to the palette, especially if the design leaves much of the background unstitched.
The site's color references are generic and do not guarantee a match to a specific thread brand. Record the physical floss you choose and test a small patch when contrast is uncertain. The palette tool can help you explore a range, while the color selection guide explains why value differences matter. If you change the fabric from cream to black, reassess the whole composition instead of assuming that every original color will retain the same role against the new background.
Make eyes and facial details intentional
A pumpkin face or a cat's eyes may occupy only a few cells, yet those cells carry much of the expression. Check their spacing, height and relationship to the outline on the actual grid. One extra stitch can turn a friendly face into a different expression or make two eyes appear misaligned. Draw several small versions before choosing, and view them at approximately the finished physical size rather than only in a heavily magnified chart.
Leave clear negative space around important features. If the mouth, nose and eyes merge into one dark area, removing detail may improve recognition more than adding another color. The grid size guide explains how resolution limits small features. For a first project, a silhouette without a face may be the most satisfying choice. It allows you to practice accurate outlines and consistent tension without relying on a handful of highly sensitive stitches to communicate the entire subject.
Plan a border as part of the grid
A border can give a small seasonal motif a finished appearance, but it changes the chart dimensions and material requirements. Decide its distance from the central image and count that gap on every side. Repeating geometric units should meet cleanly at the corners; do not assume a border can be extended indefinitely without adjusting its repeat. Sketch the full rectangle before stitching a long edge so you can resolve awkward joins on paper rather than on the fabric.
Keep the border visually quieter than the main subject unless the border itself is the focus. A heavy dark frame can overwhelm a delicate moon or small cat. Use the make your own chart guide to plan the combined design and the fabric size calculator to recalculate the full stitched rectangle. Remember that the fabric margin lies outside the border. The empty gap between a motif and its stitched frame is part of the design, not a substitute for finishing allowance.
Choose a practical object for the motif
A seasonal design can become a card, small hanging, framed accent or sewn patch. The intended object should determine the usable area and the edge treatment. A round hoop favors a composition with breathing room near the circular opening, while a narrow bookmark needs a vertical arrangement. Measure the actual object and compare it with the chart's physical size on your chosen fabric count. Do not assume a square chart fits a circular display simply because their maximum widths match.
For an ornament or patch, consider the backing and attachment method before cutting. Keep enough cloth to secure the edge without crowding the stitches. The mini project guide describes how to test one complete item before preparing a batch. If the decoration will be handled frequently, choose a finish that protects loose thread ends and supports the fabric. Follow the care instructions for the materials used rather than treating every stitched seasonal object as suitable for the same washing or pressing routine.
Add lettering without crowding the picture
Short words can reinforce a seasonal theme, but they require deliberate space. Generate or draw the text first, then place it with the motif on a master grid. Count the gap between the two and check the overall width. A word that looks small on a screen can become the widest part of the composition after conversion to stitches. If it forces the picture into a cramped corner, simplify the message or arrange the elements on separate lines.
The alphabet tool supplies an original uppercase A–Z block alphabet and spaces, with three scale choices. It is useful for straightforward words, while punctuation and unsupported characters need their own checked design. The lettering guide explains centering and negative space. Choose a text color that remains easy to read and avoid giving each letter a different shade unless that variation supports the composition. Clear, restrained lettering usually works better at a small stitch scale than a crowded decorative phrase.
Manage dark thread and open fabric carefully
Dark thread carries can show through pale fabric, especially across open areas around a silhouette. Plan where you will secure and restart rather than automatically traveling long distances on the back. Keep tension gentle so the cloth does not pucker around dense dark shapes. A solid black area may make uneven stitches more noticeable because the eye sees its outer edge clearly. Work in manageable groups and check that the top legs face consistently across the design.
Use a working length that stays comfortable and untangled, and separate the required strands before threading the needle. If a small area becomes bulky from repeated starts, reconsider the stitching order while preserving secure ends. The beginner cross stitch guide covers these fundamentals. For material planning, the floss estimator offers an approximate starting point, but scattered accents and multiple starts require a practical reserve. A small chart with many disconnected stars can use thread differently from a compact solid pumpkin of similar stitch count.
Keep seasonal inspiration original and reusable
Familiar subjects provide plenty of room for original design. You can explore a different pumpkin outline, a moon placement or a limited palette without copying a particular commercial chart. Keep your sketches and final grid so the design can be repeated or adjusted later. If you use an existing free pattern, retain its source and follow its stated terms. A pattern being easy to find online does not make an uncredited image a reliable or authorized chart source.
After finishing, record the fabric count, thread choices and actual object dimensions. Those notes make it easier to create a coordinating piece next season or adapt the motif into a different finish. Review what was enjoyable and what became fiddly, then choose one improvement for the next project. The beginner pattern guide can help you balance novelty with manageable difficulty. A seasonal series feels coherent when its motifs share thoughtful proportions and colors, even if each individual chart is small and simple.
Color palette & nearest-color finder · Download the original harvest pumpkin pattern
Examples, diagrams and planning estimates are original Cross Stitch Creator content.