
Grid size can mean the number of stitches, the size of a printed cell, or the fabric count. These describe different things and should not be substituted for one another.
Stitch dimensions define the design
A 60 × 80 grid has 60 columns and 80 rows. It offers 4,800 possible stitch positions, although an open design may use only some of them. Increasing the grid dimensions lets an image contain more detail. It also increases the potential workload, especially when both dimensions grow.
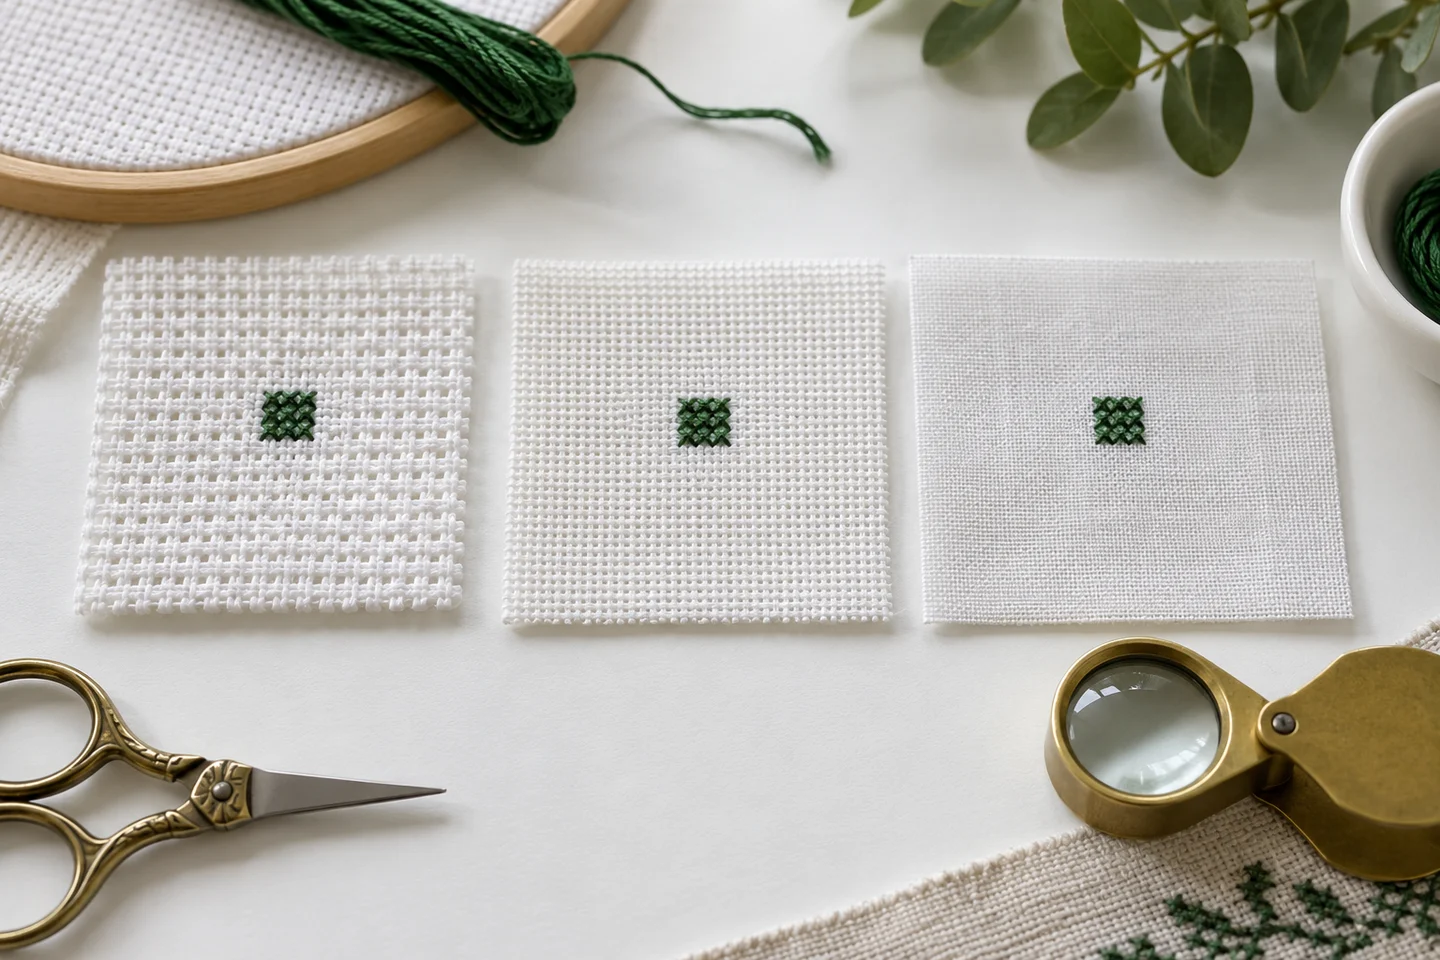
Fabric count defines physical scale
On 14-count Aida, the 60 × 80 design measures about 4.29 × 5.71 inches. On 18 count, it measures about 3.33 × 4.44 inches. The symbol arrangement remains identical. If a chart needs to fit a particular frame, calculate this physical size before choosing fabric or changing the design.
Printed cell size defines readability
A chart can print each square several millimeters wide even when the actual stitch is much smaller. Enlarging the paper chart does not enlarge the final stitching. Large designs should be paginated instead of squeezed onto one page. Ten-square rules help your eye maintain position across a broad field of symbols.
Pick the right grid for the job
For a small hand-drawn motif, start with a compact blank grid and leave space around the silhouette. For a photo, choose dimensions based on the smallest feature you need to preserve. Inspect a reduced preview before increasing size by default. Our blank-grid maker provides printable sections with bold ten-square lines. The Summer Butterfly is an example of a modest grid with unstitched background, useful for seeing the difference between the bounding rectangle and the actual number of sewn crosses.
Distinguish chart squares from fabric dimensions
A chart grid is a map of stitches. Its squares do not have to be printed at the same size as the squares you will stitch on fabric. A hundred-stitch-wide chart remains a hundred stitches wide whether it fills a phone screen or several sheets of paper. The finished width comes from the fabric's effective stitch count, not from measuring the printed grid with a ruler. This distinction makes enlargement possible without changing the design itself.
On fourteen stitches per inch, a hundred stitches span about 7.14 inches. On eighteen stitches per inch, they span about 5.56 inches. The chart coordinates and color placements remain the same. Use the fabric size calculator when you want the physical dimensions, and use print scaling only to improve readability. If you want to redesign the number of stitches rather than merely enlarge the paper, begin with the blank grid tool or regenerate a photo chart at a different stitch width.
Choose a grid that matches the amount of detail
A tiny grid is excellent for bold symbols and simple silhouettes. It offers fewer opportunities for subtle curves, small lettering or realistic shading. A larger grid provides more cells for those details, but it also increases the stitching workload and may reveal distracting information in a busy photograph. Choose the grid around the subject and the intended use rather than assuming the largest option is always the best. A greeting-card motif and a framed portrait solve different design problems.
Try identifying the smallest important feature before deciding on width. A pet's eye, a narrow flower stem or the gap between two letters needs enough cells to remain distinct. If that feature collapses into a single ambiguous square, enlarge the design, simplify the feature or crop more tightly. The photo-to-cross-stitch guide shows why cropping can preserve meaningful detail more effectively than adding stitches to an entire background. Compare candidates at their expected viewing size as well as zoomed in.
Use ten-by-ten blocks as counting aids
Heavier lines every ten cells divide a large chart into manageable regions. They are landmarks, not extra rows of stitches. A line between columns ten and eleven does not represent a stitch of its own, and crossing it does not reset the overall coordinate system. Practice counting complete cells between boundaries so you do not accidentally count both endpoints. A small error at a block boundary can shift an entire motif before it becomes obvious in the picture.
When transferring a position to fabric, count from a known nearby point and verify it against another reference. Gridding fabric may help on a large project, but test the marking material first and keep it compatible with the fabric and finishing instructions. Never assume a pen will wash out just because it looks temporary. If you are new to counting charts, work through counted cross stitch explained and use a small symmetrical chart to practice checking horizontal and vertical distances independently.
Keep empty cells meaningful
An empty chart cell often means unstitched fabric, but the legend determines its actual meaning. White thread should have its own clear symbol when it is part of the design. Do not interpret every pale square as blank fabric, particularly in a photograph conversion where highlights may need stitching. A chart that uses both open background and pale thread must make that distinction unambiguous, or the final coverage can differ dramatically from the preview.
When designing your own motif, decide which spaces intentionally show the cloth. Negative space can make a small pattern clearer and faster to stitch, but it also makes the fabric color part of the design. A dark fabric can transform an open star or flower in ways a white screen preview does not predict. Read the black-and-white versus color chart guide to choose a chart view that clearly separates symbols, pale colors and unstitched regions before you print or share the pattern.
Treat resizing as a design decision
Scaling a grid drawing can be straightforward when every original cell becomes a larger block of cells, but the resulting crosses still need to look intentional. A diagonal line may become a staircase, a one-cell gap may become too wide, and a delicate letter may turn heavy. Reducing a design is even less forgiving because some cells disappear. After any resizing, inspect narrow strokes, symmetry, counters inside letters and the outline against the background.
Do not confuse software image resampling with a stitch-aware edit. A smooth resized picture can look attractive while producing unclear stitch boundaries when converted back to a chart. For pixel-style motifs, work with the actual grid and make deliberate choices about each shape. The make your own chart guide covers that workflow. If a design is primarily text, the alphabet tool produces an original block alphabet directly on a stitch grid and avoids relying on blurry screenshots of printed lettering.
Plan page boundaries before a long stitching session
Large printed charts need a clear relationship between their pages. On this site, custom chart tiles cover up to fifty columns and sixty rows per page without an overlapping stitch area. Read the tile labels and coordinate ranges to identify where the next page begins. Do not repeat the last row of one page at the start of the next. Keep the complete overview available so that you can check the position of a tile within the whole design.
Print one representative page before printing a large document. Choose a page with dense symbols and pale colors, then check it in your normal working light. Printer settings can make fine lines disappear or reduce text until similar symbols become difficult to distinguish. If a page is hard to read, solve that problem before settling into a long session. The print and read a chart guide explains a practical sequence for checking page order, legends and readable symbol size.
Estimate workload with occupied cells
Grid width multiplied by height gives the maximum number of full crosses in a completely filled rectangle. A 100-by-100 grid contains ten thousand cells, but a sparse motif may occupy only a fraction of them. Use the actual stitch count when estimating thread or stitching time if your chart supplies it. Counting every background cell as a stitch can greatly overstate the work; assuming a photo conversion has open background can understate it just as badly.
Even equal stitch totals can take different amounts of effort. Long runs of one color are easier to follow than many isolated cells requiring repeated changes. The time estimator can help you explore a planning range using a pace that reflects your own work. Treat the result as a flexible estimate, including breaks and finishing separately. A grid choice should fit the time and attention you want to give the project, especially when the pattern is intended for a dated gift.
Save the grid settings with the final chart
Keep a project record that identifies the stitch width, height, fabric count, color count and chart version. If you compare several conversions, give them meaningful names so you do not accidentally buy materials for one and stitch another. A small change in crop or width can move every feature on the grid. The reference image alone is not enough to reconstruct the exact chart later, because the conversion settings also determine the cells and palette.
Before starting, check one recognizable feature in the overview against its position on the detailed grid. Confirm that the legend belongs to the same version and that all pages are present. For a low-risk practice exercise, print a blank cross stitch grid, draw a small motif and count its width by hand. That simple check builds confidence in the relationship between coordinates, squares and physical fabric before you depend on a much larger pattern with thousands of individual decisions.
Blank cross stitch grid maker · Download the original summer butterfly pattern
Examples, diagrams and planning estimates are original Cross Stitch Creator content.