
This free pumpkin cross stitch pattern gives you an autumn project that is small enough to finish, clear enough for a confident beginner, and flexible enough for a hoop, card or seasonal ornament. Download the original chart, then use this guide to choose fabric, colors and a finish that suits your space.
Download the free pumpkin cross stitch pattern
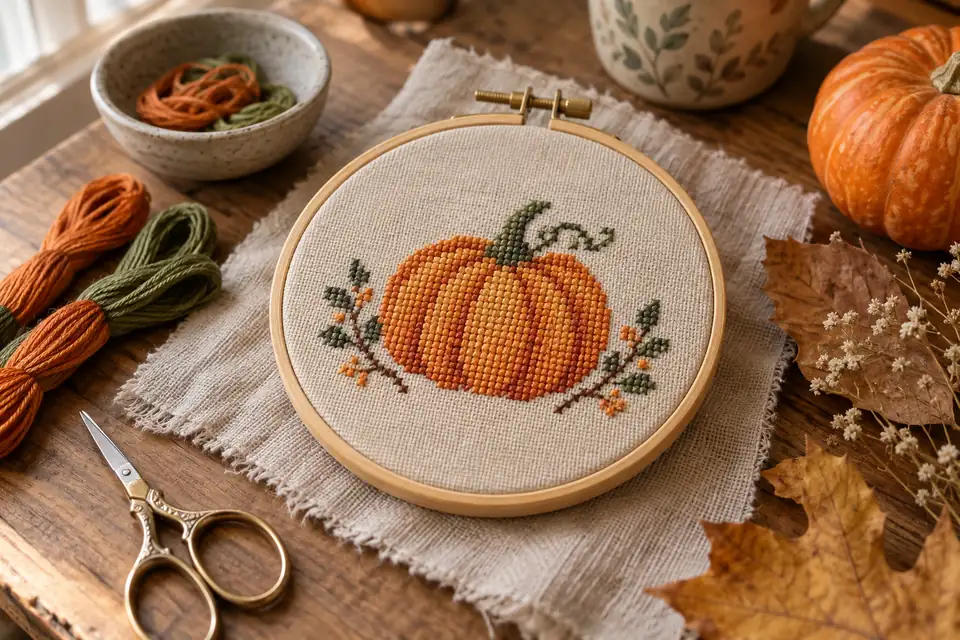
Start with the original Harvest Pumpkin pattern in our free library. The pattern page shows the stitch width, stitch height, number of colors and a preview of the actual grid before you download anything. Choose the complete PDF when you are ready to stitch; it includes a symbol chart and key rather than asking you to copy a photograph. Save the PDF on your device and print at actual size so page scaling does not squeeze the symbols. This is an original Cross Stitch Creator design, created for personal stitching and gifts. The chart is free, requires no account and does not depend on a paid kit. If you are comparing several seasonal projects, browse the Halloween cross stitch ideas guide and the rest of the free pattern library before cutting fabric.
Check the chart size before cutting fabric
A pumpkin cross stitch can look tiny on screen and still need generous cloth once framing margins are included. Read the chart dimensions in stitches, then divide each dimension by the fabric count to estimate the stitched size in inches. Add the margin twice: a two-inch margin adds four inches to both the width and height of the cut. Use the fabric size calculator with the exact chart dimensions instead of estimating from the hoop. For a small display hoop, leave enough cloth to pull the fabric evenly and finish the back. For a card insert, you may need less finishing margin, but you still need enough fabric to secure behind the opening. If you are deciding between 11, 14, 16 or 18 count, the Aida count guide explains how count changes the finished size without changing the number of chart squares.
Choose fabric that supports the autumn palette
White Aida gives the strongest separation between orange, brown and green, while cream, oatmeal or natural fabric creates a softer autumn result. Dark fabric can make a bright pumpkin glow, but it also makes counting and thread coverage more demanding. A confident beginner will usually get the cleanest result on 14-count Aida in a pale neutral shade. Check the fabric in daylight before choosing floss because warm artificial light can make cream fabric and orange thread appear more similar than they really are. The design needs enough contrast for the pumpkin outline, stem and interior shading to remain distinct from a normal viewing distance. If you want to use linen or evenweave, decide whether you will stitch over one or over two threads and calculate the effective count before cutting. Keep a small offcut for testing strand count and washing.
Build a pumpkin palette with clear value steps
A useful pumpkin palette needs more than several orange skeins that look different in a shop. Arrange the colors from light to dark and photograph them in grayscale on your phone. If adjacent shades merge into the same gray, they may not create enough depth in the stitched pumpkin. Aim for a light orange for highlights, one or two middle oranges, a deeper rust for the shadowed ribs, a dark brown for the stem and outline, and a muted green if the chart includes leaves. You can keep the supplied generic color key or create a personal substitution with the screen palette tool. Match physical floss under the light where the finished piece will hang. Cross Stitch Creator uses generic numbered colors, not verified manufacturer codes, so always compare real skeins rather than assuming a screen swatch is exact.
Estimate floss before the first stitch
Small motifs rarely need full skeins of every color, but the background, darkest outline or main orange can use more than expected when the chart contains solid areas. Count or estimate the stitches in each color, then use the floss estimator with your fabric count and number of strands. Add a sensible allowance for starting tails, finishing tails, mistakes and differences in stitch tension. The practical guide to estimating embroidery floss explains why the same chart can consume different amounts on different fabrics. Keep all thread for the project together until the piece is complete. If you substitute a color after stitching begins, compare the new skein beside completed stitches in daylight. Dye lots and aging can produce a visible band even when labels appear to match.
Start at the center or from a verified corner
The safest starting point depends on how the chart and fabric are prepared. A center start works well when the pumpkin is going into a round hoop because it preserves an even border. Fold the fabric lightly in both directions, mark the center without making a permanent crease, and match it to the center arrows on the chart. A corner start can be faster on a carefully gridded piece, but measure the margin and count to the first stitch twice before threading the needle. Do not treat the edge of the printed chart as the edge of the stitched design: blank chart squares still affect placement. Work a small, recognizable area first, such as the stem and top curve, then confirm its position against the grid. This early check is easier to correct than discovering an offset after the whole pumpkin body is filled.
Stitch the pumpkin ribs without losing your place
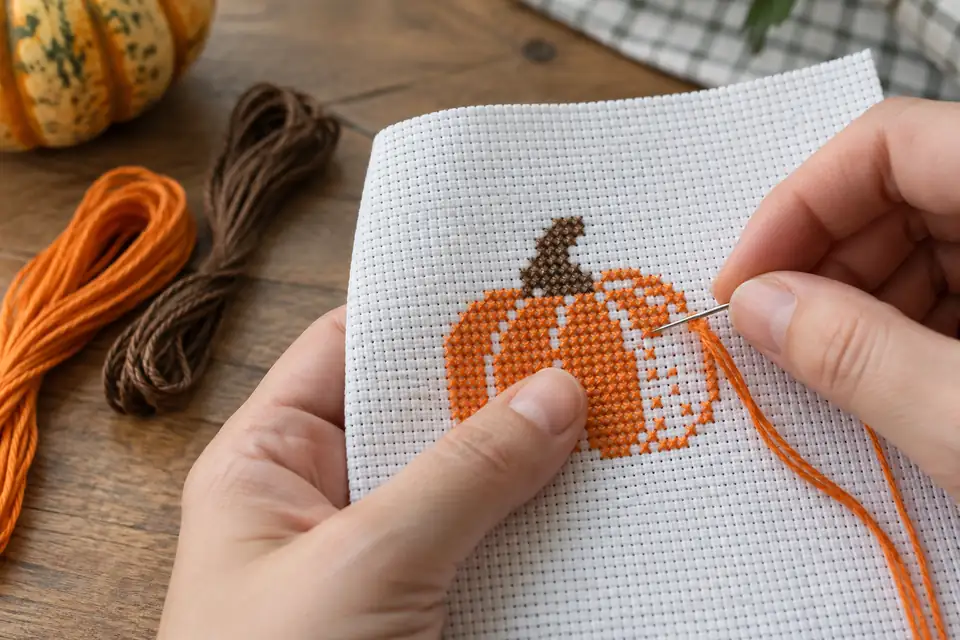
Pumpkin shading often forms narrow vertical or curved bands. Those bands create volume, but repeated orange symbols can be easy to confuse. Mark completed groups on a working copy of the chart and finish one manageable section before moving across the design. You can stitch a row of lower diagonals and return with the upper diagonals, or complete each cross individually in an irregular area. Whichever method you choose, keep every top leg facing the same direction. Avoid long thread carries behind pale empty fabric because dark orange or brown can show through the holes. End and restart when a jump crosses several unstitched squares. If two orange symbols are similar, highlight one symbol at a time on the chart rather than relying on color alone. The symbols remain the reliable instruction when printed colors look close.
Keep the back neat around light and dark areas
A perfectly tidy back is not the goal, but controlled thread paths improve tension and prevent shadows on light fabric. Secure a new strand under nearby stitches or use a loop start when the strand count and thread setup allow it. Avoid knots that can create bumps when the piece is framed or mounted in a card. Clip tails only after they are held securely. When moving from the dark stem to a pale highlight, end the dark thread first instead of carrying it behind the brighter area. Rotate the hoop only if it helps your hand position; keep checking that the top legs of the crosses remain consistent. If the fabric begins to pucker, loosen your pull and smooth the weave rather than stretching the hoop tighter. Even crosses should rest on the surface without closing the Aida holes.
Read and print the chart so symbols stay usable
Open the PDF at full size before printing and confirm that the legend, page numbers and grid coordinates are visible. Select actual size or 100 percent in the print dialog unless the PDF gives a different instruction. Fit-to-page can reduce small symbols and make a multi-page chart harder to align. A black-and-white symbol chart is often easier to mark than a color-only view, especially when several oranges are close. Keep the legend beside the page you are stitching and mark finished blocks with a transparent highlighter or digital annotation that does not hide the symbols. The guide to printing and reading a cross stitch chart explains page overlap and coordinates. Never stitch from the decorative article photograph: it shows the mood and finish, while the downloadable chart contains the actual counted instructions.
Turn the stitched pumpkin into a hoop finish
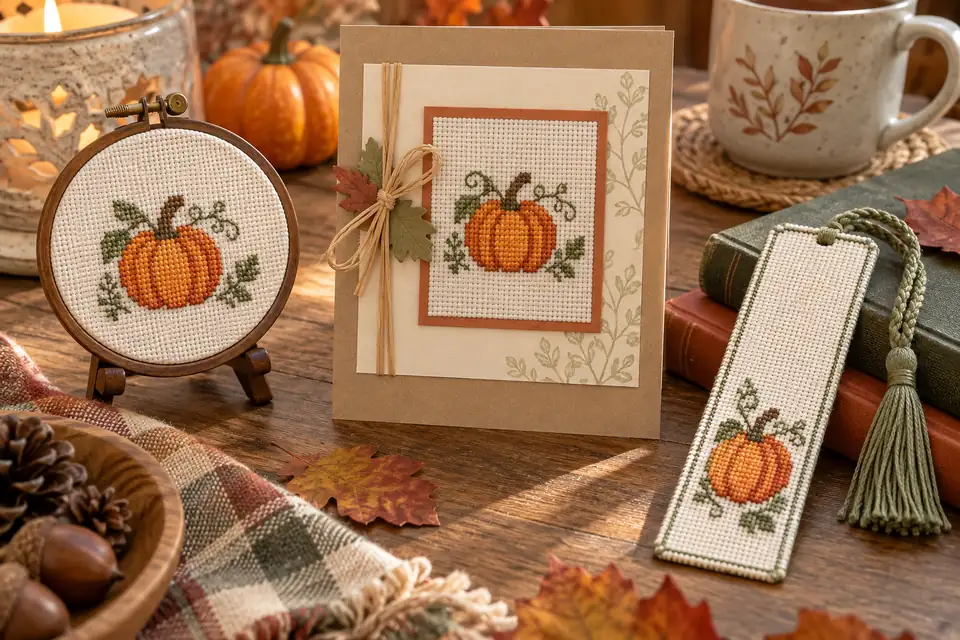
A hoop finish is quick, light and easy to store between seasons. Wash the piece only if the floss and fabric are colorfast and the project materials allow it. Press from the back on a clean towel so the crosses are not flattened. Center the pumpkin in the display hoop, tighten the screw gradually and pull opposite edges of the fabric a little at a time. Check the top, bottom and side margins before trimming anything. Leave enough excess fabric to lace or gather at the back; cutting flush against the hoop makes future adjustment difficult. Add a circle of felt or acid-free board to cover the back without gluing directly onto the stitches. The framing and margin guide covers preparation if you prefer a conventional frame instead.
Make a card, bookmark or seasonal ornament
The same pumpkin motif can become several projects when you plan the crop and finishing method before stitching. For a greeting card, use a window opening smaller than the fabric and attach the cloth from the back with acid-free tape or a stitched paper frame. Keep bulky knots away from the fold. For a bookmark, choose a narrow pumpkin detail or place the motif near one end so the stitched section does not disappear inside the book. A small ornament can be backed with cotton fabric and lightly padded, but add the hanging loop securely before closing the final seam. Measure the intended opening first, then compare it with the stitched dimensions from the fabric calculator. Do not resize by changing print scale; choose another fabric count or adjust the chart in a pattern tool so each square still represents one full cross.
Adapt the colors without weakening the design
Changing orange to blue, white, pink or a variegated autumn thread can make the pumpkin feel personal, but preserve the light-to-dark structure that defines each rib. Label the original symbols as light, middle, dark, outline and accent before choosing replacements. Then assign a new color to each role. A monochrome pumpkin can work when the silhouette is strong, although the interior ribs may need empty spaces or backstitch-like separation to remain readable. Test three or four crosses of every replacement on an offcut and place the sample at normal viewing distance. Variegated floss changes color along the strand, so complete crosses one at a time if you want controlled transitions. Record every substitution on the legend; memory becomes unreliable after a few days away from the project.
Common pumpkin cross stitch mistakes to avoid
The most common error is starting without confirming fabric size, followed by confusing two similar orange symbols. Both are preventable with a calculation and a marked working chart. Other problems include using too many strands for the fabric count, pulling hard enough to distort the holes, carrying dark thread behind unstitched light fabric, and trimming the finished cloth before checking the final mount. Photograph the work at the end of each session; a phone image often reveals a missed stitch or broken outline. If a mistake changes only an interior highlight and the pumpkin still reads clearly, you may choose to leave it. Unpick errors that shift the outline, stem or placement because they can affect later counting. Finish by comparing the complete piece with the chart square by square, then choose a hoop, card or ornament that leaves comfortable visual space around the motif.
Cross stitch fabric size calculator · Download the original harvest pumpkin pattern
Examples, diagrams and planning estimates are original Cross Stitch Creator content.