
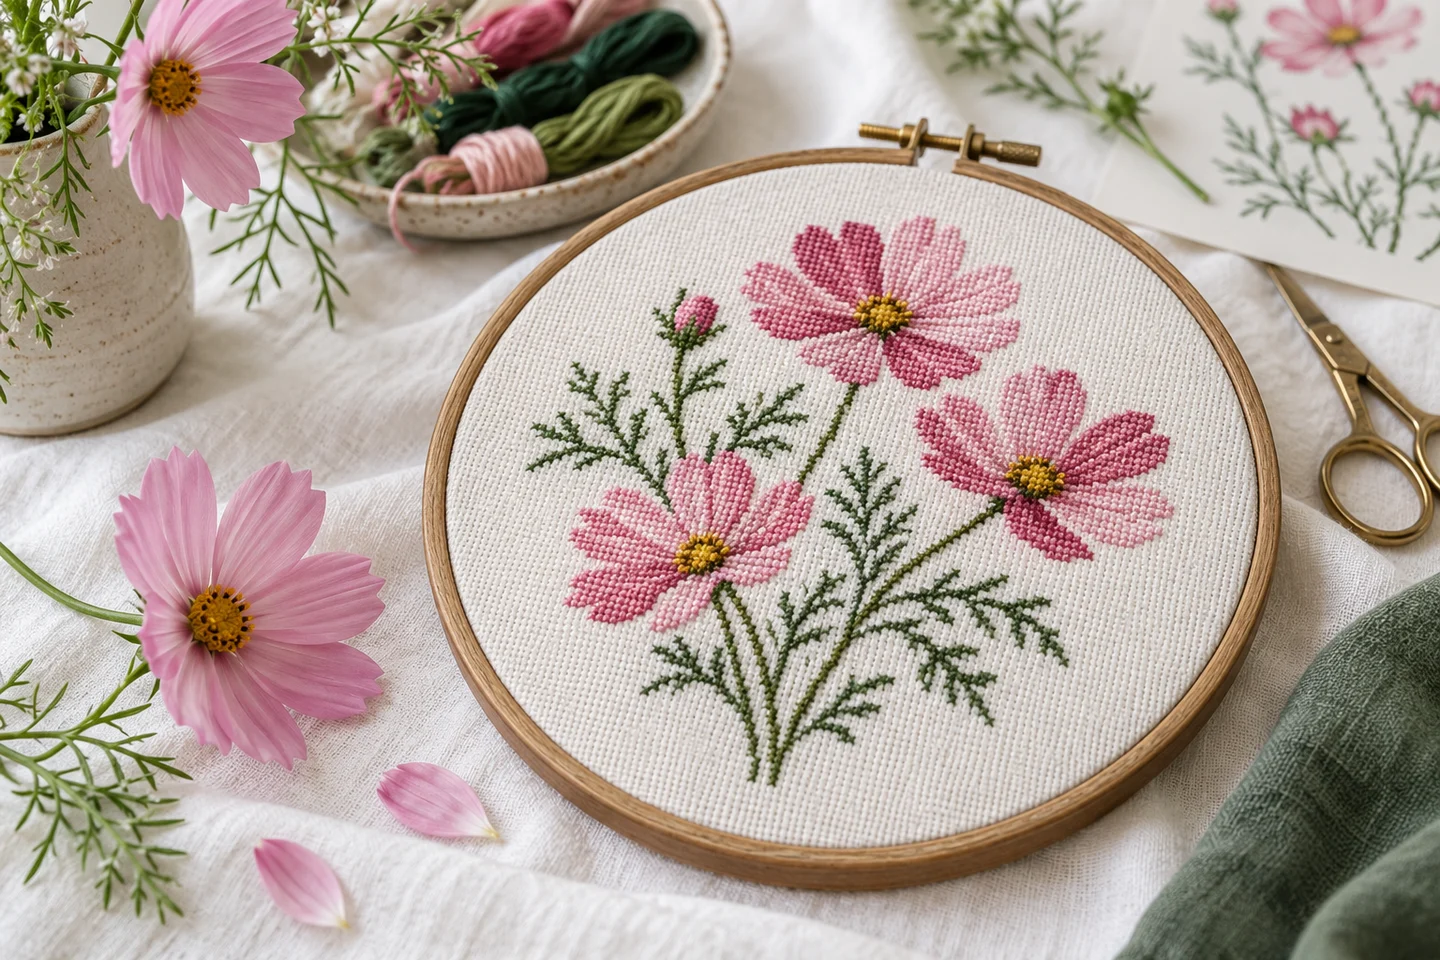
A flower chart does not need botanical realism to be recognizable. Petal rhythm, a clear center and a well-placed stem can suggest a bloom with a modest number of stitches.
Pick a visual language
A geometric daisy uses repeated petal shapes, while a tulip can rely on a simple cup-like silhouette. Decide whether you want a symmetrical decorative flower or a looser natural shape. Mixing very precise petals with an accidental-looking stem can make the design feel inconsistent. Sketch the main shape before introducing several shades.
Separate flower and foliage
Check the lightness difference between the petals, leaves and fabric. Two colors can have different hues yet similar values, making them merge at a glance. A darker stem can anchor a pale flower. A warm center can add focus without requiring a large palette. Our palette finder uses generic colors as a starting point, not official thread-brand substitutions.
Allow breathing room
The empty fabric around a flower is part of the composition. Do not automatically fill every unused square. In a small hoop, place the motif so it has comfortable space on all sides while keeping sufficient fabric outside the hoop for finishing. Remember that the chart rectangle and the visible frame opening are different measurements.
Choose a first floral project
Tiny Tulip is compact and uses full crosses. Sunny Daisy emphasizes a clear center and repeated petals. Meadow Bloom offers a broader floral shape with more room for color. All are original free library designs. Download the full PDF, compare the finished dimensions at your preferred fabric count, and test the actual thread colors together. If a shade looks wrong in the group, adjust it before stitching a large area rather than judging each skein alone.
Choose the flower's defining features
A stitched flower does not need every botanical detail to be recognizable. Its petal arrangement, center, stem and leaves create the main visual identity. Start by deciding which of those features matters most at the chosen scale. A daisy can rely on a contrasting center and repeated petals, while a tulip needs a clear cup-shaped silhouette. Reducing the design to these essentials makes it easier to translate into full crosses without losing the subject in tiny, ambiguous cells.
Explore the original Sunny Daisy, Tiny Tulip and Meadow Bloom charts to compare different structures. Look at their grids as well as their previews. If you draw your own flower, test the silhouette in one color first, then add details only where they improve recognition. The blank grid tool gives you a practical place to experiment with petal widths, stem positions and the spaces between leaves before committing thread to fabric.
Work with the limits of a small grid
Curves become stepped lines on a cross stitch grid. At a small scale, the aim is not to hide every step but to arrange them into a convincing overall shape. Compare opposite sides of a petal and check whether a one-cell change improves its balance. A perfectly mirrored flower can feel formal, while slight intentional differences can suggest a more natural form. Make those choices consciously rather than allowing counting errors to determine the shape.
The smallest gaps deserve particular attention. If two petals merge, the center may become unclear; if a stem is too thin or disconnected, the bloom may seem to float. View the design from a normal display distance as well as close to the chart. The grid sizes guide explains why a larger grid can preserve detail, but increasing size also adds work. A simplified flower at a comfortable scale is often more successful than a detailed design squeezed into too few cells.
Build a palette around light and dark
Flower colors offer many creative possibilities, but the values must separate the parts of the design. Petals need enough contrast with the cloth, and leaves should remain distinct from the stem or neighboring blooms where their shapes matter. Start with a limited palette and compare the actual floss together. A pale yellow center inside white petals may need a darker accent to remain visible, even when the screen preview looks clear against a bright display.
The site's generic palette values are visual references rather than verified manufacturer codes. Use them to understand the intended relationship between colors, then choose real thread that produces a similar effect. The palette tool can support exploration, and the color planning guide explains a value-first approach. If you substitute a favorite petal color, check the center and leaves again. Changing one prominent shade can alter the balance of the whole motif, particularly when the fabric itself is strongly colored.
Decide how much shading the flower needs
A small decorative flower may need only flat color areas. A larger bloom can benefit from a light, middle and dark value that suggests folded petals or a rounded center. Add shading where it describes form rather than scattering extra shades evenly through the grid. Each additional color introduces thread management and may create isolated stitches. If the visual improvement disappears at normal viewing distance, consider whether the extra work is worthwhile for this particular project.
For a flower converted from a photograph, crop tightly enough that the bloom remains the subject. A busy garden background can consume most of the palette and grid detail. Compare conversions at several widths and color counts, keeping the petal edges and center in view. The photo pattern guide explains that process. Do not assume a smooth photographic gradient will produce a pleasing chart automatically; inspect the individual cells and simplify settings when the result contains distracting scattered colors that do not clarify the flower.
Arrange stems and leaves to support the composition
A flower's supporting elements guide the eye through the design. A straight stem creates a formal vertical structure, while an angled stem can give a small motif movement. Leaves should connect clearly and leave enough open space to remain recognizable. If several flowers share one chart, vary their heights or spacing deliberately while keeping the overall balance. Avoid filling every gap with another leaf simply because empty cells remain available on the grid.
Draw the complete composition before calculating fabric. The widest leaf may extend farther than the bloom, and a small lower stem can increase the total height. Use the final bounding rectangle in the fabric size calculator, then add finishing margins outside it. The make your own chart guide explains how to combine motifs on one master grid. For a narrow object such as a bookmark, test the leaf spread early so the finished shape does not exceed the usable width.
Pair flowers with text in a balanced layout
A small flower can support a name, initial or short message without dominating it. Decide whether the lettering or the bloom is the focal point, then give that element the stronger scale or contrast. Count the gap between text and image rather than placing them by eye on the cloth. The complete design should have a clear center or alignment reference so you can transfer both elements accurately from the chart to the fabric.
Use the alphabet tool for supported uppercase letters and spaces, and check the resulting stitch dimensions before combining them with a motif. Its original block alphabet does not automatically include every accent or punctuation mark, so plan unsupported characters separately. The alphabet gifts guide explains how to build a master layout. A single tulip beside an initial can feel more balanced than a dense floral border around a long name, especially when the final object is small and needs generous finishing space.
Stitch repeated petals with consistent references
Repeated petal shapes provide useful counting checks. Work from a known center and compare each petal's position with the chart rather than assuming every repeat is identical. Keep the direction of the top cross consistent so the flower has an even surface under light. When traveling between separated petals, consider whether the thread will show through open fabric. Restarting may be cleaner than carrying a dark color across a large pale area, depending on the cloth and backing.
Check small groups as you complete them. A one-cell shift near the center can affect several later petals, so correcting it early saves work. Maintain gentle tension around dense areas to avoid pulling the fabric into a distorted circle. The beginner stitching guide covers these basic habits. If the design contains many colors, organize the floss with labels and keep the legend visible. Similar greens or pinks are easy to confuse when separated from their original packaging, particularly under warm evening lighting.
Choose a finish that gives the flower space
Flowers often benefit from a visible fabric border rather than a finish pressed tightly against their outer petals. Measure the stitched area and decide how much surrounding cloth should remain visible. A card aperture, hoop or frame may crop the composition differently, so test the placement before trimming. The amount of cloth needed for mounting is separate from the visible border. Leave the extra material required by the chosen finish until the assembly steps are fully understood.
Follow the care instructions for the actual fabric and threads, especially if you use hand-dyed or specialty materials. Record the finished dimensions and color choices so you can make a coordinating series later. The fabric margins guide helps with display planning, while the mini projects article offers smaller formats. A successful floral chart can become a family of related pieces by changing one element at a time: a petal color, an initial or the arrangement of a second bloom, while preserving the clear structure that made the first design work.
Color palette & nearest-color finder · Download the original meadow bloom pattern
Examples, diagrams and planning estimates are original Cross Stitch Creator content.