
Spooky cross stitch patterns work best when the silhouette is eerie but the chart remains easy to count. Learn how to choose or simplify haunted houses, bats, skulls and moonlit motifs, control dark colors, avoid confetti stitches and finish a creepy project that stays readable on fabric.
What makes a spooky pattern practical to stitch
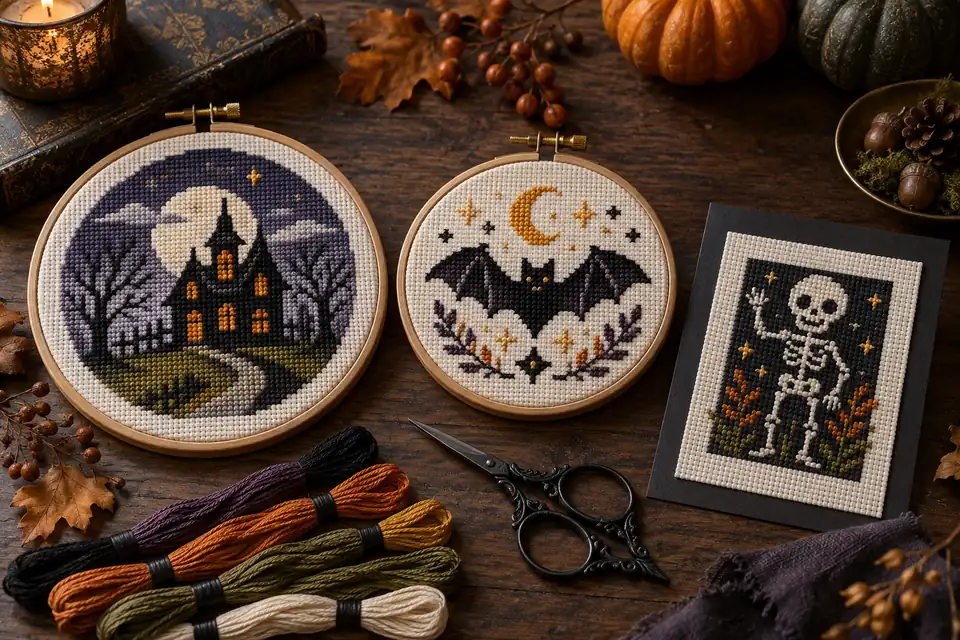
A strong spooky cross stitch pattern creates atmosphere with a clear outline, a limited set of values and details large enough to survive the grid. It does not need hundreds of colors or a photograph’s every shadow. From normal viewing distance, you should recognize the haunted house, bat, skull, moon or twisted tree before studying individual symbols. Inspect the complete chart rather than judging only the cover image. Confirm the dimensions in stitches, number of colors, use of full or fractional stitches and density of isolated symbols. Our Moonlit Cat pattern is a useful small example because the subject reads through silhouette and contrast. If you want several lighter seasonal options, compare the free Halloween pattern guide. A practical design should remain understandable when printed in black and white and should match the time, fabric and finishing skills you actually have.
Choose motifs with a recognizable silhouette
Silhouette is the fastest way to make a motif feel spooky without overloading the chart. A pointed roof, uneven tower, spread bat wings, crescent moon or hollow eye shape can communicate the subject with surprisingly few squares. View the chart as a solid thumbnail or step several feet away from the preview. If the main form disappears, extra shading will not rescue it. Check narrow features too: one-stitch branches, thin legs and isolated teeth may break when moved to coarser fabric or reduced in size. Use the blank grid maker to sketch the outside shape first, then add windows, stars or facial details only where the grid has room. Keep a border of empty squares around separate elements so they do not merge. A simple, original motif with deliberate proportions usually feels more confident than a complicated image compressed until its important edges become noise.
Reduce detail before it becomes confetti
Confetti stitches are single or tiny groups of colors scattered away from larger blocks. A few can create stars or texture; dozens turn a small spooky pattern into constant stopping, starting and counting. When evaluating a chart, look for colors that appear only once or twice and ask whether those cells change the subject. Merge nearly identical dark grays, remove random background specks and preserve detail where it defines an eye, window, moon edge or bone joint. For a photo conversion, generate several versions at the same stitch width and lower the color count before increasing the dimensions. The photo pattern maker gives a free preview for that comparison. Do not smooth every jagged stair step: diagonals are naturally built from square cells. Simplification should protect the silhouette and value structure, not make every edge soft. A chart with fewer purposeful symbols is easier to mark, easier to restart and usually clearer when finished.
Set the finished size before designing details
Decide where the piece will live before settling the grid dimensions. A greeting card needs a compact design with room around the opening, while an 8-inch hoop can support more windows, branches and sky. Divide the chart width and height by the effective fabric count to calculate the stitched size. Then add the finishing margin twice. Use the fabric size calculator with exact stitch dimensions rather than estimating from a screen preview. Moving the same chart from 14-count to 18-count Aida makes it smaller but also makes dark areas denser and the holes harder to see. Enlarging the grid creates room for detail but increases both stitching time and floss use. Test the most delicate feature—the bat wing tip, skull jaw or roof spire—at the intended count. If it is not clear on a small swatch, revise the chart before cutting the full piece.
Choose light or dark fabric for real contrast
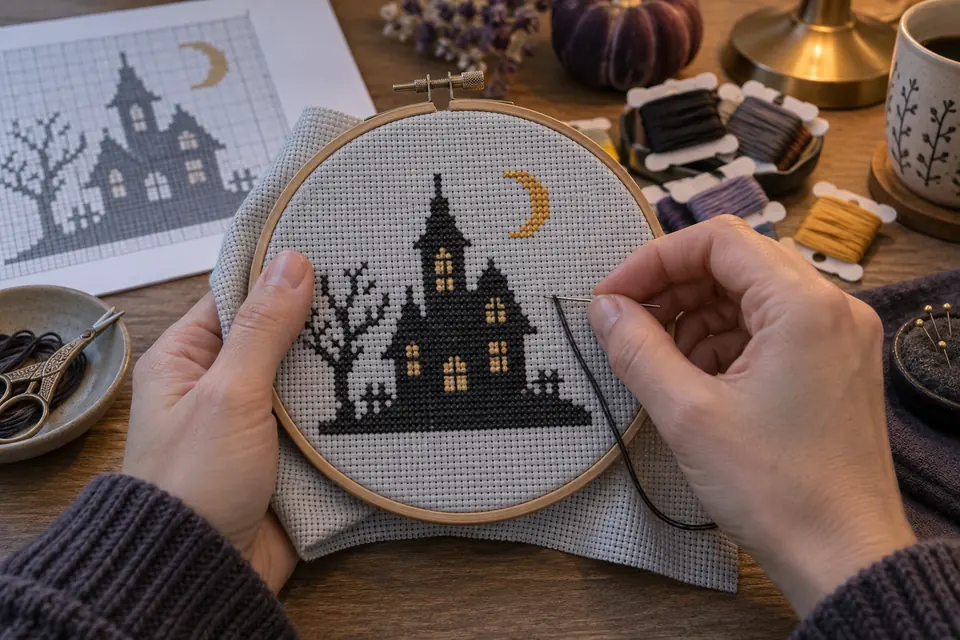
Dark fabric supplies instant night-time atmosphere, but it is not automatically the best choice. Black stitches can vanish on charcoal Aida, pale fibers show on the surface and holes are harder to count under weak light. Cream, pale gray or oatmeal fabric lets a dark silhouette stay crisp and can still feel eerie when paired with violet, rust and antique gold. If you choose navy, black or plum fabric, test every darkest thread on an offcut and inspect it at the distance where the work will hang. A white cloth on your lap or a light pad below the fabric can reveal holes while stitching. The Aida count guide helps compare coverage and finished size. Do not rely on the screen background in a chart preview; physical fabric absorbs and reflects light differently. The unstitched ground is one of the largest color areas in the finished piece.
Build a creepy palette with value steps
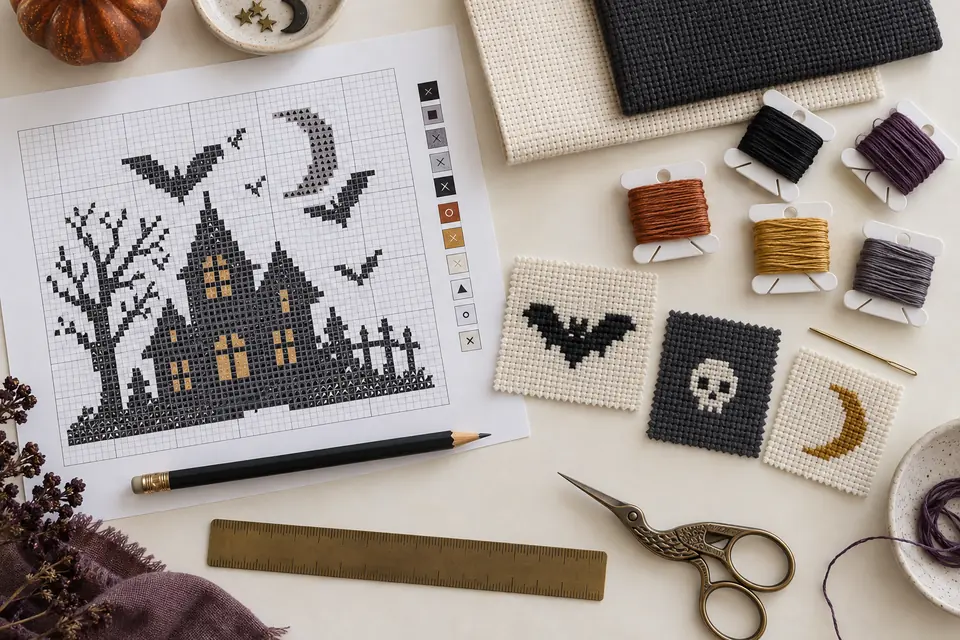
Spooky palettes need separation between dark shapes, middle shadows and small lights. Start with the fabric color, then arrange the floss from lightest to darkest. A haunted house might use bone white for moonlight, muted gold for windows, smoky violet for sky, charcoal for structure and nearly black for the deepest accents. Photograph the materials in grayscale: if charcoal, violet and black become one flat value, a detailed roofline or bat wing may disappear. Keep the brightest color scarce so it directs attention toward the moon, eyes or windows. The screen palette tool can help organize roles, but match actual floss under the intended display light. Our tools use generic numbered colors rather than verified manufacturer codes. Write every substitution next to its symbol and make a small test strip. A five-color palette with deliberate value spacing often produces more drama than twelve dark colors that cannot be distinguished.
Make the chart readable in color and symbols
A spooky chart should not depend on color alone because several dark swatches may look identical in print. Assign visibly different symbols to neighboring colors: avoid using a filled square, a slightly smaller filled square and a heavy dot in the same area. Thick grid lines every ten cells, center arrows and page coordinates make counting safer. Print a sample page at actual size and confirm that each symbol remains open and distinct. If a large chart spans pages, check the overlap and global coordinates before stitching across the join. The guide to printing and reading a cross stitch chart explains these checks. Mark completed cells with a transparent highlighter or digital layer that leaves the symbol visible. Keep an untouched copy of the PDF. When two symbols are repeatedly confused, change one on your working chart or use separate highlight colors; do not trust memory during a long block of black and charcoal stitches.
Stitch large dark areas without distorting fabric
A haunted house or night sky may contain hundreds of dark crosses. Long rows can be efficient, but consistent tension matters more than speed. Use a thread length that moves smoothly without fraying, and keep every top leg facing the same direction. Work manageable blocks linked to the chart’s heavier grid lines so counting errors remain local. Do not pull until the Aida holes close; dense black floss already appears fuller than pale thread. On light fabric, avoid carrying dark thread behind empty cells because it can cast a shadow on the front. End and restart across a long gap. Use the floss estimator before beginning, especially when one dark color dominates. Check the outline after each session rather than filling the entire interior first. If a roof or wing edge shifts by one cell, correct it while the affected block is small and the thread path is easy to see.
Use negative space to separate creepy shapes
Empty fabric can be an active part of the design. A narrow unstitched gap between a bat wing and the moon keeps both forms readable; small empty windows can turn a solid house into an illuminated silhouette. Plan negative space at the same time as stitches instead of erasing random cells at the end. The gaps should be wide enough to remain visible on the chosen fabric count and should not leave single fabric threads exposed between heavy blocks. View the grid at its final physical size and squint at the preview. If two shapes merge, widen the gap or lighten one value. A backstitched line can separate forms, but use it only when the project and chart explain the path clearly; this site’s public patterns focus on full crosses. Negative space also reduces floss, shortens stitching time and gives the eye somewhere to rest. In small creepy motifs, restraint often creates more tension than filling every square with texture.
Create a night scene without muddying the subject
A night scene needs a hierarchy: choose one focal subject, one major light source and a supporting background. For example, place a pale moon behind a dark house, then use only a few stars and branches to frame it. If every corner contains clouds, graves, bats, trees and glowing windows, the central silhouette loses authority. Separate foreground, building and sky with value rather than adding more colors. The moon should not touch every roof edge, and branches should lead toward the subject instead of covering it. When adapting a chart, test the composition as a small black-and-white thumbnail. Move whole shapes on the blank grid before refining details. Avoid long stretches of isolated background stitches that are hard to count. A compact cluster of stars can balance the scene; dozens of scattered single stitches produce visual and practical clutter. Let the fabric provide part of the night sky whenever its color supports the palette.
Finish the project without losing the mood
Choose the finish while planning the design because the border and shape affect the composition. A round hoop suits a centered moon or skull, a narrow ornament works for a tower or vertical skeleton, and a rectangular frame gives a haunted landscape room to breathe. Wash only when fabric and threads are colorfast, then press from the reverse on a clean towel. Center the important silhouette before trimming. For a hoop, leave enough fabric to lace or gather behind the wood and cover the reverse with felt or acid-free card. For an ornament, add seam allowance beyond the stitched area and secure the hanging loop before closing. The framing and margin guide explains safer preparation. Matte black, natural wood, aged gold and deep plum can support a spooky palette, but compare them beside the actual embroidery. A dramatic frame cannot correct a chart whose subject lacks contrast.
Find free creepy patterns without copying artwork
Free creepy cross stitch patterns should come with a real chart and clear usage terms, not only a photograph saved from social media. Check the source, designer name, file completeness and whether the symbols and legend are readable. Free access does not transfer copyright. Do not trace movie characters, game art, band logos or another stitcher’s finished piece and publish the result as an original pattern. Use generic public-domain subjects such as simple bats, moons, skull shapes, old houses and bare trees, then create your own arrangement. Our free pattern library contains original Cross Stitch Creator charts for personal stitching and gifts; the PDF files may not be redistributed or sold as your own. If you combine motifs, keep a record of where each came from and follow the strictest applicable terms. Original proportions, spacing and palette choices can make a familiar seasonal subject feel distinct without borrowing protected artwork.
Common questions about spooky cross stitch
What makes a pattern beginner-friendly? Look for full crosses, a short palette, bold shapes and few isolated stitches. Is black fabric required? No; pale gray or cream often gives better contrast and easier counting. How can you make a motif creepier without adding detail? Strengthen the silhouette, restrict the bright accents and use asymmetry in roofs, branches or wings. Can you convert a horror photograph? You can preview a personal photo conversion, but confirm that you own or may use the image and expect a complex chart. How much floss will a black silhouette need? Count or estimate its stitches and use the floss tool with your fabric count and strand number. Can children stitch spooky designs? Choose age-appropriate imagery and provide adult supervision for needles, scissors, small accessories, washing and pressing. Can finished pieces be sold? Only when the individual pattern license expressly permits commercial use; free download alone is not permission.
Check the design before the first stitch
Run one final review at actual size. Confirm the silhouette reads as a thumbnail, the smallest details survive the fabric count, and neighboring floss colors remain separate in grayscale. Verify the stitch dimensions, margins and expected finish with the fabric calculator. Print the symbol chart and inspect the darkest area for confusing marks. Estimate the dominant floss colors, prepare a labeled working palette and test tension on an offcut. During stitching, mark completed blocks, keep top legs consistent and inspect contour errors early. Before trimming, compare every important edge with the grid, secure tails, test colorfastness and dry-fit the piece in its mount. These checks keep spooky cross stitch patterns dramatic without making them exhausting. For a manageable first project, download the Moonlit Cat chart, compare it with your fabric in daylight and choose one realistic finishing date.
Blank cross stitch grid maker · Download the original moonlit cat pattern
Examples, diagrams and planning estimates are original Cross Stitch Creator content.