
These free Halloween cross stitch patterns turn pumpkins, moonlit cats and woodland motifs into small projects you can actually finish before October 31. Download the original PDFs, compare their stitch counts, and use this guide to choose fabric, colors and a practical card, hoop or ornament finish.
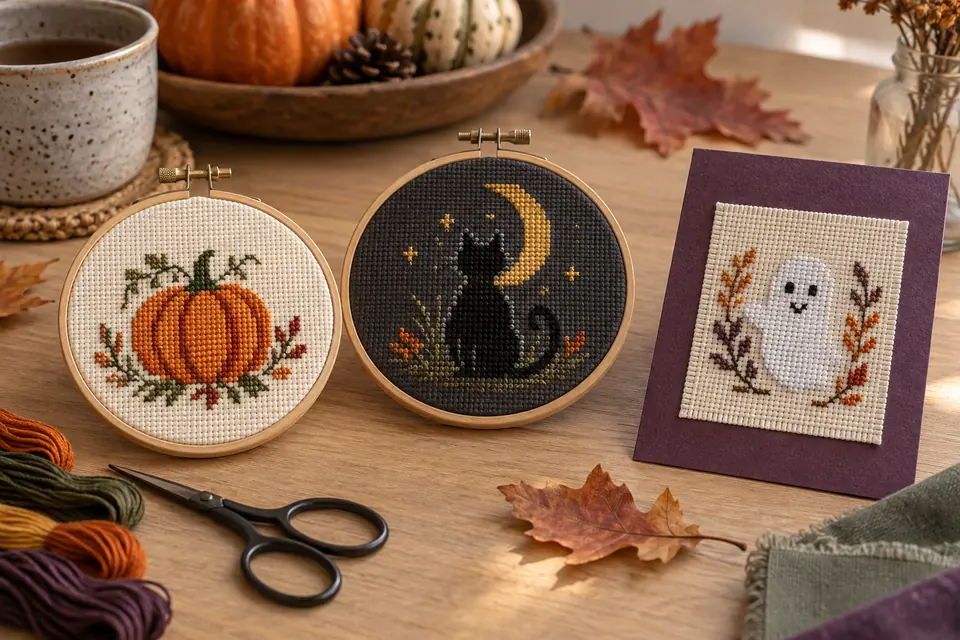
Choose a complete free Halloween cross stitch pattern
A useful free pattern should include more than an attractive preview. Look for the full counted grid, a symbol key, stitch width and height, color count, printing instructions and a clear statement about permitted use. Our Harvest Pumpkin, Moonlit Cat and Woodland Mushroom PDFs are original Cross Stitch Creator designs and can all be downloaded without an account or checkout. The pumpkin gives you a classic autumn subject, the cat supplies a darker silhouette, and the mushroom works well in a woodland Halloween display. Open each pattern page before choosing: the visible grid preview and project statistics let you compare the real workload. Save the PDF locally, keep the legend with the chart, and stitch from the symbols rather than copying an editorial photograph.
Pick a small project you can finish on time
A design is only quick when its actual stitch count, color changes and finishing method fit the time available. A compact silhouette with four or five solid colors is usually faster than a slightly smaller motif filled with isolated stitches. Count the days until you want to display or gift the piece, then reserve time for pressing and mounting instead of treating the final cross as the finish line. The mini cross stitch project guide explains why a narrow palette and recognizable outline often matter more than dimensions alone. Beginners can choose one motif for a 3- or 4-inch hoop; experienced stitchers might combine pumpkin, cat and mushroom charts into a small sampler. If the deadline is close, use a finished card blank or display hoop and avoid a construction method that requires unfamiliar sewing.
Calculate fabric before cutting
Read the chart dimensions in stitches and calculate the stitched size before choosing a hoop or card opening. On 14-count Aida, divide the width and height by 14 to obtain inches; a 56-stitch motif is four inches wide. Add the finishing margin twice because fabric is needed on both sides. A two-inch margin adds four inches to the cut width and height. Enter the exact chart values in the fabric size calculator, then select the same count and stitching method you will use. Leave more margin for lacing or framing than for a small card insert, but never trim closely until the finished piece has been washed, pressed and centered. For linen or evenweave, decide whether you will work over one or two fabric threads and use the effective count, not just the number printed on the label.
Match the motif to the fabric color
Fabric is part of a Halloween palette because every unstitched square becomes visible background. White and cream keep symbols easy to count and suit orange pumpkins, while charcoal, navy or deep plum can make a pale moon or ghost-like motif glow. Dark fabric is slower to stitch: the holes are less obvious, pale fibers can collect on the surface, and thread coverage needs closer inspection. Test a dozen crosses on an offcut before committing. If the fabric color is close to one chart color, either substitute that floss or add a small separating outline so the subject does not disappear. The Aida count guide helps compare 11, 14, 16 and 18 count. A confident beginner will normally get a cleaner result from 14-count Aida in a light neutral than from a very fine black fabric chosen only for atmosphere.
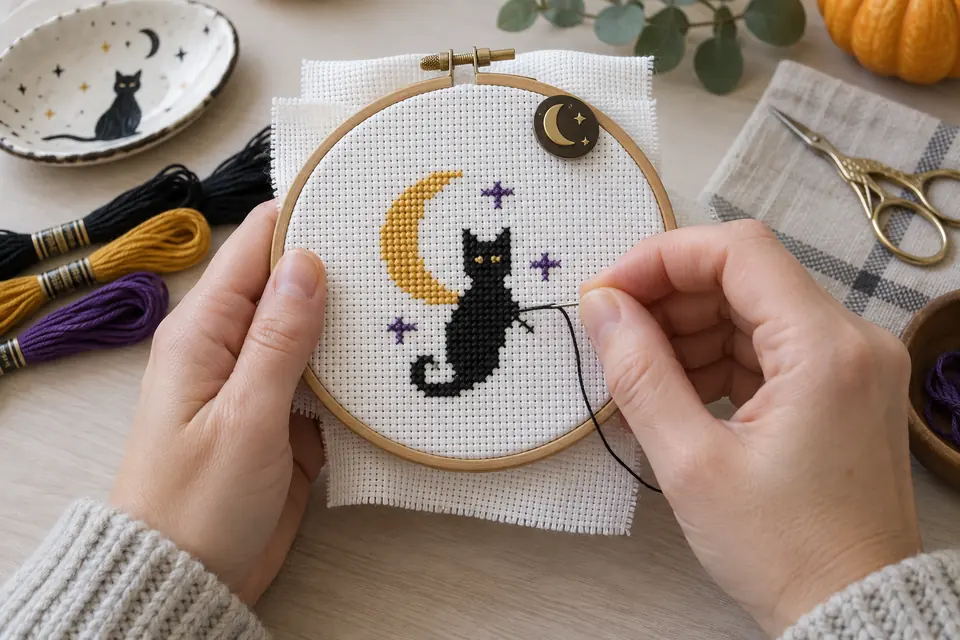
Build a readable Halloween color palette
Strong Halloween palettes depend on value contrast, not on using every seasonal color at once. Start with one dominant family—orange for pumpkin, black for cat, or cream for moon—then add a light, middle and dark value where the motif needs volume. Muted violet, moss green and warm brown can support the subject without competing with it. Arrange the physical skeins together and photograph them in grayscale; neighboring colors that become the same gray may be difficult to distinguish in a small stitched area. The screen palette reference can help plan relationships, but always compare real floss in daylight because screens are not color standards. Our charts use generic numbered colors rather than verified manufacturer codes. Record every substitution beside the original symbol so the symbol key remains dependable after you put the project away for several days.
Estimate floss and organize short projects
Small Halloween cross stitch patterns often use only part of each skein, yet the dominant background or silhouette color can disappear quickly. Estimate stitches by color and use the floss estimator with the correct fabric count and strand number. Add an allowance for starting tails, finishing tails, mistakes and differences in tension. Cut manageable lengths rather than preparing the entire skein, and label each working bundle with the chart symbol as well as the color number. Similar oranges and dark purples are easy to exchange under warm evening light. Store the needle separately or in a secure needle minder instead of leaving it in the fabric. If you plan several mini projects, make one project envelope for each chart, fabric cut and palette. That prevents leftover threads from one motif being mistaken for the next and makes it easier to restart after a break.
Start from a center mark or a verified corner
Center starts are dependable for hoop finishes because they preserve an even border around the design. Fold the fabric gently in both directions, mark the intersection with a removable method, and match it to the chart center. A corner start works well on a gridded card insert or ornament, but measure the margin and count to the first stitch twice. Blank chart squares still control placement, so the edge of the printed page is not automatically the edge of the motif. Begin with a distinctive area such as the pumpkin stem, cat ears or mushroom cap, then compare its position with the surrounding symbols before filling large blocks. Keep the chart upright and mark completed groups on a working copy. Ten careful minutes at the start are faster than removing hundreds of crosses after discovering that the design is shifted toward one edge.
Stitch dark silhouettes without losing the shape
Cats, bats, haunted houses and lettering often contain large dark areas. The outline must remain clear even when several symbols share similar black, charcoal and violet tones. Work in small blocks and check the silhouette at normal viewing distance after each session. Complete every top leg in the same direction and avoid pulling tightly enough to close the Aida holes. On light fabric, carry dark floss only across nearby stitched cells; a long jump behind empty squares can show through the front. On dark fabric, use a pale cloth on your lap or a light pad below the work so the holes are easier to see. Mark isolated accent stitches before the surrounding fill hides their location. If an error changes an ear, moon edge or face, correct it promptly because those small contour changes affect the entire expression of the motif.
Print and follow the chart correctly
Download the actual PDF and open it at full size before printing. Confirm that the legend, page number, coordinates and center marks are visible, then choose Actual size or 100 percent unless the PDF states otherwise. Fit-to-page can shrink symbols and make adjoining chart pages harder to align. A black-and-white symbol chart is often easier to mark than a color-only image, especially when several oranges or purples are close. Keep the legend beside the active page and use a transparent highlighter or digital annotation that does not cover the symbols. Our guide to printing and reading cross stitch charts explains grid lines and page overlap in detail. Editorial photographs show possible styling; they are not counted instructions. Always return to the PDF grid when deciding whether a square receives a stitch or stays empty.
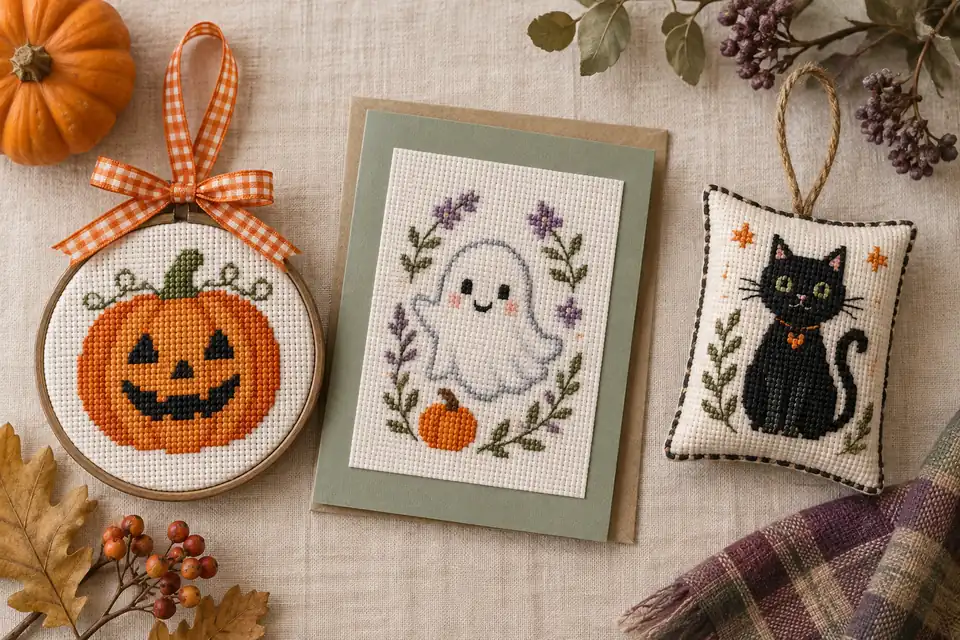
Turn a motif into a Halloween card
A stitched card works best when the design is simpler and smaller than the opening suggests. Measure the aperture first, calculate the finished stitched dimensions, and leave enough unstitched fabric around the motif to attach it behind the card. Press the embroidery from the back on a clean towel before assembly. Acid-free double-sided tape can hold the outer fabric margin, but it should not touch the stitched area; a sewn paper frame is another option. Hide thread tails securely and avoid knots near the fold. Add a plain backing layer inside the card so the reverse of the embroidery and adhesive are covered. A pumpkin, moonlit cat or one cropped mushroom can fit a seasonal note without using licensed characters. If the chart is too wide, choose a higher fabric count or select a smaller motif—do not reduce the print scale and guess at half-sized squares.
Finish a hoop or soft ornament
For a hoop display, center the washed and pressed stitching before tightening the screw gradually. Pull opposite edges in small steps and check that the fabric grain remains square. Leave enough material at the back to lace or gather; cutting flush with the wood removes the possibility of later adjustment. Cover the reverse with felt or acid-free card without gluing directly onto the stitches. A soft ornament needs a seam allowance outside the stitched area, a backing fabric and a hanging loop placed before the final seam closes. Use only a light amount of filling so the crosses do not bulge. The framing and margin guide gives safer preparation details. Choose ribbon and backing colors after the embroidery is finished, since the real threads can look different from the colors shown on a screen.
Combine free motifs without copying protected characters
A personal Halloween sampler can combine original generic motifs such as pumpkins, cats, moons, mushrooms, stars and simple houses. Keep a consistent grid scale and leave measured spacing between components. Use the blank grid maker to plan positions, or print each chart and test paper cutouts inside the intended frame. Do not trace commercial characters, movie logos or another designer’s chart just because the final object is handmade. Free access does not remove copyright, and a photograph found through image search is not automatically a free chart. The safest route is to use patterns that state their terms or draw your own basic shapes square by square. Cross Stitch Creator library PDFs are for personal stitching and gifts; do not redistribute the PDF files or sell the charts as your own. A distinct palette and spacing plan can make a small group of simple motifs feel coherent and personal.
Answer common questions before you begin
Where can you find free Halloween cross stitch patterns in PDF format? Start with a pattern library that shows the complete chart details and provides a direct PDF rather than a misleading image preview. Are these designs suitable for beginners? The pumpkin, cat and mushroom options use full crosses and manageable palettes, but check the stitch count and dark-fabric difficulty before deciding. Can you change the colors? Yes—preserve the contrast between light, middle, dark, outline and accent roles, then record every substitution. How large will the project be? Divide stitch dimensions by fabric count and add margins with the calculator. Can you sell the finished embroidery? Personal gifts are allowed for our library designs; commercial use of finished items is not granted unless a pattern’s terms explicitly say so. Can children stitch them? Choose a simple chart and provide age-appropriate adult supervision for needles, scissors, small parts and pressing.
Use a final Halloween project checklist
Before the first stitch, confirm that the PDF is complete, the symbols are readable, the fabric cut includes finishing margins and the physical floss colors remain distinct in the intended light. Check that the needle size suits the fabric and that the hoop does not crush completed stitches. During the project, keep top legs consistent, mark the chart, end long dark carries and compare the outline regularly. Before finishing, verify every important contour against the grid, secure the tails, test colorfastness and press from the back. Then dry-fit the embroidery in its card, hoop or ornament before trimming anything. These checks turn free Halloween cross stitch patterns into reliable projects instead of rushed seasonal experiments. If you want a first choice, download the Harvest Pumpkin PDF, calculate its fabric, and set a realistic date for stitching and mounting.
Cross stitch fabric size calculator · Download the original harvest pumpkin pattern
Examples, diagrams and planning estimates are original Cross Stitch Creator content.