
A useful printable cross stitch pattern needs more than an attractive picture. It should tell you what to count, how much fabric to cut and how to turn the embroidery into something you can use. These two original bookmark patterns pair a leafy vertical stem with a repeating geometric ribbon. Both use a 17 by 41 counted grid and two colors. Exact previews and free symbol PDFs are at the bottom of this guide. The square styling photographs are illustrative, while the charts determine the stitches.
What the two printable patterns include
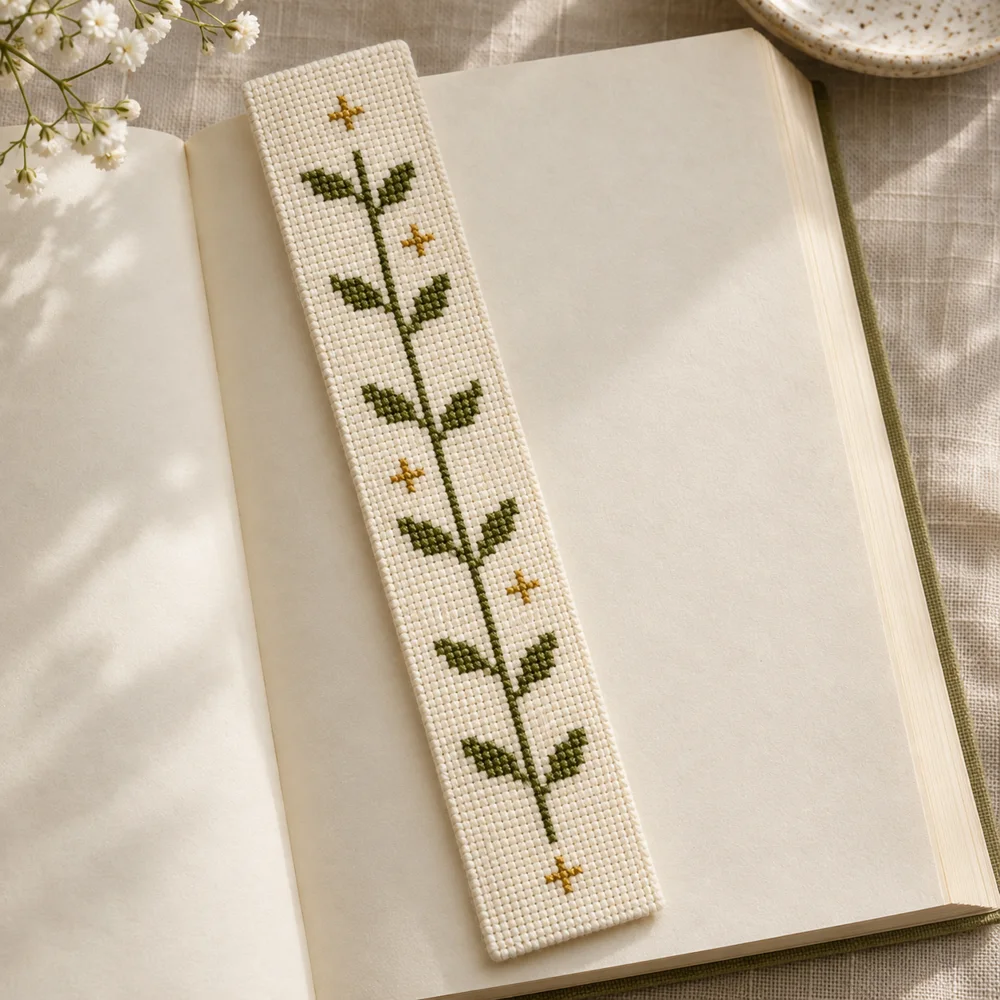
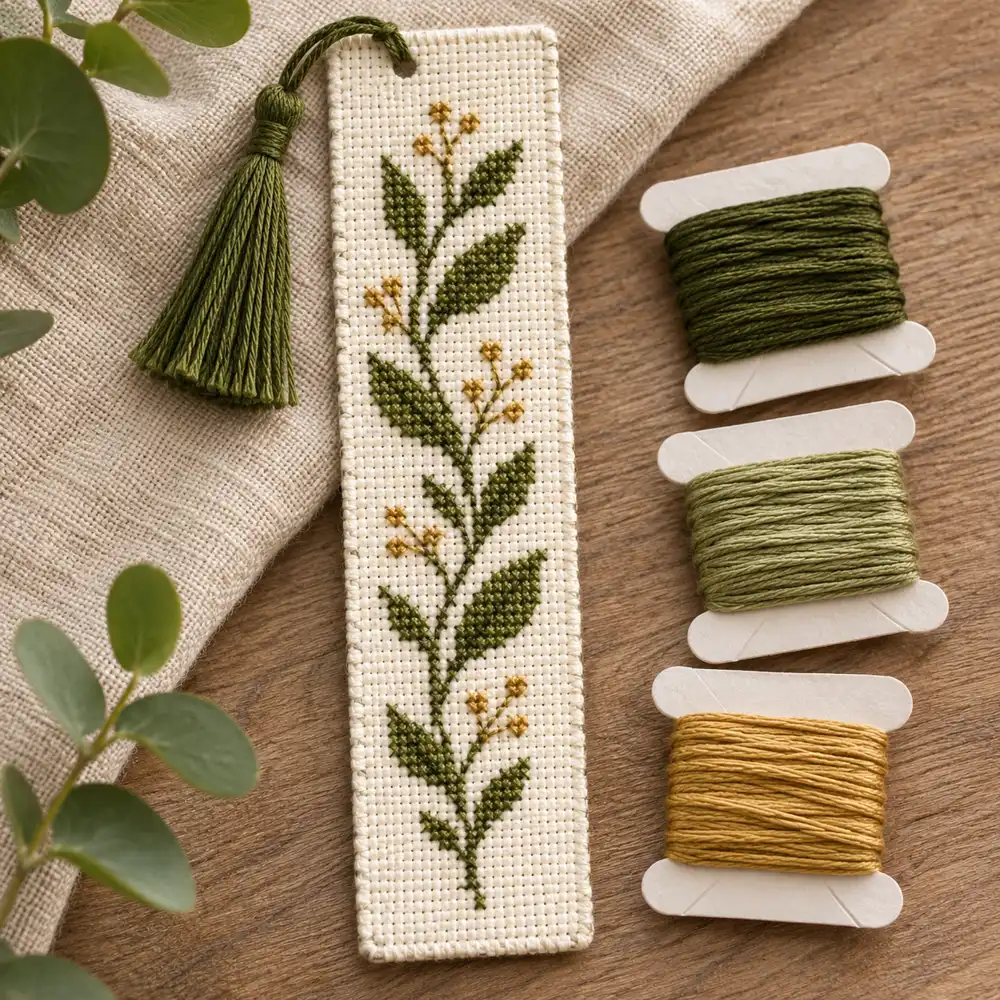
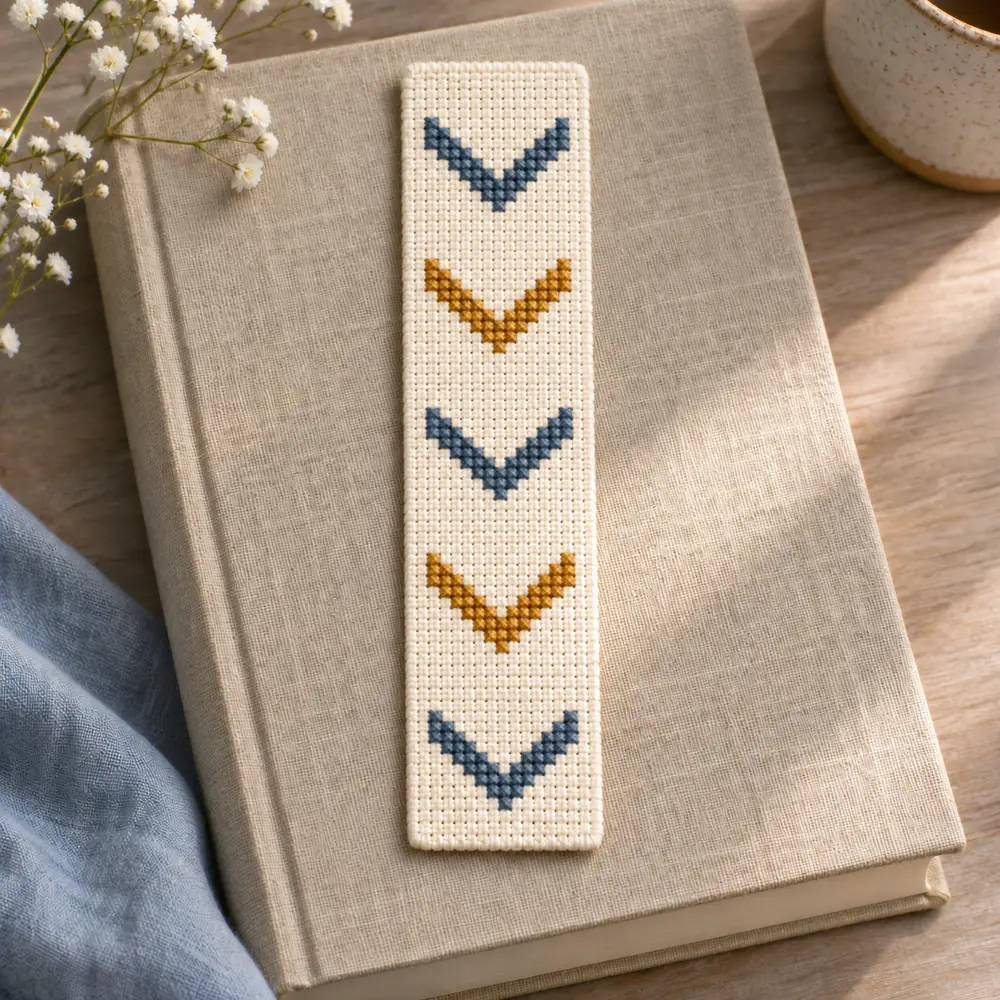
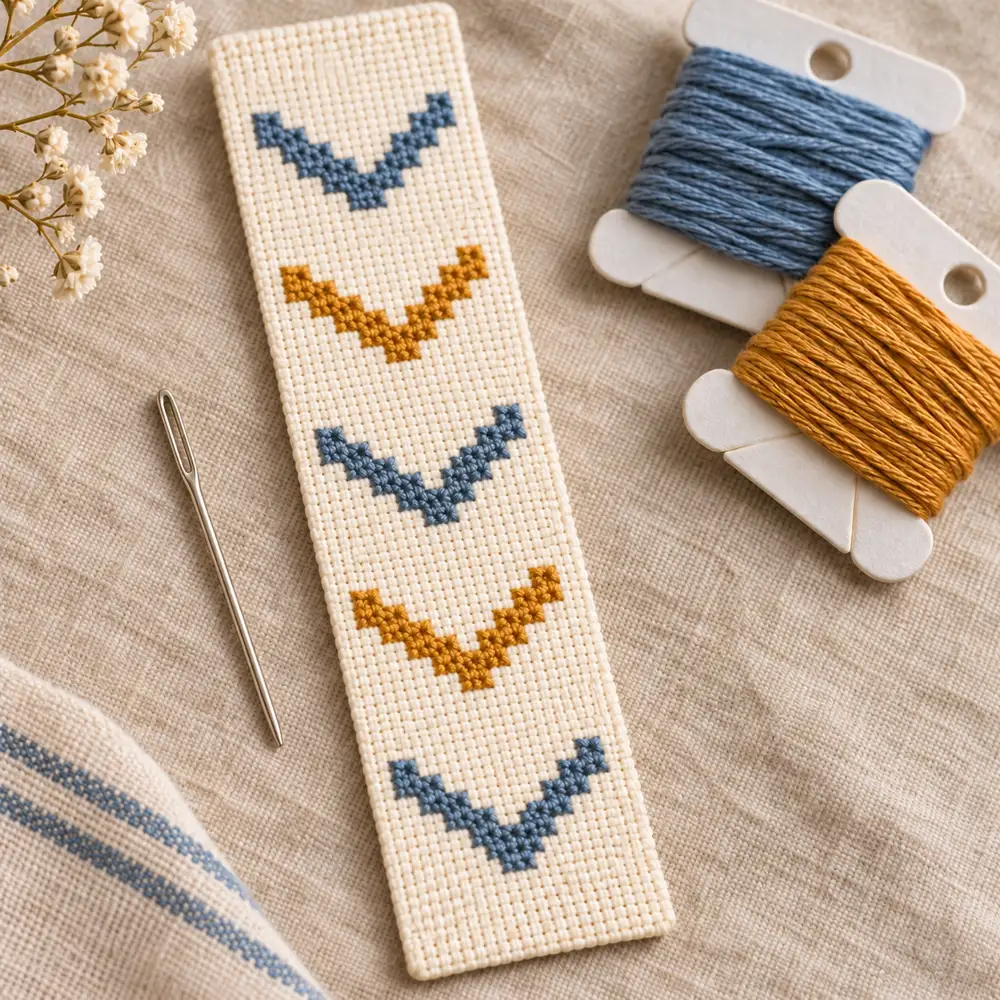
The Leaf Ladder Bookmark is an open botanical design, with paired stepped leaves and small gold accent stitches. The Stepped Ribbon Bookmark has five downward chevron bands in alternating slate blue and ochre. Neither pattern needs fractional stitches, backstitch, beads or a specialty thread. Each filled chart square means one full cross; empty squares stay unstitched. This makes the files practical for someone who already knows the basic stitch and wants a manageable finishing project.
Each PDF contains a numbered color-and-symbol chart plus a separate legend with stitch totals, measurements and basic instructions. You can print the chart or follow it on a screen. If you are completely new to counted work, start with how to cross stitch. For a shorter gift project, the tulip and star design guide explains small card and frame finishes. A bookmark needs a flatter, more flexible finish than either of those examples.
Print for readability, not to set the stitched size
Open the PDF and check that both pages display correctly before printing. The first page contains the counted grid; the second supplies the letter key and instructions. Print in color if available, but keep the letters legible when using grayscale. Avoid a printer setting that makes fine grid lines disappear. You may enlarge the chart for your eyes without changing the embroidery, because fabric count determines the finished dimensions.
These are counted patterns, not full-size tracing templates. There is no need to transfer the printed picture onto the fabric or match each printed square to a physical Aida block. Follow the numbered rows and columns instead. A useful working copy is one you can mark without obscuring letters you still need. If printing on two sides makes the opposite chart visible through thin paper, use separate sheets so the symbol areas remain clear under your normal stitching light.
Calculate the bookmark area before cutting fabric
Both grids measure 17 columns by 41 rows. On 14-count Aida, the chart area is approximately 1.21 by 2.93 inches, or 3.08 by 7.44 centimetres. On 16-count cloth it is about 1.06 by 2.56 inches, or 2.70 by 6.51 centimetres. On 18-count it is about 0.94 by 2.28 inches, or 2.40 by 5.79 centimetres. The finished bookmark will be larger once you add its border and backing.
The PDF also shows a generous working cut with three inches beyond each chart edge. On 14-count cloth this is about 7.21 by 8.93 inches. That is working fabric, not the suggested final bookmark size. If you use a prefinished Aida band, check its usable width between the finished edges and allow space beside the outer stitches. The fabric size calculator helps compare counts. Never count a decorative woven edge as usable chart space without checking its actual stitch grid.
Choose materials that will stay reasonably flat
Use an even Aida cloth, ordinary stranded cotton in two colors, a suitable blunt tapestry needle and small scissors. Two working strands on 14-count Aida are a starting point, not an absolute rule. Try several crosses on a scrap and check that the cotton covers comfortably without forcing the holes apart. A small hoop can help while stitching; remove it afterward and smooth any marks before the final assembly.
The chart colors are generic shades rather than manufacturer floss numbers. For the leafy design, choose olive green and muted gold. The ribbon uses slate blue and ochre. Compare physical skeins against your fabric in daylight: a screen swatch cannot guarantee an exact thread match. For backing, select a thin material that does not shed or leave a bulky ridge inside a book. Keep beads, hard embellishments and thick knots away from the area that will lie between pages.
Work the leaf ladder from the central stem
The Leaf Ladder Bookmark contains 97 full crosses: 91 green and six gold. The central stem is in column nine, running from row four through row thirty-eight. Locate these positions on the chart before starting. You may work the stem first as a clear counting reference, but pause regularly to confirm its length rather than making a long uncounted line. Its repeated leaf pairs begin from specific levels, with unstitched gaps between them.
Add one leaf pair at a time and check the stepped outline against the opposite side. The gold accents are separate crosses, not filled berries or knots; place them only in their charted cells. Do not add stitches to make the photograph look closer to the pattern. The exact preview and PDF share the counted source. Secure thread ends beneath nearby stitches and avoid carrying dark green behind large blank areas, especially if your chosen backing is pale and the front cloth is thin.
Build the ribbon as five counted chevron bands
The Stepped Ribbon Bookmark contains 130 full crosses: 78 blue and 52 ochre. There are five bands, beginning with blue and alternating between the colors. Each band has two stepped rows of crosses forming a downward V. Count the slopes one section at a time; the two stitch rows do not become a smooth diagonal line or a row of backstitch. The blank areas between the arms remain part of the design.
Work a complete band, compare its width and point with the chart, and then locate the next band. The repeated shape makes mistakes easy to reproduce, so checking the first one thoroughly is useful. Keep upper diagonals consistent even when your needle changes direction. Before securing the final thread, compare the spacing of all five bands. A correct color total does not prove correct placement: an extra stitch on one arm can cancel a missing stitch on another in the arithmetic.
Use repetition to check progress, not to stop counting
Repeating patterns tempt you to work from memory. Instead, use familiar shapes as checkpoints. For the leaves, confirm the central stem and count empty rows between pairs. For the ribbons, check both arm lengths and the position of each lowest point. Mark a group only after you have finished it, so an interrupted session does not leave a half-marked section that looks complete on paper.
When a stitch is misplaced, undo it gently rather than pulling the neighboring stitches sideways to hide the error. Lift the thread with the needle and protect the cloth from scissor tips. Recount from a known correct group before continuing. Good light and a chart stand can make the task more comfortable, but neither replaces the need to check blank cells. If you lose your place, stop and compare an entire small area rather than guessing where the next cross should go.
Plan backing and edges before trimming the work
Lay the completed embroidery flat and decide how much visible cloth you want around it. A thin sewn backing, a suitable prefinished band or an appropriate enclosed-edge construction can all work. Choose one method before trimming. The source grids do not include seam allowance, a folded hem or a fringe zone. Add those outside the 17 by 41 chart area, leaving the outer stitches safely inside the finished edge.
For a sewn version, test the seam and turning allowance on scraps of the actual materials. Very narrow pieces can become difficult to turn and press without bulk. Avoid placing adhesive where it might reach book pages, and follow the instructions for any material you use. If you choose a fringe, leave a separate unstitched allowance and secure the edge so unravelling stops where intended. Do not remove threads from inside the counted design to create extra fringe length.
Keep the finished bookmark gentle on books
The purpose is to mark a page without forcing the book open. Check the thickness of the finished assembly between scrap paper before putting it in a valued volume. A backing that feels thin alone can become bulky when combined with folded Aida, overlapping seams and heavy thread tails. Trim or reposition unnecessary bulk during construction rather than pressing it harder and hoping it will disappear.
A ribbon tab is optional. If you add one, attach it securely outside the stitched picture and keep the knot or join away from the pages. Do not claim a fabric or glue is archival unless you have reliable information about that material. Allow any compatible adhesive to cure as instructed and check for tackiness. Store the bookmark dry and clean. If you give it as a gift, a simple card explaining the fabric and chosen thread helps the recipient care for it sensibly.
Adjust colors or length without confusing the chart
Changing thread colors does not change the stitch count. Choose a contrast that remains visible on your cloth, especially for the six small gold crosses among the leaves. A monochrome version is possible by using one floss for both chart letters while retaining all empty squares. Write the substitution on the working copy so you do not forget which physical thread belongs to which symbol when you return to the project.
Length changes are different. Extending the leafy stem or adding another chevron needs more rows and a fresh measurement. Do not simply stretch the printed PDF vertically: that changes the picture on paper without adding valid counted cells. Plan any extension on a separate grid and check the joins before stitching. For practice in handling small separated shapes, return to the five-motif sampler. Keep an unchanged copy of these original files so you can distinguish the supplied pattern from your adaptation.
Review the chart, the stitching and the download
Before mounting, compare the occupied squares in every group with the symbol chart. Check stitch counts by color, but also inspect row positions and negative space. Make sure there are no loose tails, dark carries visible through the front or accidentally stitched blank cells. Review the edges again after you decide the final size; a perfect central motif can still be damaged by trimming too close during assembly.
The digital checks for these files compare dimensions, occupied cells, color counts and agreement between each PDF and its exact preview. Physical stitch testing has not been performed. The generated styling photographs are illustrations rather than evidence of a stitched sample. Download the PDFs below and use the source chart as your working reference. If your thread coverage or finishing materials behave differently, make a small test before mounting the completed piece. The files provide a counted design, while your particular materials still need practical judgment.
Common questions about printable bookmark patterns
Can a beginner stitch these? Yes, after learning whole crosses and counting empty spaces. The leaf ladder has more open background; the ribbon relies on checking repeated steps. Can you use a different fabric count? Yes, recalculate the dimensions and choose a suitable strand count. Can you trace the printed picture? These files are intended for counting directly on a regular grid, so tracing is unnecessary and may obscure the holes.
Does enlarging the print enlarge the bookmark? No, the fabric sets the size. Must you use the stated shades? No, they are generic colors and substitutions are welcome. Why are the download buttons below the instructions? This lets you choose the pattern after reading its measurements and finishing requirements. For more projects, browse the free pattern library, and calculate each new chart independently rather than assuming all printable patterns need the same fabric cut or the same mounting method.
Exact charts and free PDF downloads
Leaf Ladder Bookmark
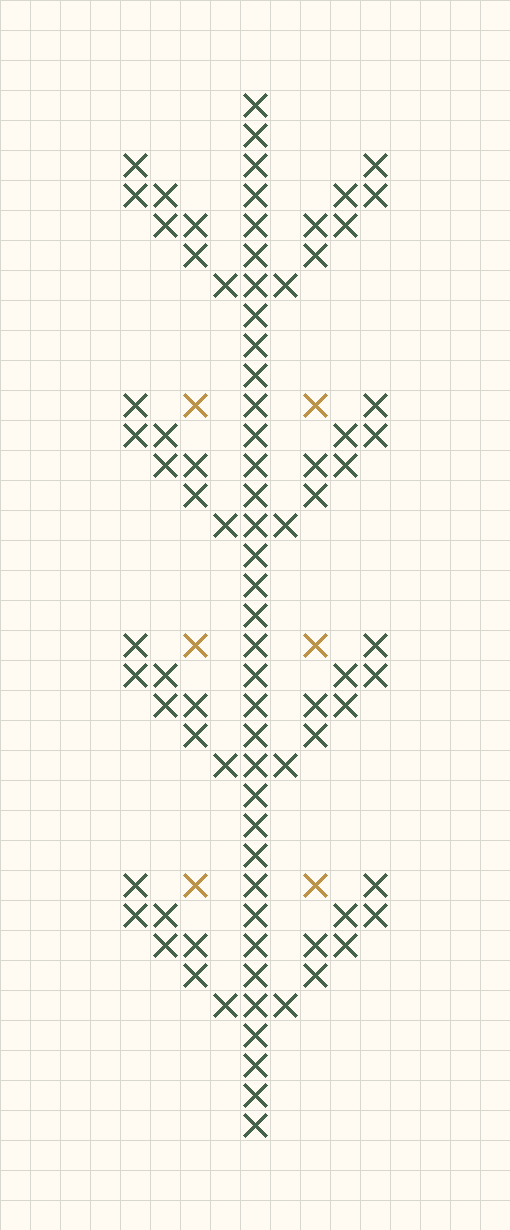
17 × 41 · 97 full crosses
Stepped Ribbon Bookmark
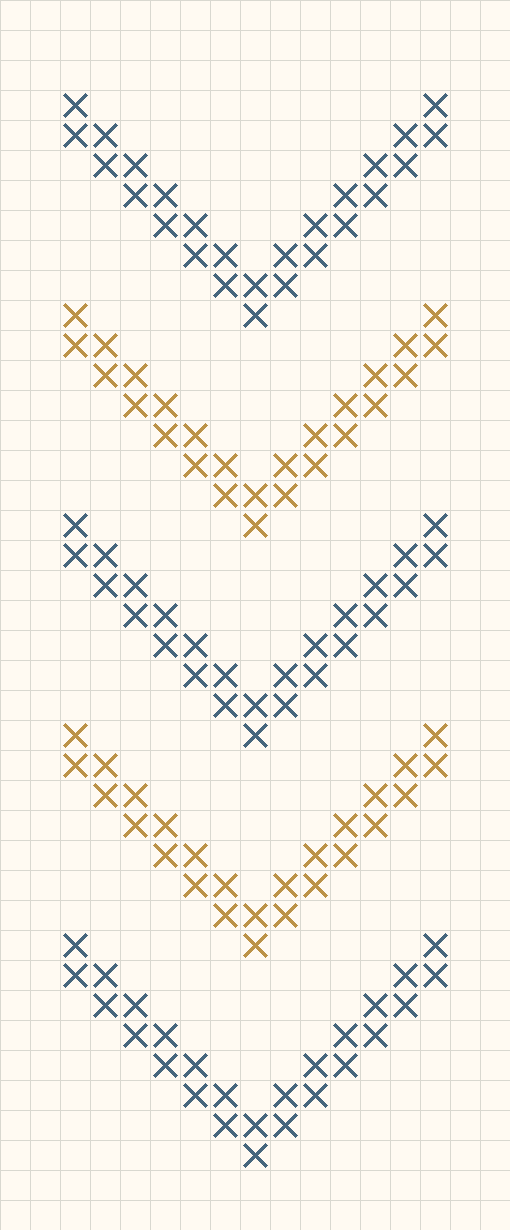
17 × 41 · 130 full crosses
Cross stitch fabric size calculator · Download the original leaf ladder bookmark pattern
Examples, diagrams and planning estimates are original Cross Stitch Creator content.