
Make a small practice sampler that gives each new skill a clear purpose. Start with a solid heart, add a flower with three colors, count across the bird, work an open diamond border, then finish with two block letters. The combined chart measures 44 columns by 30 rows and contains 130 full crosses in six generic colors. You can download the whole sampler or any of the five motifs separately. The exact previews and symbol PDFs below come from the same counted data. The ten styled photographs are illustrative presentation ideas.
Download the counted charts and choose your route
Use the combined sampler if you want to practise placing separate motifs on one piece of fabric. Its PDF includes a numbered color-and-symbol chart, a legend with counts, and the coordinates of each motif's bounding box. The individual PDFs use local coordinates starting at column one and row one. Choose one coordinate system before beginning. If you stitch the heart from its own PDF, its first row is not the first row of the combined sheet. For a first session, finish just that heart and compare it with the exact preview. Return for the other exercises when the shape and your tension are comfortable. The pattern library also provides the six patterns through their normal free download pages.
Read the sampler measurements before cutting
The 44 × 30 chart occupies 3.14 × 2.14 inches on 14-count Aida, approximately 7.98 × 5.44 cm. On 16-count it is 2.75 × 1.88 inches, or 6.99 × 4.76 cm. On 18-count it is 2.44 × 1.67 inches, or 6.21 × 4.23 cm. These measurements cover the full grid, including its blank margin. For three inches of cloth on each side of a 14-count version, cut at least 9.14 × 8.14 inches, approximately 23.22 × 20.68 cm. Round up for handling. A different frame may need a different allowance. Check the fabric calculator using your actual count and finishing margin.
Prepare cloth, needle and six thread colors
Use pale 14-count Aida, two separated strands of cotton floss, a blunt tapestry needle that passes without forcing the holes, and small scissors. A size 24 needle is a reasonable starting point. The combined palette has burgundy, gold, evergreen, blue, charcoal and tan. Its counts are 29, 11, 30, 52, 3 and 5 crosses respectively, totaling 130. The legend uses generic numbered colors and hex swatches, so match real floss under your working light. They are not manufacturer thread codes. Keep the blue and charcoal distinct enough for the bird's eye and legs. Test a few crosses on spare cloth if your chosen shades merge.
Establish one reliable starting point
Rows run downward and columns run from left to right. All coordinates here are one-based. The combined grid has its geometric center between columns 22 and 23 and between rows 15 and 16. Mark that point with removable thread, then count carefully to your first motif. Its bounding box begins at column four, row four. The heart's first filled cells are one column inside that box. Do not assume the first corner of a bounding box is a stitched square. If you prefer a corner start, measure your cloth margin first and mark the chart's upper-left cell. Read the chart-reading guide before crossing a large blank space.
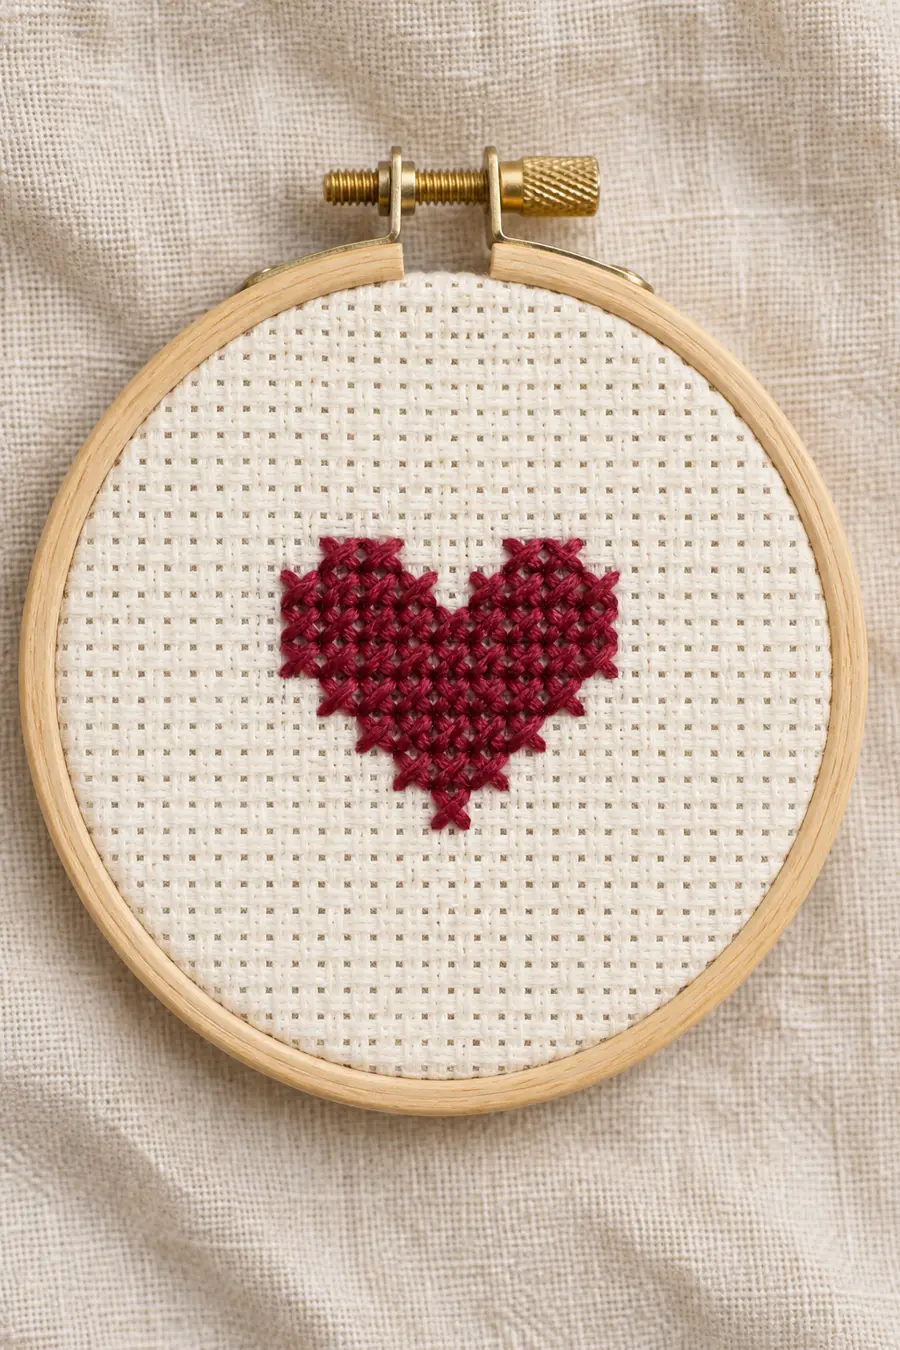
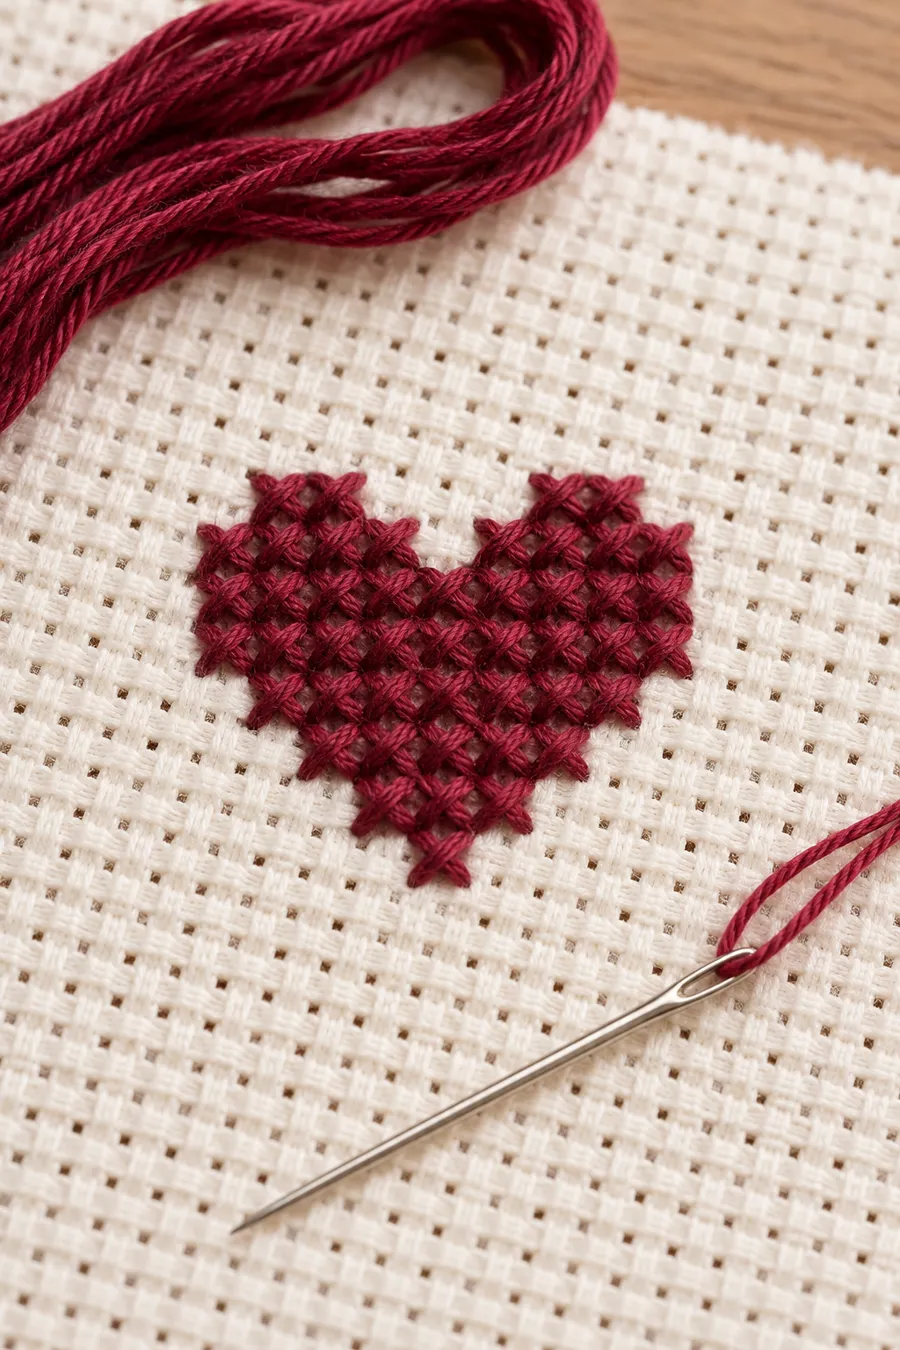
Exercise one: stepped heart and even rows
The heart is seven columns wide and six rows high, with 27 burgundy crosses. In its own chart, the first row has two stitches, a blank center and two more stitches. The next two rows each contain seven crosses. The last three rows narrow to five, three and one. On the combined sheet its box starts at column four, row four. Work a row of lower diagonals and return with upper diagonals if that helps your hand settle into a rhythm. Keep the same top-leg direction throughout. After the first three rows, check both lobes before tapering the lower half. The center gap should remain open.
Exercise two: flower and controlled color changes
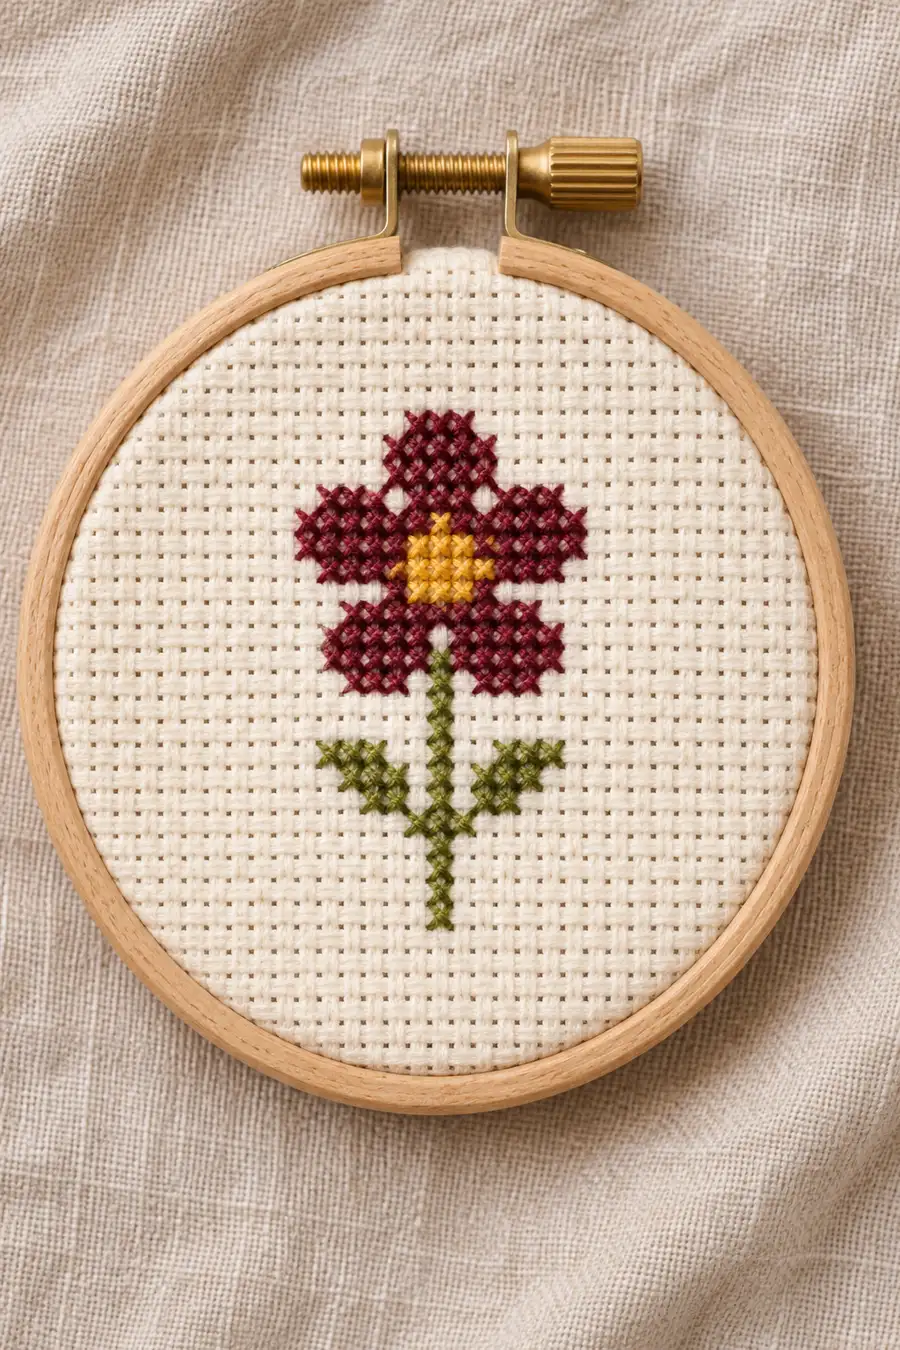
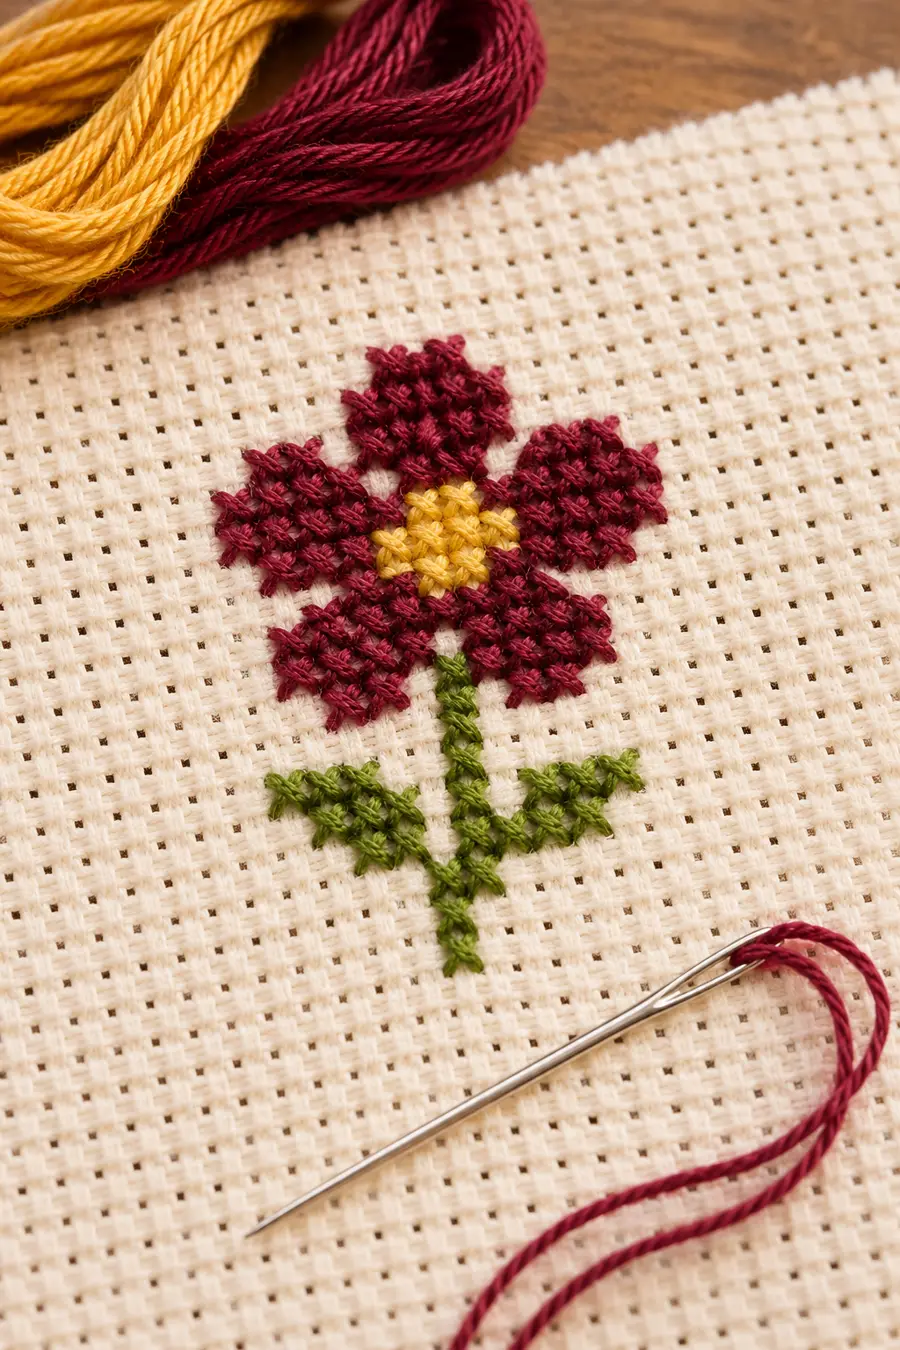
The flower occupies seven columns and nine rows. It uses ten gold, two burgundy and eight green crosses, totaling 20. Its combined bounding box starts at column 17, row three. The burgundy stitches sit inside the flower head as two separated accents. Stitch a small, recognizable portion of the gold head, verify its outline, then add the accents. The green stem continues below it with leaves on different rows. Count those offsets rather than placing them by eye. End a color under nearby stitches before moving to a distant exposed area. The empty spaces between the leaves belong to the design and should not be filled.
Exercise three: bird and scattered detail
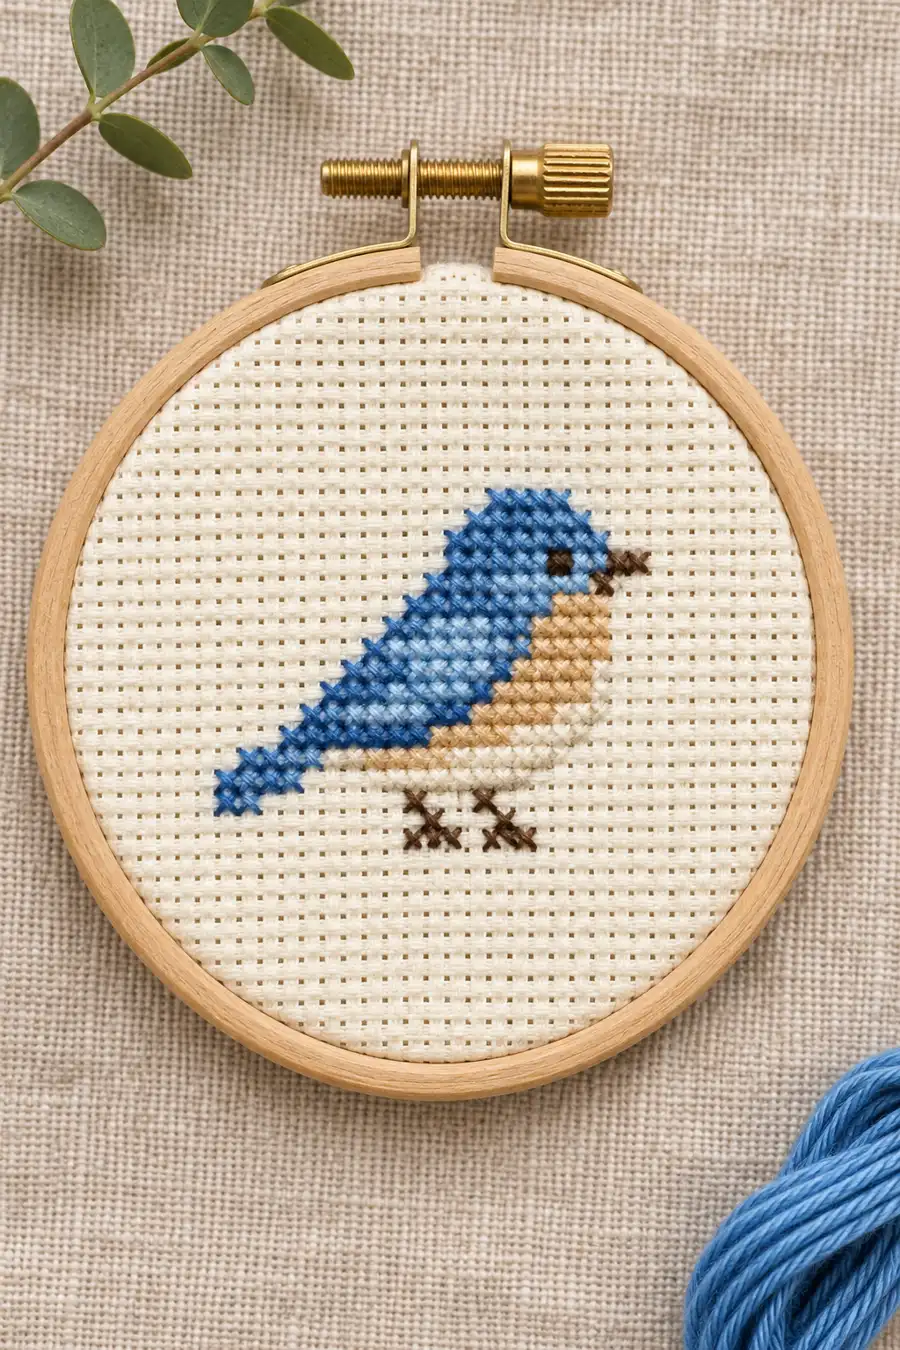
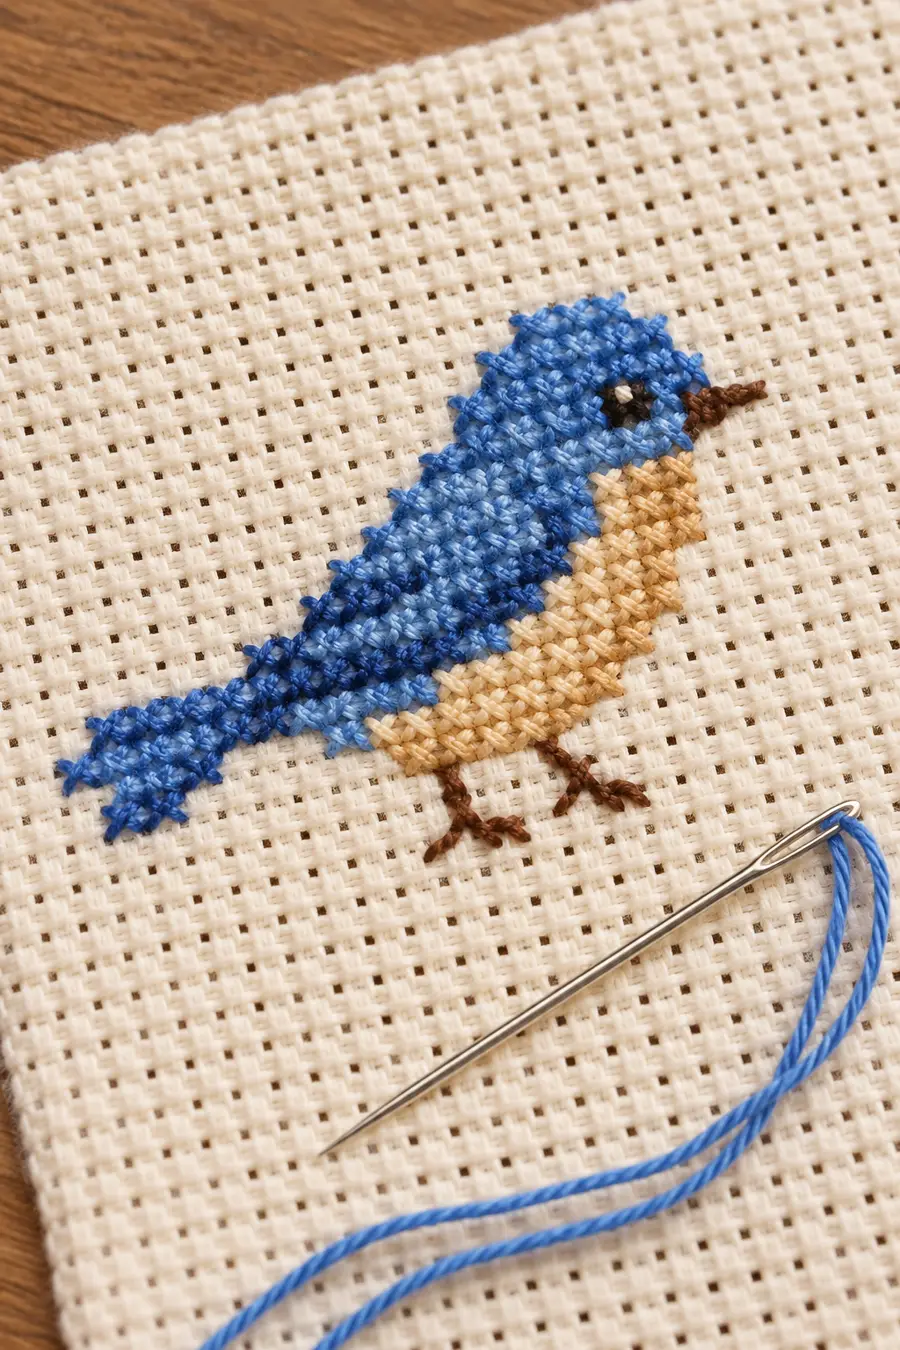
The bird uses a nine-by-seven grid and 29 crosses. Its palette contains 20 blue, five tan, three charcoal and one gold cross. The combined box begins at column 30, row four. Build the blue body first and check the space where the tan breast will go. The charcoal eye is on the second local row. The single gold cross forms the beak at the right edge of that row. Two separate charcoal crosses form the feet on the final row. Do not carry pale thread across the open gap between the feet. Compare their horizontal positions with the body above before ending the last strand.
Exercise four: open diamond border and empty squares
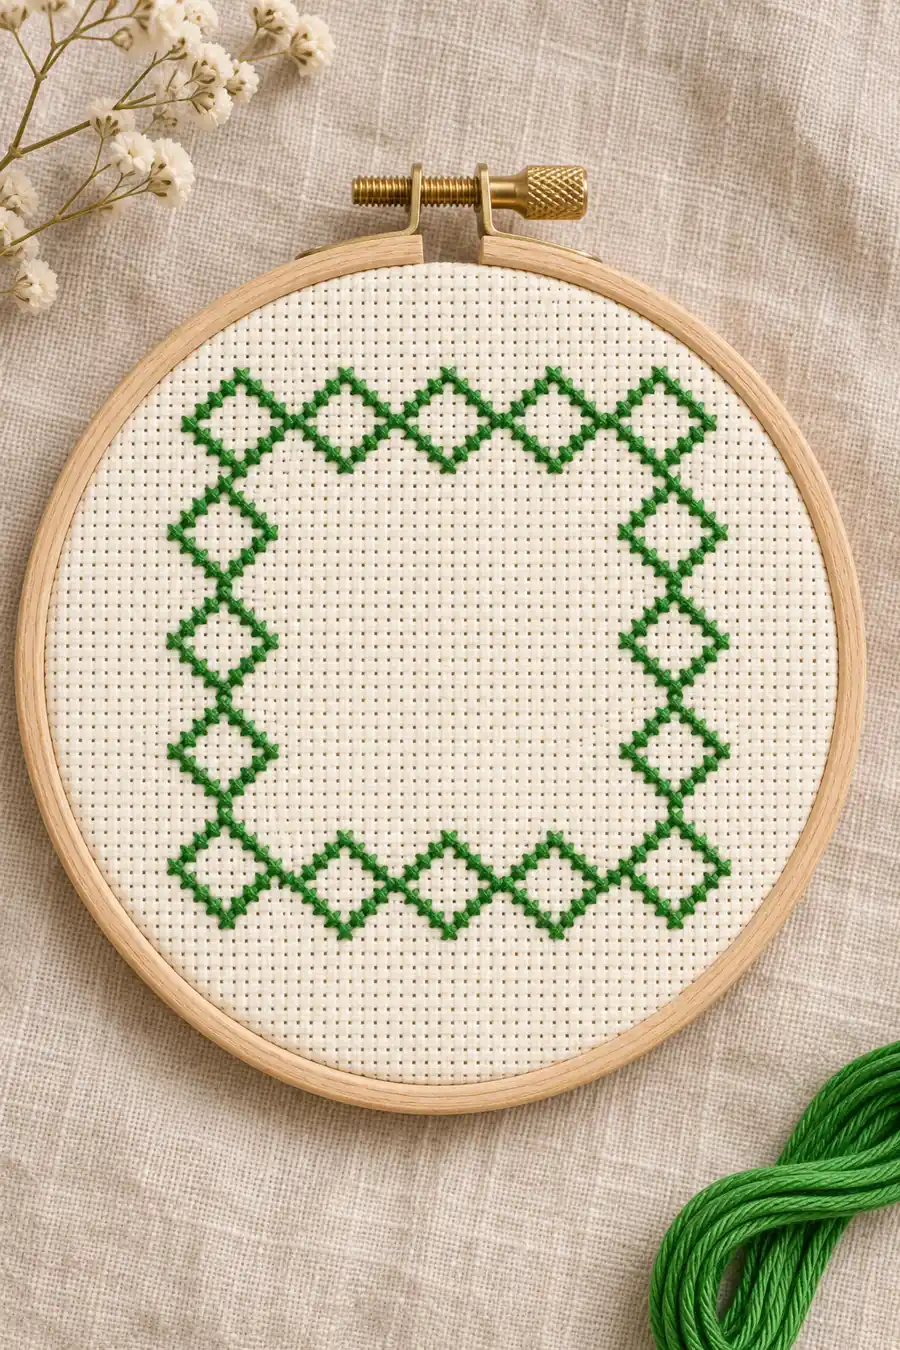
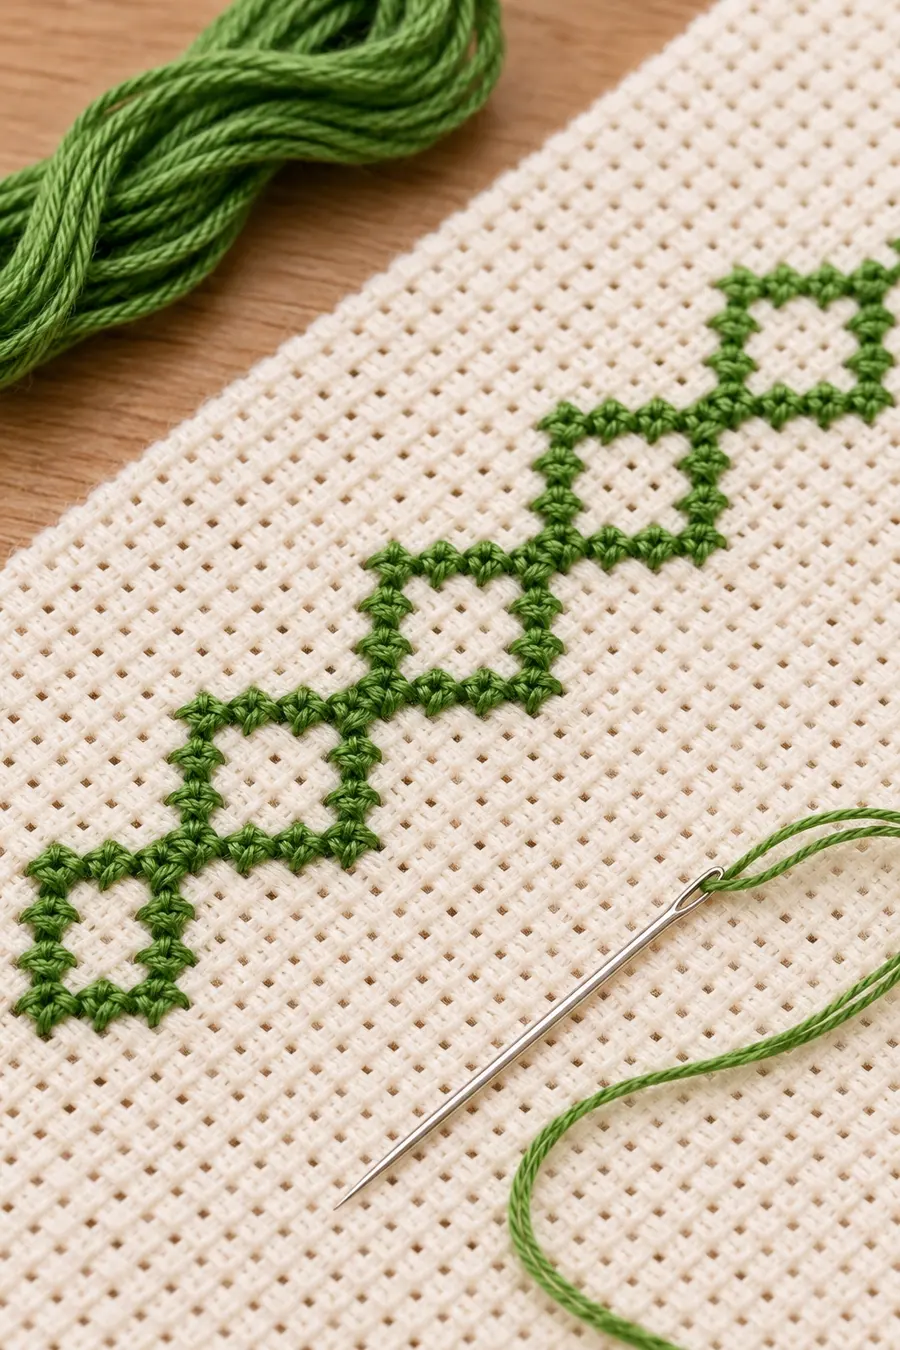
The border is 13 columns wide and five rows high, with 22 evergreen crosses. Its combined box begins at column four, row 19. Local row one has stitches at columns three, seven and 11. Row three has stitches at columns one, five, nine and 13. Those references help you check the repeating spacing. Stitch one diamond outline, verify the turn, then continue through the shared points. Resist the temptation to fill the centers. The open squares create the pattern. For an independent bookmark, repeat the unit only after checking how the shared endpoint will be handled, so the join does not gain an extra stitch.
Exercise five: HI lettering and consistent baselines
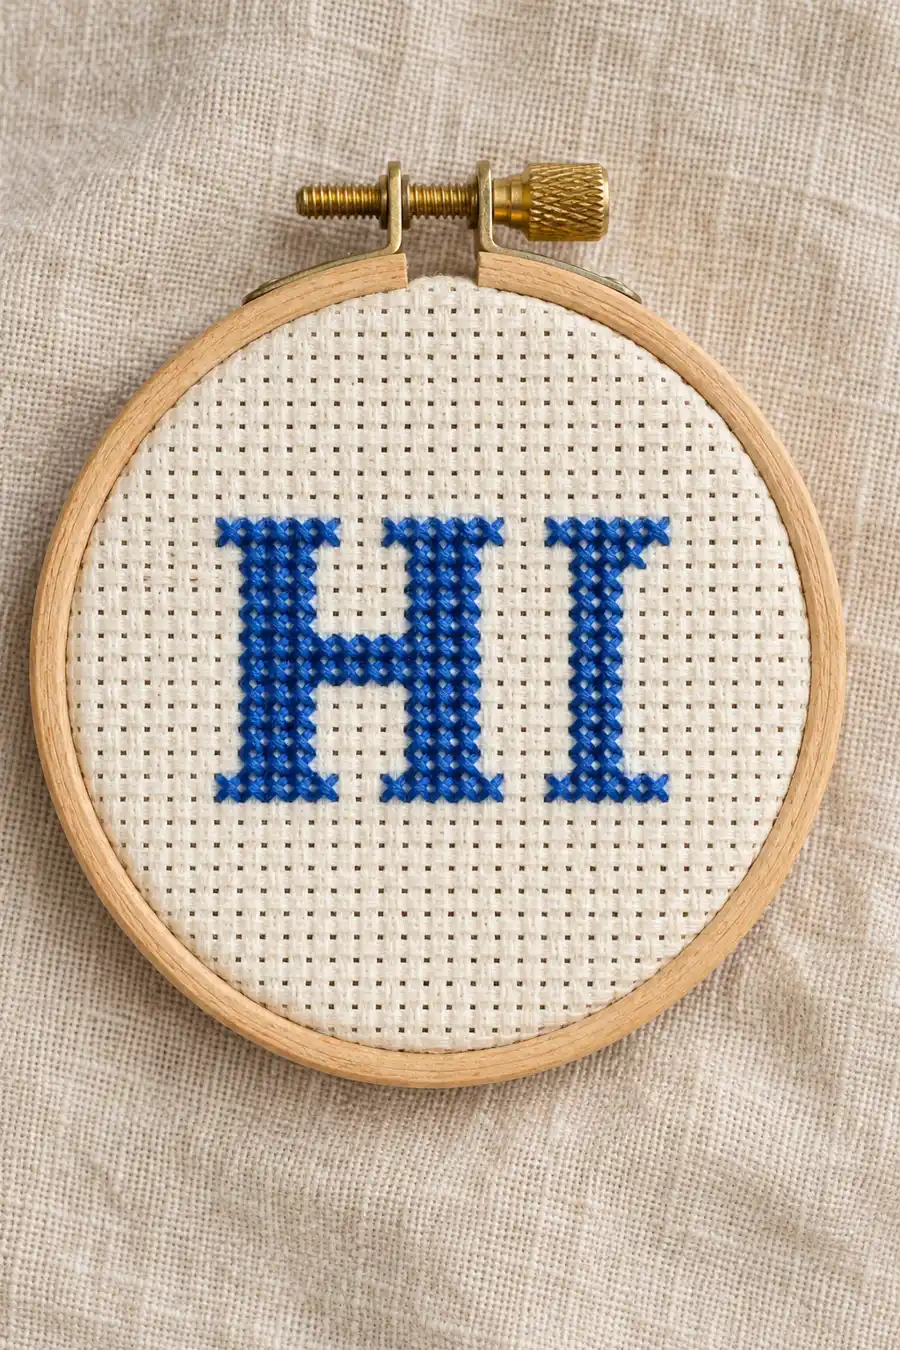
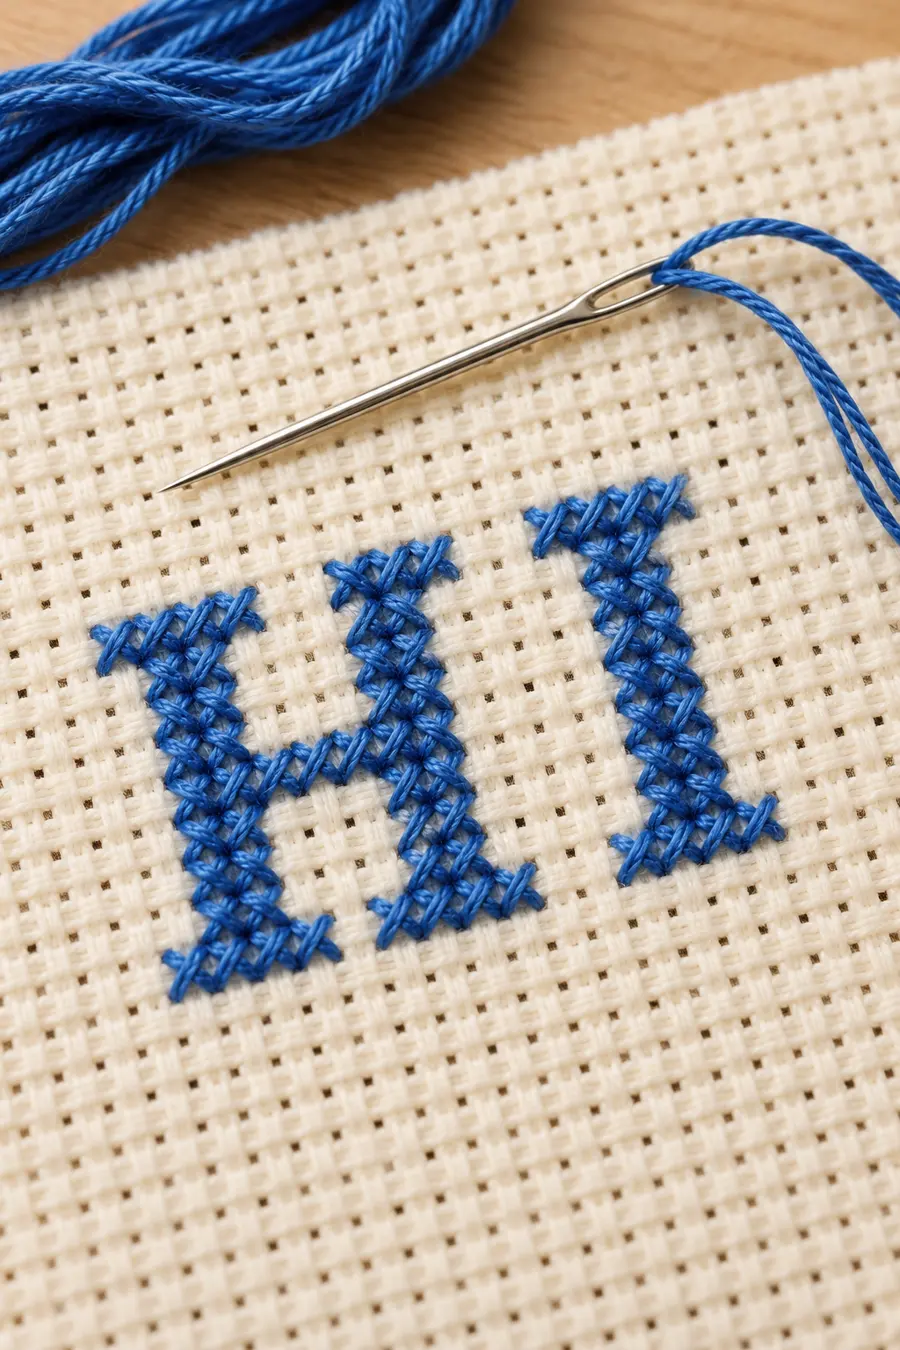
The lettering spans 11 columns and seven rows and contains 32 blue crosses. It starts at column 24, row 18 on the combined chart. The H occupies the first five columns, followed by one blank separator column. The I occupies the final five columns, with a full top and bottom bar and a narrow central stem. Mark the top and bottom rows before stitching if you tend to shift a letter while counting. Both letters should share the same baseline. These are fixed original block letters for this exercise. To plan another word, use the lettering guide and recalculate the full width.
Secure threads and control the reverse
A neat reverse helps the sampler sit flat, but you do not need to pursue a decorative back. Fasten tails under a few secure nearby stitches, keeping bulky knots away from a future mount. A loop start can work when your strand arrangement allows it. Keep working lengths manageable and stop if the cotton begins to abrade. On pale cloth, dark thread carried behind a blank area can show through the holes. End and restart when needed rather than pulling across a large gap. For small isolated details, test your preferred starting method on a scrap so the tail remains secure without distorting the cross.
Review every exercise before moving on
Use the exact grid, not the styled photograph, to check the stitch positions. Count the heart's widest rows, the flower's two burgundy accents, the bird's one beak stitch, the border's open centers and the lettering's blank separator. A total of 130 crosses is a useful final count, but it cannot prove placement by itself: two misplaced stitches may leave the total unchanged. Compare each row and color against the chart. If an error changes a counting reference or silhouette, correct it before starting the next motif. Photographing the work can help you notice a gap, but the PDF remains the instruction.
Plan a finish that preserves the spacing
A small frame or a flat fabric panel suits the rectangular arrangement. Place a paper window over the finished piece before trimming. Check that the lower border and the bottom of the lettering remain visible, and that the top row has comfortable space above the flower. If you want separate cards, use the individual charts and calculate each insert independently. The card mounting guide explains how to compare a stitched motif with an opening. Follow the care instructions of your thread and cloth, test colorfastness first, and let the work dry completely before mounting. Pressing from the reverse on a clean towel can protect the stitch texture when the materials permit it.
Make substitutions and record your choices
You can change the six colors while keeping the chart symbols. Preserve their roles: one color for the heart, a related accent inside the flower, a clear green for the stem and border, and a bird body distinct from the breast and charcoal detail. A monochrome version is also possible, but the eye may merge with the body. Test the bird first if you want to simplify its palette. Write your choices beside the generic swatches, including the manufacturer and actual color number. That record is more reliable than remembering a shade from a phone photograph. Keep spare labeled thread until the whole sampler is complete.
Estimate supplies and set a realistic practice session
The sampler contains few crosses, but the time goes into counting, changing colors and checking blank spaces. Do not judge a first attempt by speed. Plan one recognizable motif per session if that helps you concentrate. Small amounts of floss may be enough, yet each color needs starts, ends and handling allowance. Use the floss estimator with your fabric count and two working strands as a planning aid. For this tiny project, avoid cutting an entire skein into short lengths. Keep some uncut reserve in case your preferred starting method needs a longer piece. Return with fresh eyes if you repeatedly lose your place.
Frequently asked questions
Can I use 16- or 18-count Aida? Yes. The chart has the same 130 crosses, but the occupied area gets smaller. Test strand coverage and recalculate the cloth cut. Can I stitch one motif alone? Yes; use its individual PDF and local coordinates. Do I need backstitch? No, the six PDFs use full crosses only. Are the styled images exact charts? The counted previews and PDFs define every stitch; the photographs illustrate presentation. Has the sampler been physically stitched? Its cells, dimensions, symbols and counts have been checked digitally, and the PDFs rendered for inspection. Physical stitch testing has not been performed. Save your own notes as you practise.
Exact charts and free PDF downloads
Stepped heart
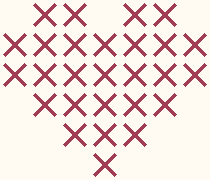
7 × 6 · 27 full crosses
Budding flower
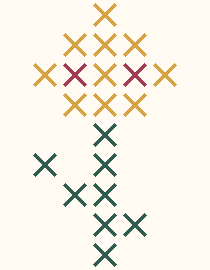
7 × 9 · 20 full crosses
Perched bird
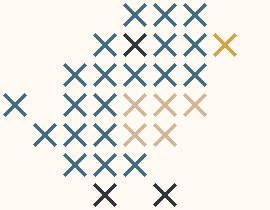
9 × 7 · 29 full crosses
Diamond border
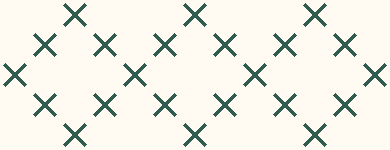
13 × 5 · 22 full crosses
HI block letters
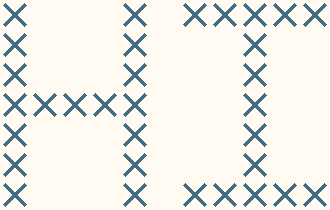
11 × 7 · 32 full crosses
Five Motif Practice Sampler
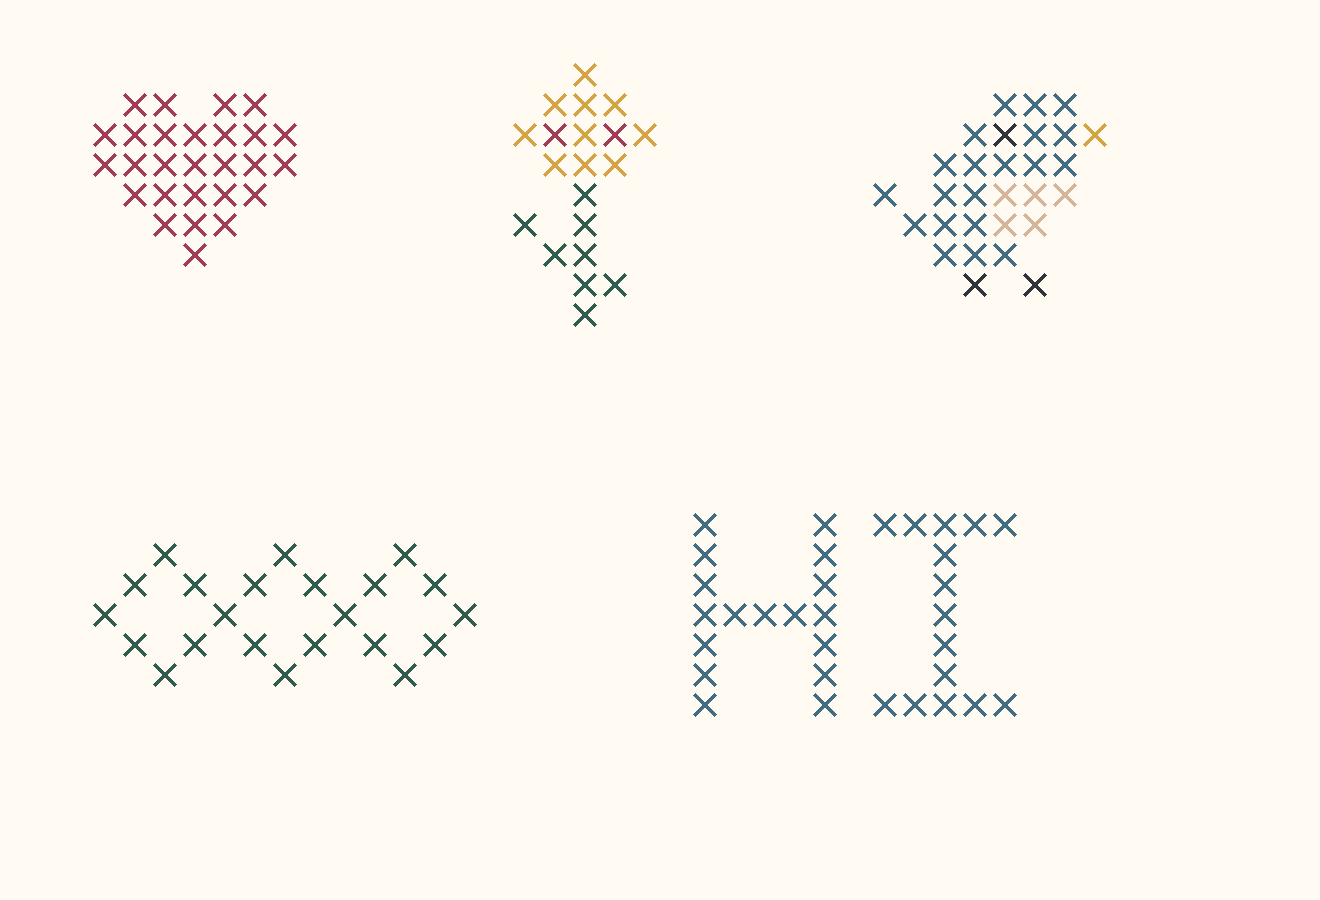
44 × 30 · 130 full crosses
Cross stitch fabric size calculator · Download the original five motif practice sampler pattern
Examples, diagrams and planning estimates are original Cross Stitch Creator content.