
A Christmas card can be too small for a stitched design even when the picture looks tiny on paper. The opening controls what people see, while the size of the card and the mounting panel control how much fabric can be hidden. Pick the card first, measure its opening, and then work out the largest design you can stitch without crowding the edges. This guide uses a rectangular opening, but the same method works for circles if you test the corners separately.
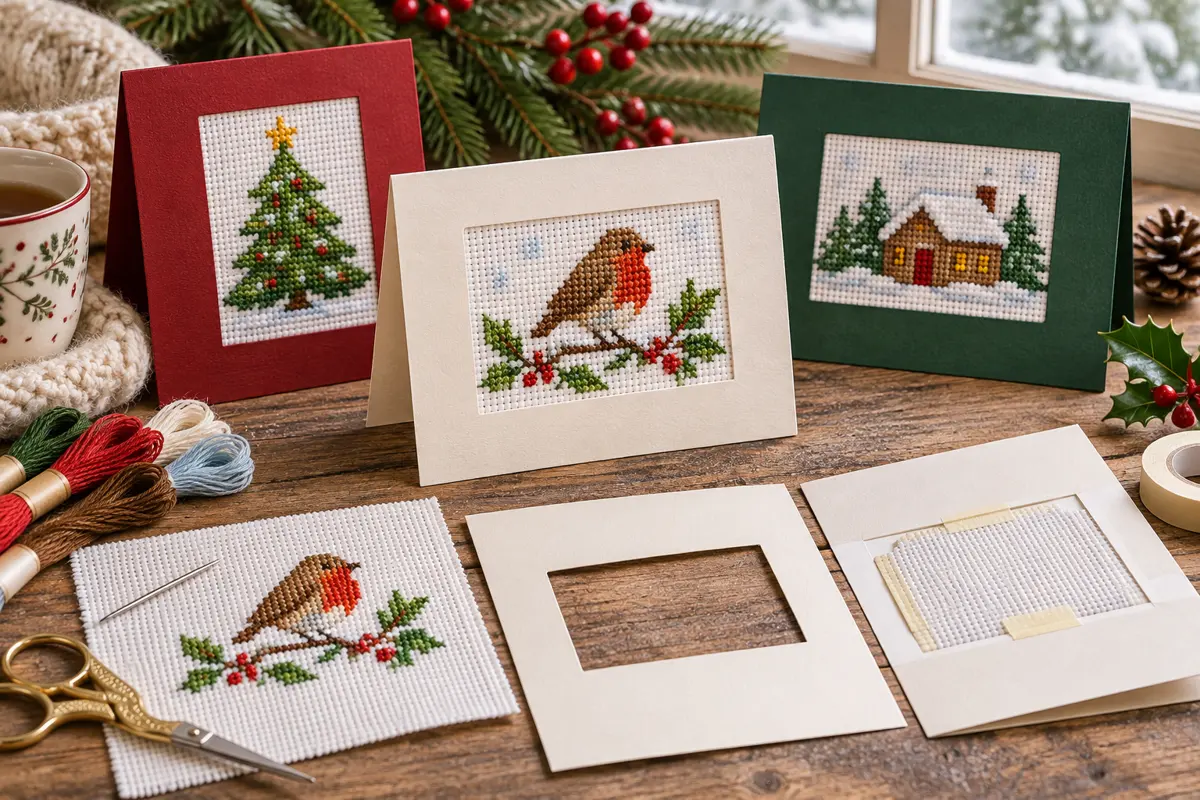
Measure the opening
Measure the actual opening with a ruler. The card's advertised dimensions usually refer to the outside edges. A nominal 5 × 7 inch card might have an opening much smaller than that. Hold a scrap of Aida behind the aperture and decide how much plain fabric should show around the finished motif. An eighth of an inch on each side gives a compact border. A quarter inch makes it easier to center a small shape without making slight alignment differences obvious.
For a 2 × 2½ inch opening with a quarter inch of plain cloth showing on all sides, budget 1½ × 2 inches for the stitched design. On 14-count Aida that works out to 21 columns by 28 rows. On 16-count it becomes 24 columns by 32 rows. If a design includes isolated snowflakes or stars, count those stitches as part of the design. If the chart has unused cells at its edges, measure from the outermost stitched columns and rows. Keep the whole grid when you count the chart itself so your starting position stays correct. The fabric calculator can help you compare cloth counts.
Choose a motif that fits
A short horizontal design suits a wide opening. A candle, stocking or tree suits a taller one. For a circular opening, cut a paper copy of the aperture and lay it over a printed chart. Pay attention to the lower corners of a tree or the toe of a stocking. A rectangular grid can fit within the width and height of a circle while those details still fall behind the frame. Start with the free pattern library or adapt a small motif from the free Christmas chart guide.
Check the design against the card in daylight before committing to floss. Pale gold on cream can disappear at arm's length, especially under warm indoor lighting. A deeper amber or gold-brown can give the flame a clearer outline. If a pattern uses the ground fabric as snow, check that your card and Aida are different enough in shade to make the opening easy to see. Changing one accent is usually easier than replacing an entire palette.
Prepare enough cloth for the hoop and mounting
The piece you stitch on and the piece you mount can be different sizes. Leave enough spare cloth to grip the hoop comfortably, especially if the design is small. Once the work is complete, trim to the size your card can conceal. A quarter to half an inch of overlap around the opening can work when the card has enough room for it. Test with an unstitched scrap first. A very narrow card border may need a different aperture or a thinner mounting method.
Mark the chart center and use a removable thread to mark the fabric center. Stitch from a convenient part of the motif near that point. Keep your top legs facing the same direction and avoid long dark thread carries behind bare, pale Aida. They can show through the holes when the card catches the light. Check the chart after each small group, especially where one stitch separates a branch from a snowflake or a star from its border.
Mount the finished design
Set the card face down, then lay the stitching behind the aperture. Turn it over and align the motif while checking that the Aida rows run parallel to the card edges. Use low-tack tape on a scrap to check that it releases cleanly before using it temporarily on the back of the piece. Once aligned, attach the edges to the back of the aperture with thin adhesive suitable for the card and cloth. Keep adhesive outside the visible area.
Cover the reverse with a separate cardstock panel. If thread tails or fabric edges make the card bulge, move them away from the fold and use a thinner backing. Let adhesive set flat before closing the card. For cards you plan to mail, measure the finished envelope at its thickest point and check the postal service's current requirements. A thick or rigid card may need a different envelope or postage.
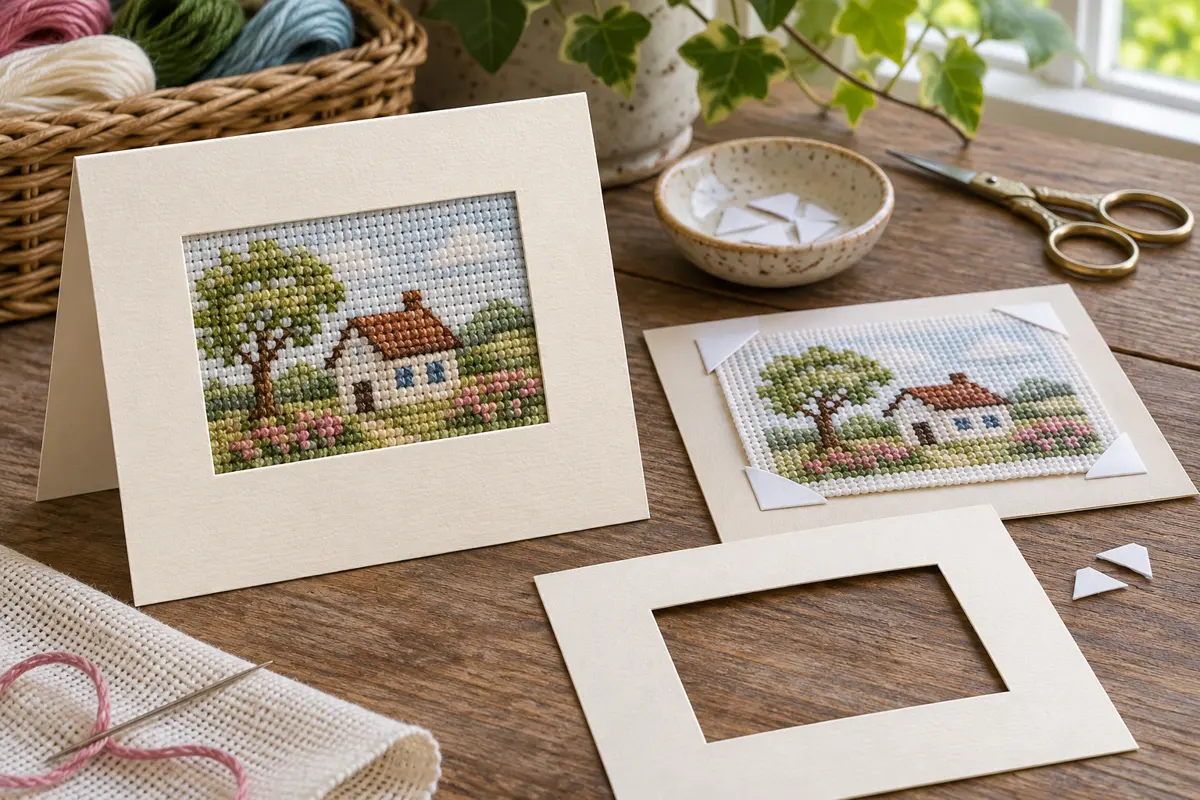
Make a paper mock-up before you stitch
Draw the aperture on plain paper at full size and cut the center out. Mark the middle of each edge with a pencil, then join opposite marks lightly on a second sheet to make a center guide. Put your printed chart under the paper window and move it until the motif looks balanced. A design with a heavy base or a long flourish may look more centered when shifted slightly above or away from its measured center. Once you like the placement, mark the intended horizontal and vertical center on the printed chart. Transfer the reference to the fabric with removable thread, keeping the marked point outside any area where a temporary thread would be trapped.
You can do a second check with an inexpensive copy of the card. Cut the window, slide an offcut of the actual fabric behind it, and add a blank backing panel. Open and close the mock-up. If it springs open or tips forward when standing, you have learned something about your choice of cardstock and adhesive before committing your stitching. For a card with a very small border, a window cut into a separate front panel gives you more room to fasten the insert before mounting the assembled panel onto the card.
Work through a concrete card layout
Suppose your motif is 19 stitches wide and 24 stitches high. On 14-count cloth that is approximately 1.36 × 1.71 inches. In a 2 × 2½ inch opening, centering the stitched bounds gives you about 0.32 inch of visible plain cloth on each side and 0.39 inch above and below. If the mounting panel can hide a half-inch overlap, the finished insert will be about 3 × 3½ inches. Cut a larger workpiece if your hoop needs it. If the motif is asymmetrical, test the placement again once you have actually stitched it, because a sparse corner can look different from its printed chart.
For a set of three cards, keep a small index card with the chart name, fabric count, finished bounds and floss substitutions. Write down the opening size separately from the trimmed fabric size. When you move to a new card blank, recheck both dimensions. A few millimeters lost to a different window can matter for a star point or a letter near the edge. Keep your mock-up as a cutting guide and trace it onto scrap paper for later layouts instead of retrimming the original every time.
Fix the common mounting problems
If one side looks higher than the other, take the piece out and align a single Aida row with the top edge of the aperture. Then compare the left and right clearances. Trying to correct the two axes by pulling different corners can distort the fabric. If the stitching is straight but the composition still looks off, slide the whole insert slightly. Mark the position on the back of the card with two small pencil lines so you can return to it after preparing the adhesive.
If a dark tail is visible through empty Aida, look for a nearby group of stitches where it can be anchored without showing. Test under the same light that made the problem visible. If trimming would loosen the last cross, secure it first. If the backing panel shows through a pale fabric, switch to a neutral backing that is close to the fabric color. Compare a sample with the card upright in daylight before sealing the reverse.
Frequently asked questions
Can I use a round hoop design for a rectangular opening?
Yes. Use a paper window to check whether the motif fits without trimming any stitches. A round motif often looks balanced with extra blank cloth to the sides if the card opens horizontally.
Do I have to wash the stitching before mounting?
Assess the cloth first. If it needs cleaning, follow the fabric and floss instructions, test spare thread for colorfastness, and let the piece dry fully before mounting. Moisture can warp the card or weaken the adhesive.
How can I make several cards from one chart?
Stitch the first card and use it as a physical reference. Record the window measurements, the stitched bounds and the fabric cut. For the next card, choose a different accent color or card stock while keeping the same opening. Use the Thanksgiving card guide for more ideas on placing small motifs in cards.
Examples, diagrams and planning estimates are original Cross Stitch Creator content.