
Learning how to read a crochet pattern means translating materials, abbreviations, repeats and counts into one controlled step at a time. Prepare the instructions before you pick up the hook, and most patterns become easier to audit and follow.
Where can I get good crochet patterns?
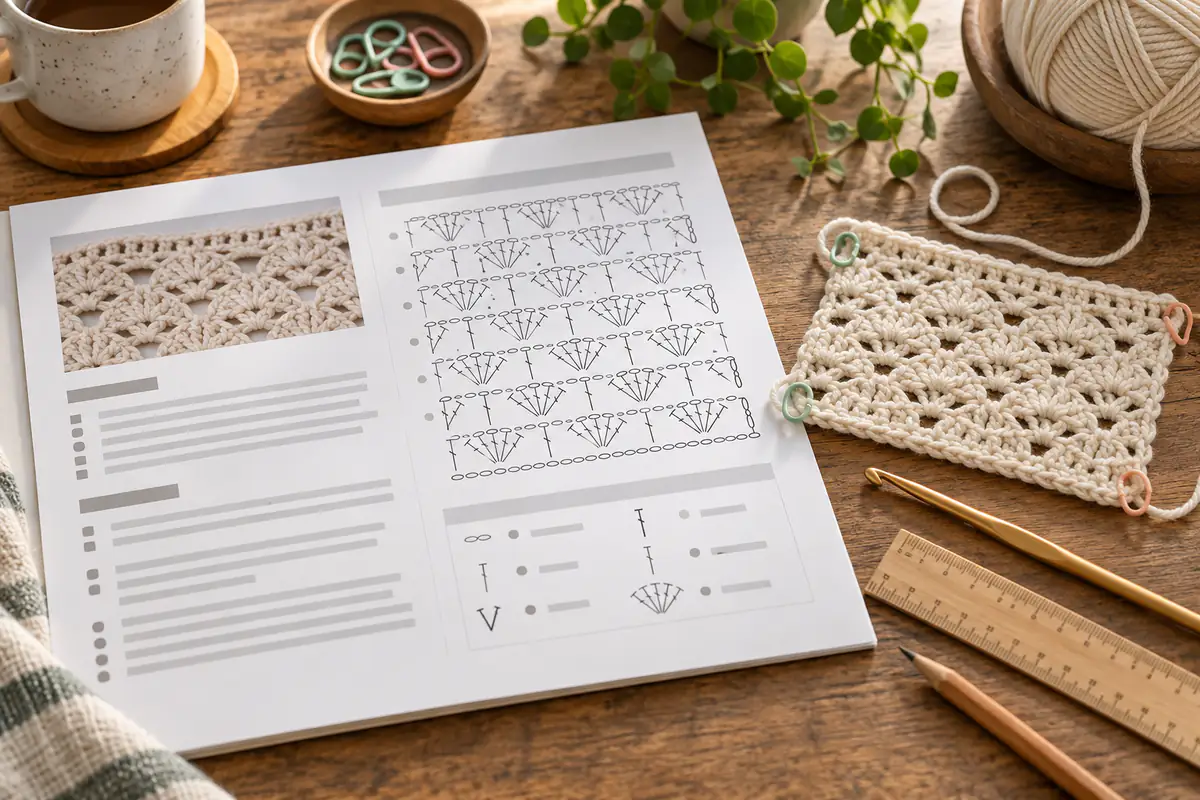
Choose patterns from an identifiable designer or publisher that shows the finished object and provides measurements, materials, gauge, terminology and support information. Reviews can reveal unclear steps, but the instructions must stand on their own. A high-quality pattern explains special stitches, marks repeats consistently and includes a schematic when shape or sizing requires one. Free and paid patterns can both be excellent; price alone does not prove completeness. For downloads, use the checks in our guide to free crochet patterns in PDF. Save the source page with the file so you can find errata. Before investing in yarn, read every page and confirm that the pattern includes your size, chosen language or chart key, and all referenced pieces.
Check US or UK crochet terminology first
US and UK crochet use many of the same words for different stitches. For example, a US single crochet corresponds to a UK double crochet, while a US double crochet corresponds to a UK treble. Never translate terminology from the project photo. Look near the title, abbreviations or materials for an explicit statement. If none appears, contact the designer or choose a clearer pattern rather than guessing through a garment. Hook sizes may be given in millimeters, letters or numbers; use the crochet hook size converter to identify the physical size. Preserve the original notation in your notes, then add the equivalent beside it. Mixing systems halfway through changes stitch height, fabric and finished dimensions.
Read the materials as specifications
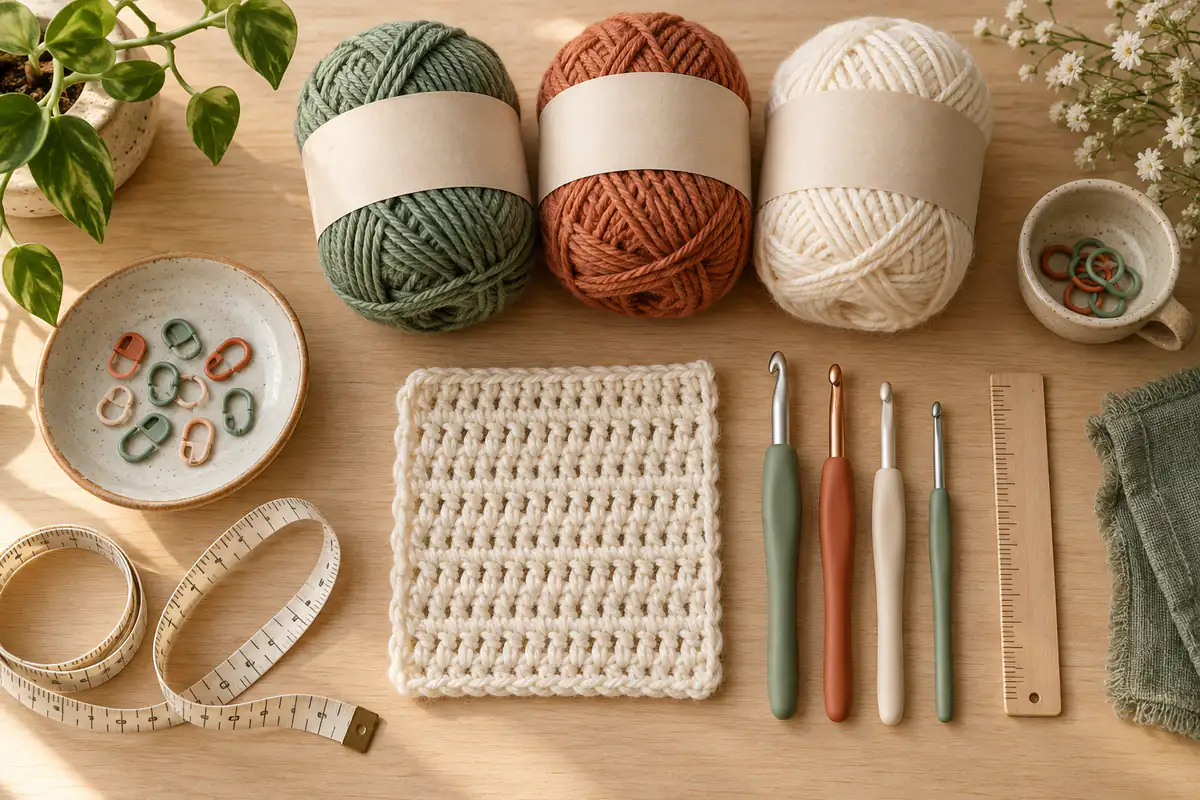
The materials section defines more than a shopping list. Note yarn weight, fiber, construction, total length, number of colors, hook size, notions and any special tools. When substituting yarn, compare usable length and the fabric produced, not only the weight category or ball weight. A pattern may use a smaller hook for dense stuffing or a larger one for drape. Stitch markers, buttons and zippers can affect construction, so source them before the step where they are needed. Highlight optional items separately. If the project uses a chart, verify that you can view it clearly on your device or print it. Set up the workspace so the yarn, hook and terminology all match the same version of the instructions.
Understand gauge and finished measurements
Gauge tells you how many stitches and rows create a measured area in the specified stitch pattern. Finished measurements tell you what the object should become. Make a swatch larger than the measuring window, wash it as directed and measure away from the edges. If stitch gauge is wrong, changing hook size may help, but fiber and personal tension also alter the fabric. Row gauge affects length and shaping even when width matches. Use our crochet gauge calculator to connect measured counts with a planned dimension, and read why finished size changes. For garments, compare finished measurements with the intended body measurements and ease rather than selecting only by a familiar size name.
Decode abbreviations before the first row
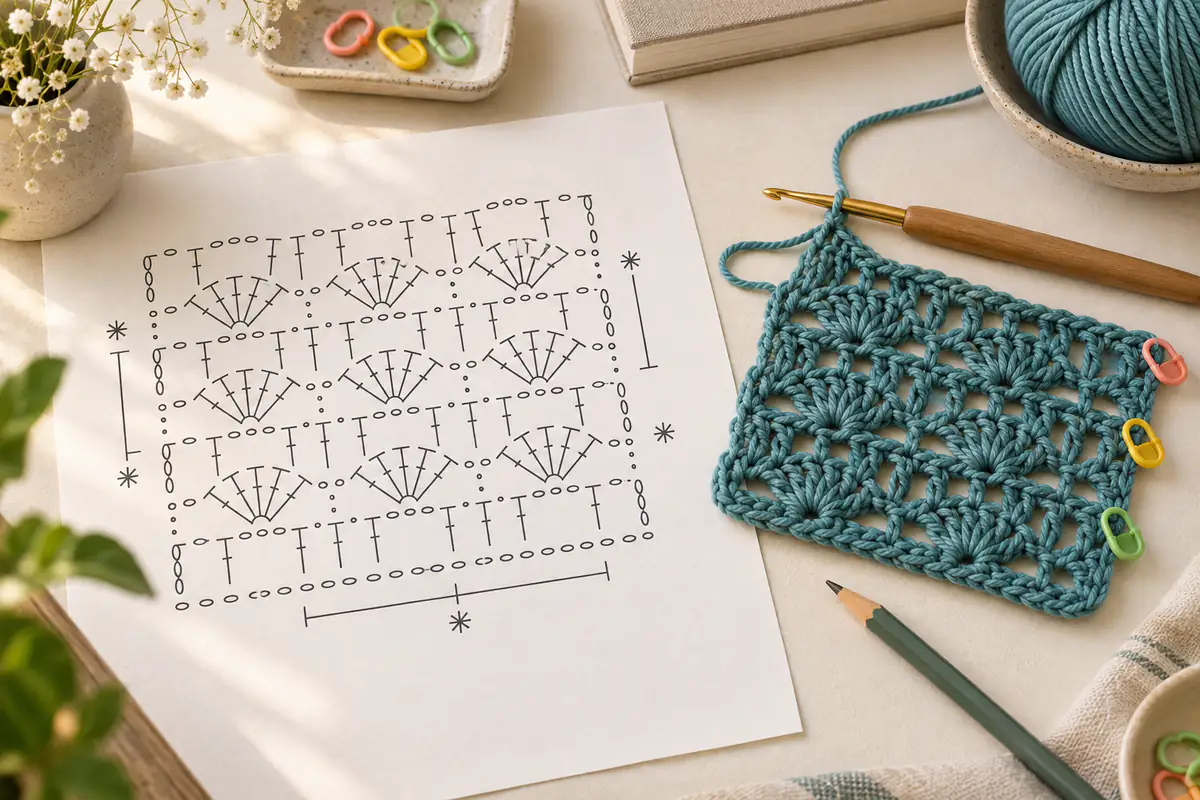
Create a small key for every abbreviation in the pattern, including uncommon techniques and designer-specific shorthand. Standard lists are helpful, but the pattern’s own definitions take priority. A stitch abbreviation tells you what action to make; a number tells you how many; punctuation often tells you how to group or repeat it. Terms such as “turn,” “join,” “skip,” “space,” “around” and “in next” determine placement and cannot be skimmed. Read one full row aloud in plain language before crocheting it. If the instruction says to work into a chain space, do not insert into a nearby stitch because it looks more convenient. Accurate reading begins with identifying the target as carefully as the stitch itself.
What do asterisks, brackets and parentheses mean?
An asterisk usually marks the beginning of a repeat, with a later instruction telling you where to stop and how many times to repeat. Brackets or parentheses group several actions that belong together, sometimes all worked into one location. Conventions vary, so read the pattern notes. Expand one repeat on paper: write each action, calculate its stitch use and compare the expected row count. If a grouped instruction is worked five times, repeat the whole group, not only the final stitch. Nested punctuation can be read from the inside outward. Place a marker after each large repeat in a long row. When the final partial repeat or edge differs, treat it as a separate instruction rather than forcing the regular sequence to the end.
How do I follow rows and rounds?
Rows turn the work unless the pattern says otherwise. Rounds may be joined with a slip stitch or worked continuously in a spiral. Identify the method before beginning because changing it creates a seam or a step in the fabric. Mark the first stitch of a spiral and move the marker every round. In joined rounds, distinguish the joining slip stitch, turning or starting chain and first actual stitch. Check whether the starting chain counts as a stitch; patterns legitimately use different rules. At the end of every row or round, compare your count with the stated count before continuing. If it differs, inspect increases, decreases, edge stitches and grouped repeats. Fixing one round is far easier than compensating after shaping has continued.
How do I read stitch counts and shaping?
Counts in parentheses often show the expected total after a row or give different totals for several sizes. Highlight only your chosen size with one consistent color. An increase works more than one stitch into a location; a decrease combines stitches, but exact methods differ. Calculate how the count should change: two single increases add two stitches, while two standard two-stitch decreases remove two. Shaping may occur at both edges, inside marked sections or across pattern repeats. Keep a small table of row number, starting count, change and ending count. If the arithmetic does not match the stated result, reread the grouping and size-specific instructions before assuming an error. Official errata can exist, but many apparent contradictions come from counting turning chains or repeats differently from the designer.
How do I read a crochet chart?
A crochet chart uses symbols to show stitches and their placement. Find the legend, starting point and reading direction. Rows often alternate direction, while circular charts usually begin near the center and progress outward. Symbols positioned around a chain space may all enter that space; symbols joined at the top may indicate a decrease. A chart shows structure efficiently but may rely on written notes for color, size or special technique. Trace one row with a finger and compare it with the written instructions when both are provided. Count repeats and expected stitches before working. Our crochet chart generator can help you explore grid-based planning, but always use the pattern’s own legend because chart symbols and construction conventions are not identical in every source.
What does WIP mean in crochet?
WIP means “work in progress”: a project that has been started but is not finished. The term is informal and does not change any pattern instruction. Makers may also use UFO for an unfinished object, FO for finished object and CAL for crochet-along. These community terms are useful for organizing projects but should not be confused with stitch abbreviations. Label each WIP with pattern title, source, yarn, hook, size, current row and any changes. Put a locking marker through the live loop before storage and keep leftover yarn labels with the piece. Good WIP notes prevent a pause from becoming a mystery. Limit active projects to a number you can store and track, especially when the same hook is used for several items.
How do I recover when the result looks wrong?
Stop at the first sign of a count, shape or texture problem. Secure the live loop, compare the current row with the previous correct checkpoint and recount by repeat groups. Look for a missed edge stitch, extra insertion into the turning chain, misplaced increase or incorrectly repeated group. If the count is right but the fabric differs, check hook, yarn, terminology and stitch placement. Undo to the last verified point rather than hiding an error with an extra stitch; compensation can distort later shaping. For colorwork, confirm both the sequence and which side is facing. Take a clear photo before unraveling if you want to study the mistake. Corrections become faster when you diagnose the category instead of repeatedly remaking the same step.
A repeatable pattern-reading workflow
First, verify source, version, terminology and size. Second, gather materials and translate hook notation if needed. Third, read the full pattern, define abbreviations and highlight the instructions for your size. Fourth, make and finish the gauge swatch, then calculate whether the resulting dimensions work. Fifth, expand one complex repeat and prepare markers or a row tally. During the project, record counts at each shaping point and keep changes with the pattern. Before a large blanket, use the crochet yarn estimator; before choosing a starter design, read easy crochet patterns for beginners. A pattern is not a test of memory. Turn it into a checked sequence, and pause whenever the physical fabric stops matching the written evidence.
Examples, diagrams and planning estimates are original Cross Stitch Creator content.