
Choose a Christmas cross stitch kit by looking at the work it asks you to do. A small ornament with eight colors and a plain background is a different project from a stocking with a fully stitched scene, even if both boxes say “beginner.” Before buying, check the chart or printed fabric, the finished dimensions, the supplies in the box and the materials needed to finish the piece. If you are working to a deadline, leave time for assembly as well as stitching.
Choose between a counted and a stamped kit
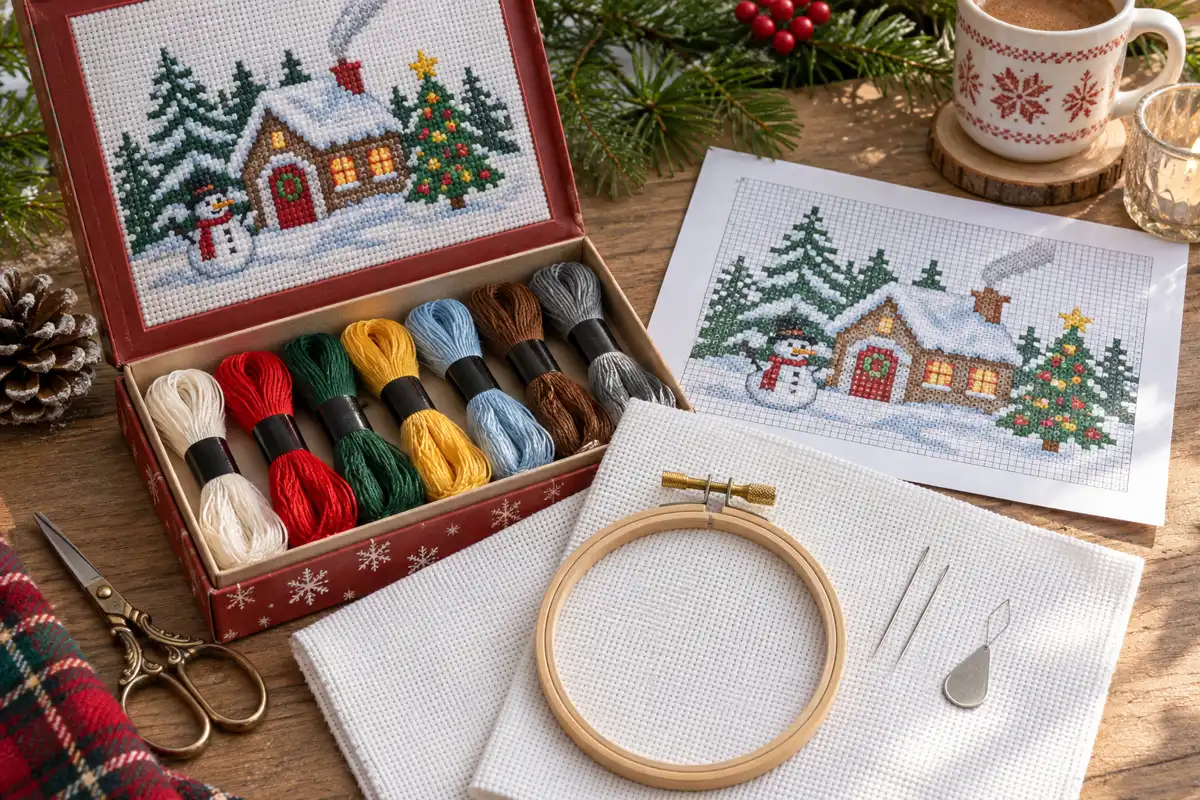
A counted kit usually supplies plain fabric and a separate chart. Each symbol tells you which color to stitch in a particular square. You place the first stitches by finding the center or counting from a measured edge, then use those stitches as references for the next group. Counted kits are useful if you want to change colors or keep the chart as a reference for another project. Look for a clear symbol key and a diagram that marks the chart center. Our guide to reading a cross stitch chart explains what those markings do.
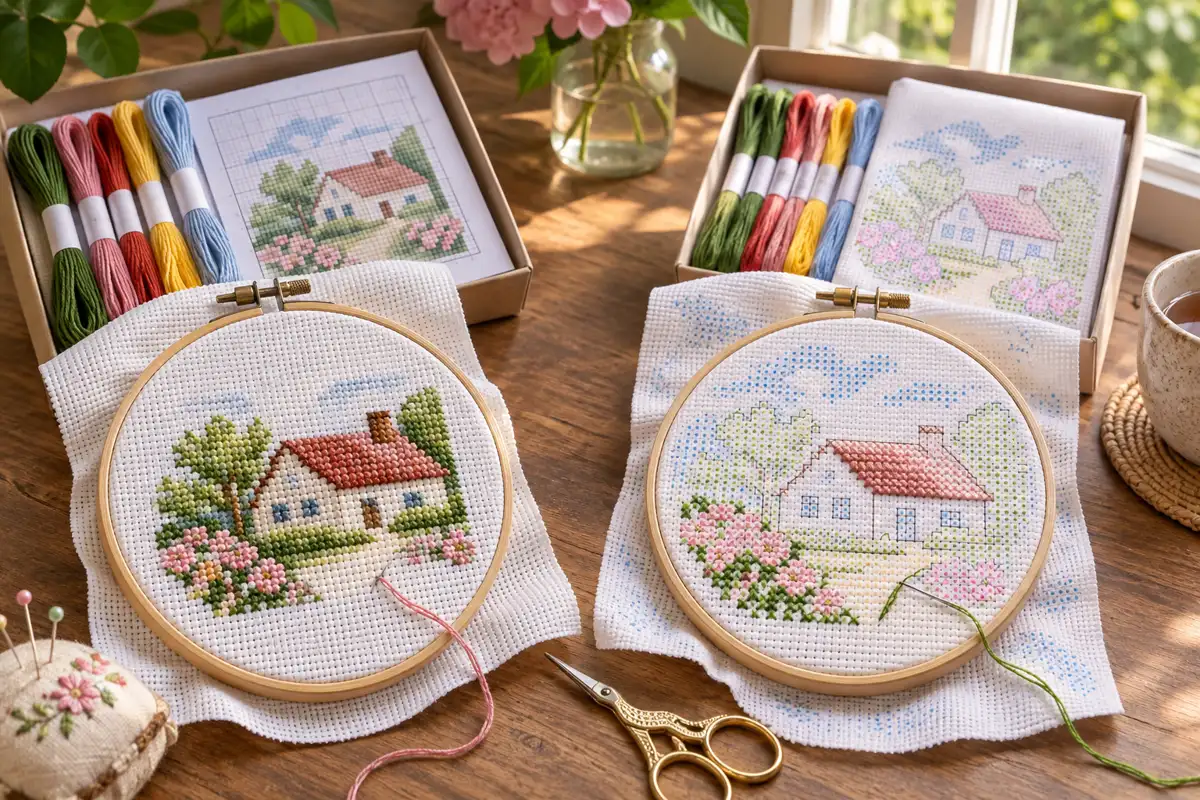
A stamped kit places a guide on the fabric. Check whether the guide uses a grid or outlines and whether the stitches are worked on regular Aida blocks. Follow that kit’s instructions for removing the printing. Some designs use marks that wash away, so keep the cloth dry until you finish if the maker specifies that. Others may be intended to retain the printing. Ask for the care instructions if the listing does not say. A stamped kit can reduce counting, but it still needs a readable color key and a print that lines up with the intended stitch positions.
Check the chart and the stitches
Look at a chart sample if one is available. Distinct symbols matter more than bright colors on the sample. A pale yellow square and a pale cream square can look identical on a printer. A circle and a triangle are easier to distinguish. For a chart split across pages, find out whether there are page numbers, coordinate marks or overlap instructions. You should be able to identify the last column on one page and the first new column on the next without guessing.
Check the listing for backstitch, fractional stitches, knots, beads or metallic thread. A kit that uses only full crosses will be easier to plan if you have never stitched before. Backstitch can add lettering or fine branches, but it adds a separate pass over the design. Beads may call for another needle. Metallic thread often benefits from short lengths and slower handling. Decide whether you want to learn one of those techniques on this project, and avoid relying on a difficulty label alone.
Confirm the fabric count and size
Ask whether the listed dimensions describe the stitched area, the fabric cut or the finished object. For counted work, divide the chart dimensions in stitches by the fabric count to get the stitched dimensions in inches. For example, a 42 × 56 stitch motif on 14-count Aida measures 3 × 4 inches. If you need two inches of working and mounting margin on each side, the fabric cut is 7 × 8 inches. The fabric calculator helps compare counts and margins.
Check what happens at the edges. An ornament needs room for a seam or backing. A framed piece needs enough spare fabric to secure it around the mount. A stocking needs space for the curves and cuff. If the fabric is precut, compare the supplied cut with your intended finish before starting. A design can fit on the cloth with enough space to stitch and still leave too little fabric to mount the way you want.
Inventory the box before making the first stitch
Check for the chart or printed guide, fabric, thread key, floss and a suitable needle. Lay out the thread bundles and identify the labels before separating similar shades. If there are two reds for a scarf or several whites for snow, attach the number or symbol to each bundle before removing it from the card. Save the packaging and instructions until the project is finished. They can help you identify a missing strand or contact the maker if the kit uses colors you cannot match locally.
Read the supply list for finishing materials. A kit pictured in a hoop may not include the hoop. A stocking may supply the stitched front but require backing fabric, lining and a hanging loop. A card kit may omit the envelope. Check what is explicitly listed, especially if you are sending the kit as a gift. The cross stitch supplies guide can help identify tools a recipient might still need.
Work backward from the gift date
Estimate effort from the number of occupied stitches and the number of thread changes. A 50 × 50 chart can have 2,500 stitches if every square is filled, or a few hundred if most of it is blank. The latter may still take time if the stitches are scattered and each color needs repeated starts and stops. Check the image for open background and look for a stitch count in the listing. If it is not given, a coarse count of filled areas is more useful than guessing from the size of the hoop.
Time a short session on a similar project if you can. Count finished crosses, including the time you spend threading, finding your place and fastening ends. Use your own pace to decide whether the design is realistic. Add separate time for cleaning or pressing if the materials allow it, assembling the finish, and letting adhesive dry. If you have only a few evenings, choose a design with large blocks of the same color and a finish you already know. Browse the Christmas patterns for beginners for smaller project ideas.
Check the kit as a gift
For a first project, a kit with a small motif, visible holes, clearly labeled colors and plain instructions is a good starting point. If the recipient prefers larger print, ask for a sample chart or confirm whether the instructions can be enlarged for personal use. If the design needs a particular frame or backing, either include those supplies or tell the recipient what remains to buy. For a dated gift, distinguish the day you will give the kit from the day you expect someone to finish the design.
A chart plus supplies can also make sense when the recipient already owns a hoop, needles and spare fabric. In that case, check that the pattern lists fabric count, colors and stitch types before buying anything. Try the free Christmas chart guide to compare what a usable chart includes.
Frequently asked questions
Is a stamped kit always faster?
A printed guide reduces the work of finding a square on a separate chart. It does not reduce the number of crosses or color changes. Compare coverage and stitch types, and make sure you can read the printing comfortably.
What if the floss in the kit runs short?
Check the kit’s strand instructions before stitching. Using more strands than specified can consume the supply faster. Work shorter carries and keep spare labeled thread until the end. If a color runs out, ask the maker for a matching replacement before guessing from a screen swatch. Test any substitute beside the existing stitches in daylight.
Can I change the fabric in a counted kit?
Usually you can, provided you preserve the chart and recalculate the stitched and cut sizes. A higher fabric count makes the motif smaller, and a lower count makes it larger. Test the recommended number of strands on a scrap, since coverage can change with the new fabric.
How do I know if the kit includes the finishing materials?
Read the contents list separately from the display photo. Look for the actual card blank, ornament backing, frame, lining or hanging hardware by name. If an item appears only in the photo, confirm with the seller before planning your finish around it.
Examples, diagrams and planning estimates are original Cross Stitch Creator content.