
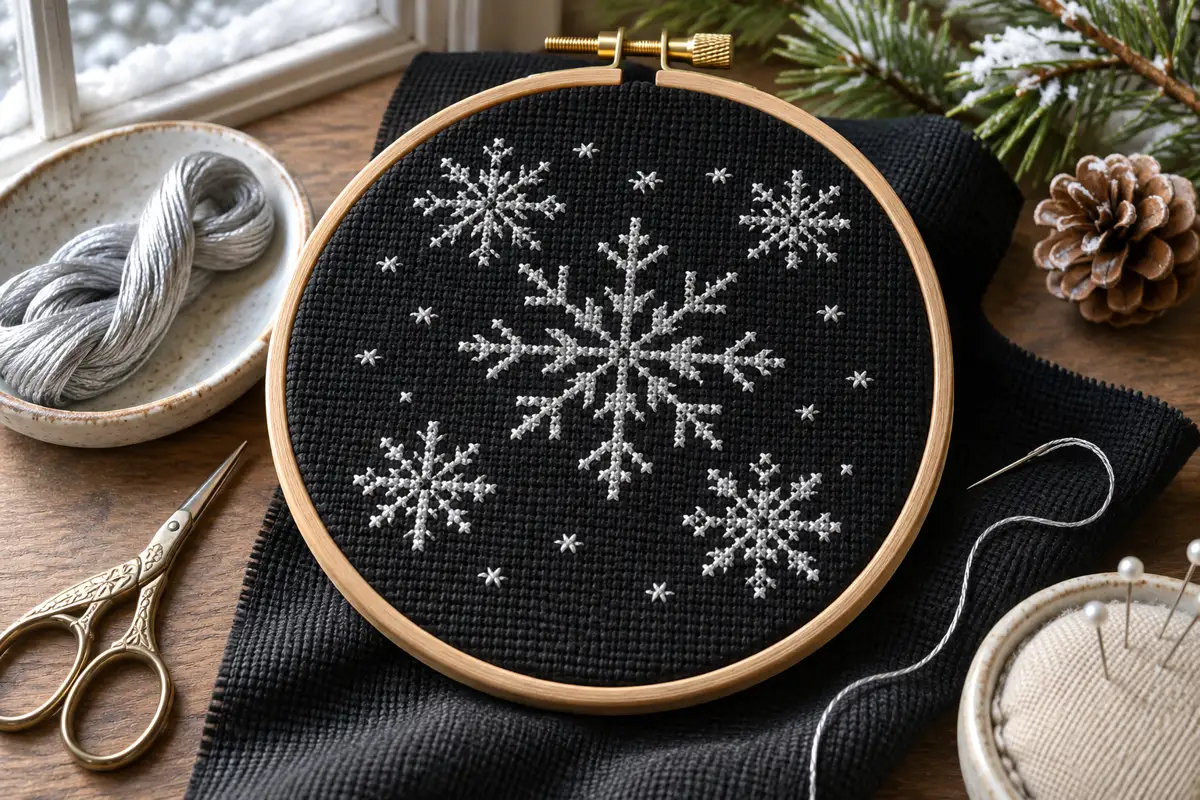
Black Aida makes pale thread stand out and lets the fabric supply the dark background. The challenge is seeing the holes, especially beside a group of completed crosses. Set up your light before starting, test your strand count on a scrap, and work in small groups you can check against the chart.
Set up light above and contrast below
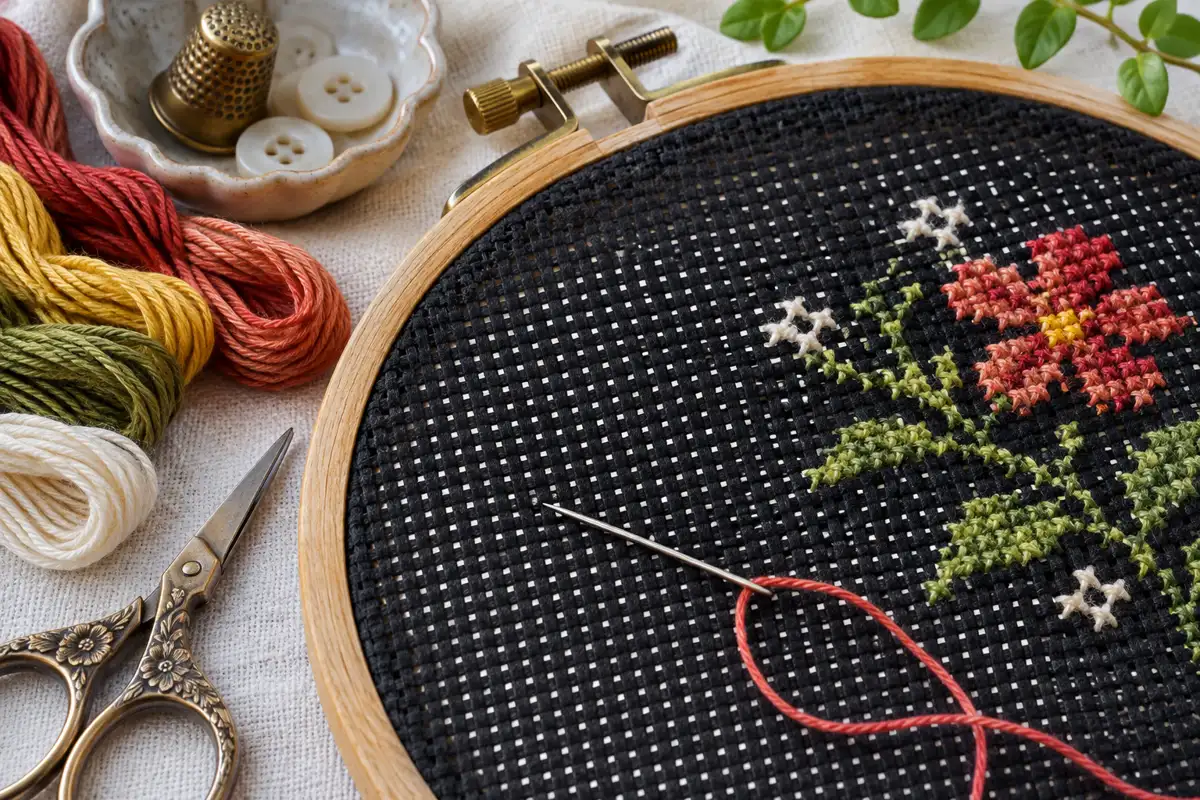
Put a task lamp above and slightly to the side of the work. Move it until you can see the thread and the weave without your hand casting a shadow over the next square. Lay a clean white cloth across your lap so the holes have a pale background. Try plain white card if the cloth keeps shifting. Hold the hoop a little above the backing so you can bring your needle up from behind.
If the holes still disappear, try a diffuse light below the hoop. Keep it dim enough that it does not wash out pale stitches. Angle the fabric away from glare. Judge the setup on two tasks: finding an empty hole and distinguishing the hole next to a completed cross. They can require slightly different angles.
Choose a pattern that uses the dark ground
A snowflake, constellation or pale line drawing leaves plenty of black showing and does not require stitching the background. Check the pattern key first. Some charts mark dark stitches that form a shadow or outline. If you omit those stitches, make sure the shape still reads and that any remaining dark colors contrast with the fabric. Browse the free pattern library for compact motifs to test before committing to a larger design.
Black Aida has the same sizing rule as pale Aida. On 14 count, 56 by 70 stitches occupy 4 by 5 inches. With a two inch allowance on every side, cut 8 by 9 inches. Check the actual mounting method before cutting, and use the fabric calculator if you change the count or the margin.
Test thread coverage before stitching the design
Stitch two small blocks on a scrap using the lightest thread in the palette. Start with two strands, then try three if the design calls for denser coverage. Compare the blocks at the distance from which the finished work will be seen. A few visible flecks of black may suit a soft effect. More strands can improve coverage, but they can also crowd shared holes and make a small motif look uneven. Do not pull tighter to hide the ground. That can distort the fabric and make the cross narrower.
Test the darkest colors separately. A deep navy or charcoal can disappear against black even when its skein looks different. Lay the swatches next to each other in daylight and again under the lamp you use at night. If a dark line needs to be readable, use a lighter shade with the same color character or add contrast to the adjacent stitches. See the palette guide for ways to compare neighboring shades.
Count from short, reliable references
Mark the center with a removable contrasting thread. Start with a compact group you can recognize on the chart. Count to the next group from two points if it lies across a large blank area. For example, check its horizontal distance from one completed cross and its vertical distance from another. If the two checks disagree, stop and find the correct hole before stitching.
A removable grid can help on a larger piece. Test the marking method on scrap first. A light pencil line can be difficult to remove from black cloth. Contrasting basting thread is easier to see and can be pulled out as you go, provided you avoid stitching through it. Use the same spacing as the major lines on the chart so you can count within one block at a time.
Avoid pale thread showing through empty fabric
A pale strand carried behind open holes can look like a dotted line on the front. Finish the thread under nearby stitches and restart at the next group when there is a broad blank gap. Turn the hoop toward your light before ending a strand to see whether the tail will show. For an isolated cross, use a secure start and finish appropriate to the strand count, and test that it does not show through nearby holes.
If you accidentally use the wrong hole, loosen the last stitch rather than tugging hard against the weave. Check whether the error changes the boundary or a future counting reference. Correct an offset before using that group to count the next one.
Frequently asked questions
Do I need a different needle?
Use a blunt tapestry needle that passes through the Aida without forcing the hole. A size 24 is a practical starting point for 14 count. If three strands make the thread difficult to pull through, test a different needle or return to fewer strands.
Can I wash black Aida?
Follow the instructions for the fabric and floss. Test a scrap with a little of the pale thread first and check for color transfer. If the materials allow washing, dry the work fully before mounting.
Is black Aida harder to count at night?
It can be if the room is lit only from above or the surface behind the work is dark. Use a task lamp and a pale backing, then move the hoop until the holes show. If you still lose your place, work in shorter sessions and choose a chart with fewer isolated stitches.
Examples, diagrams and planning estimates are original Cross Stitch Creator content.